
Scrap Batting Tutorial
How to join scraps of batting for your next project
I don’t know about you, but I tend to save my scraps. Even the tiny little bitty pieces that are not easily usable- if the fabric is pretty enough, I’m going to hoard every single last bit of it. And that tends to go for batting scraps too. I’m not as fussy about batting (I’m definitely not saving every last bit), but I will save pieces that I think can be joined together.
I’ve joined batting scraps for small projects before, but right now I’m working on a new throw sized pattern, The 4161 Quilt. It’s for an upcoming magazine issue, and I thought it might be nice to try the technique and see how it holds up for a larger project. While you can zigzag stitch batting scraps together (which I haven’t done but will maybe try someday!), today I’ll walk you through how to use fusible tape to join your scraps.
Let’s dive in!
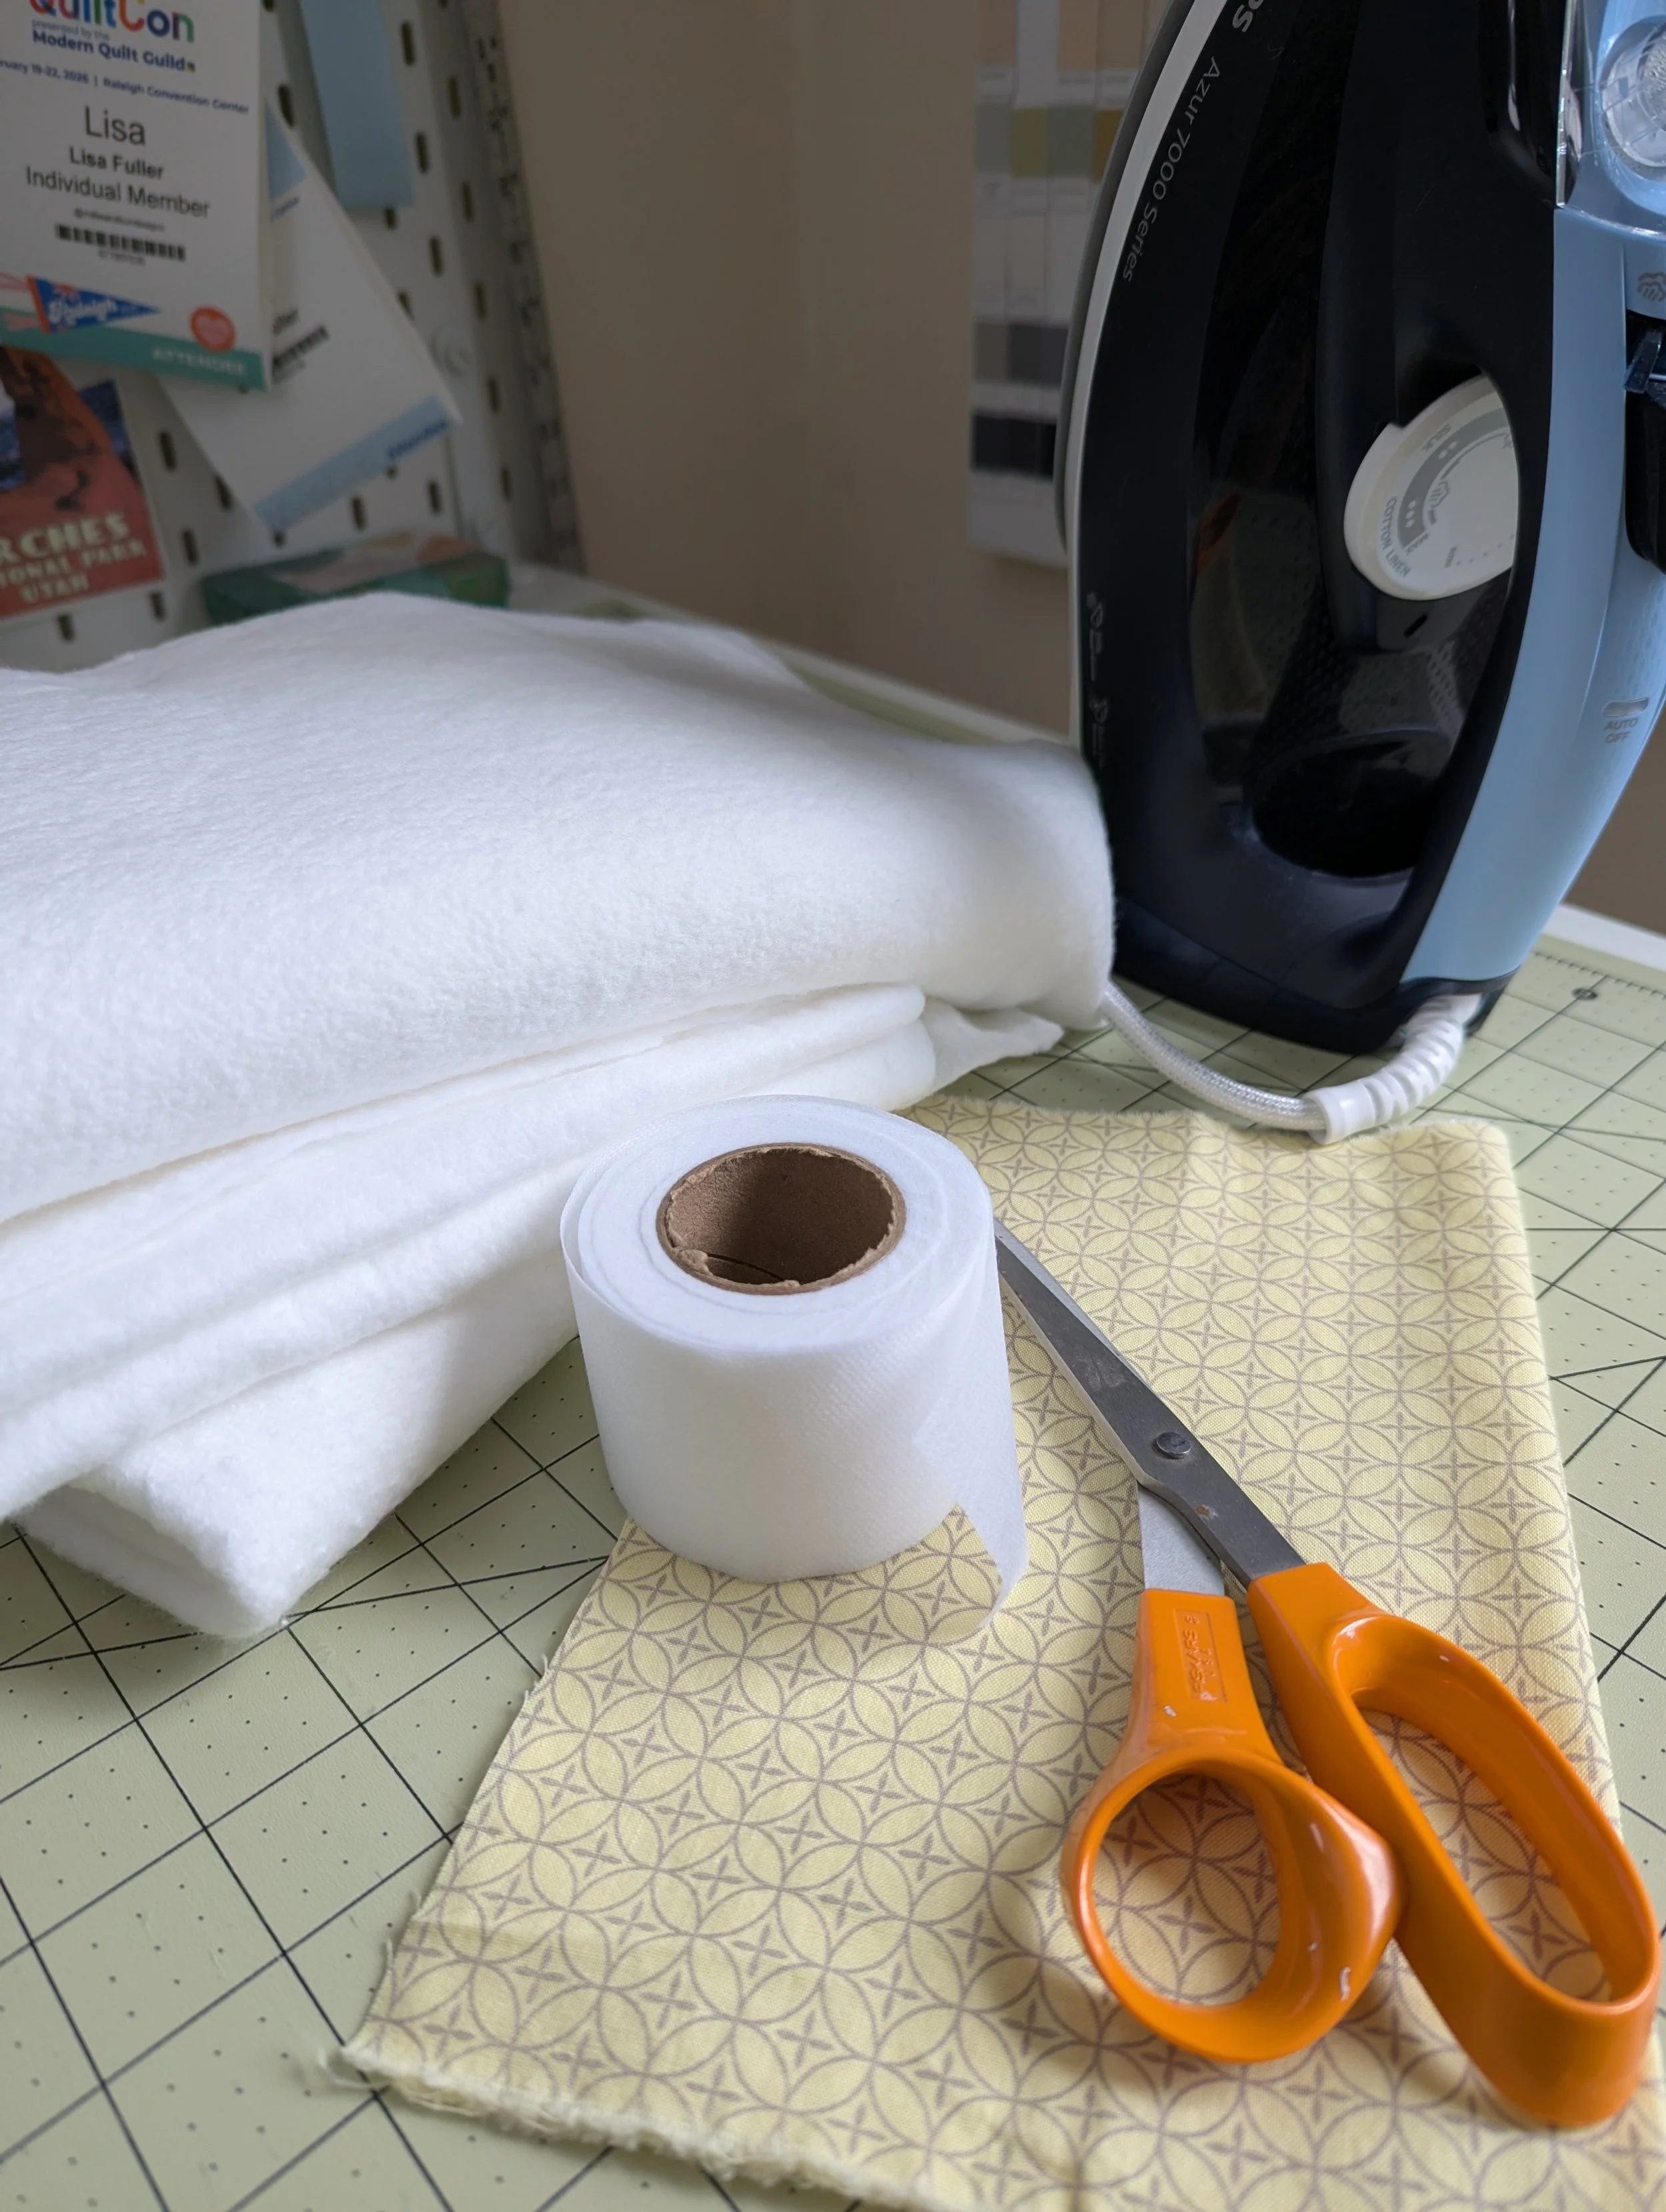
What you’ll need:
Batting scraps- enough to cover the size of your project, with about 3” overlapping each joined piece
Fusible tape (I’m using Marti’s Choice 2” wide)
Rotary cutter
Cutting Mat
Fabric scissors
Scrap piece of fabric
Iron and ironing board
Prep and Cut Your Batting
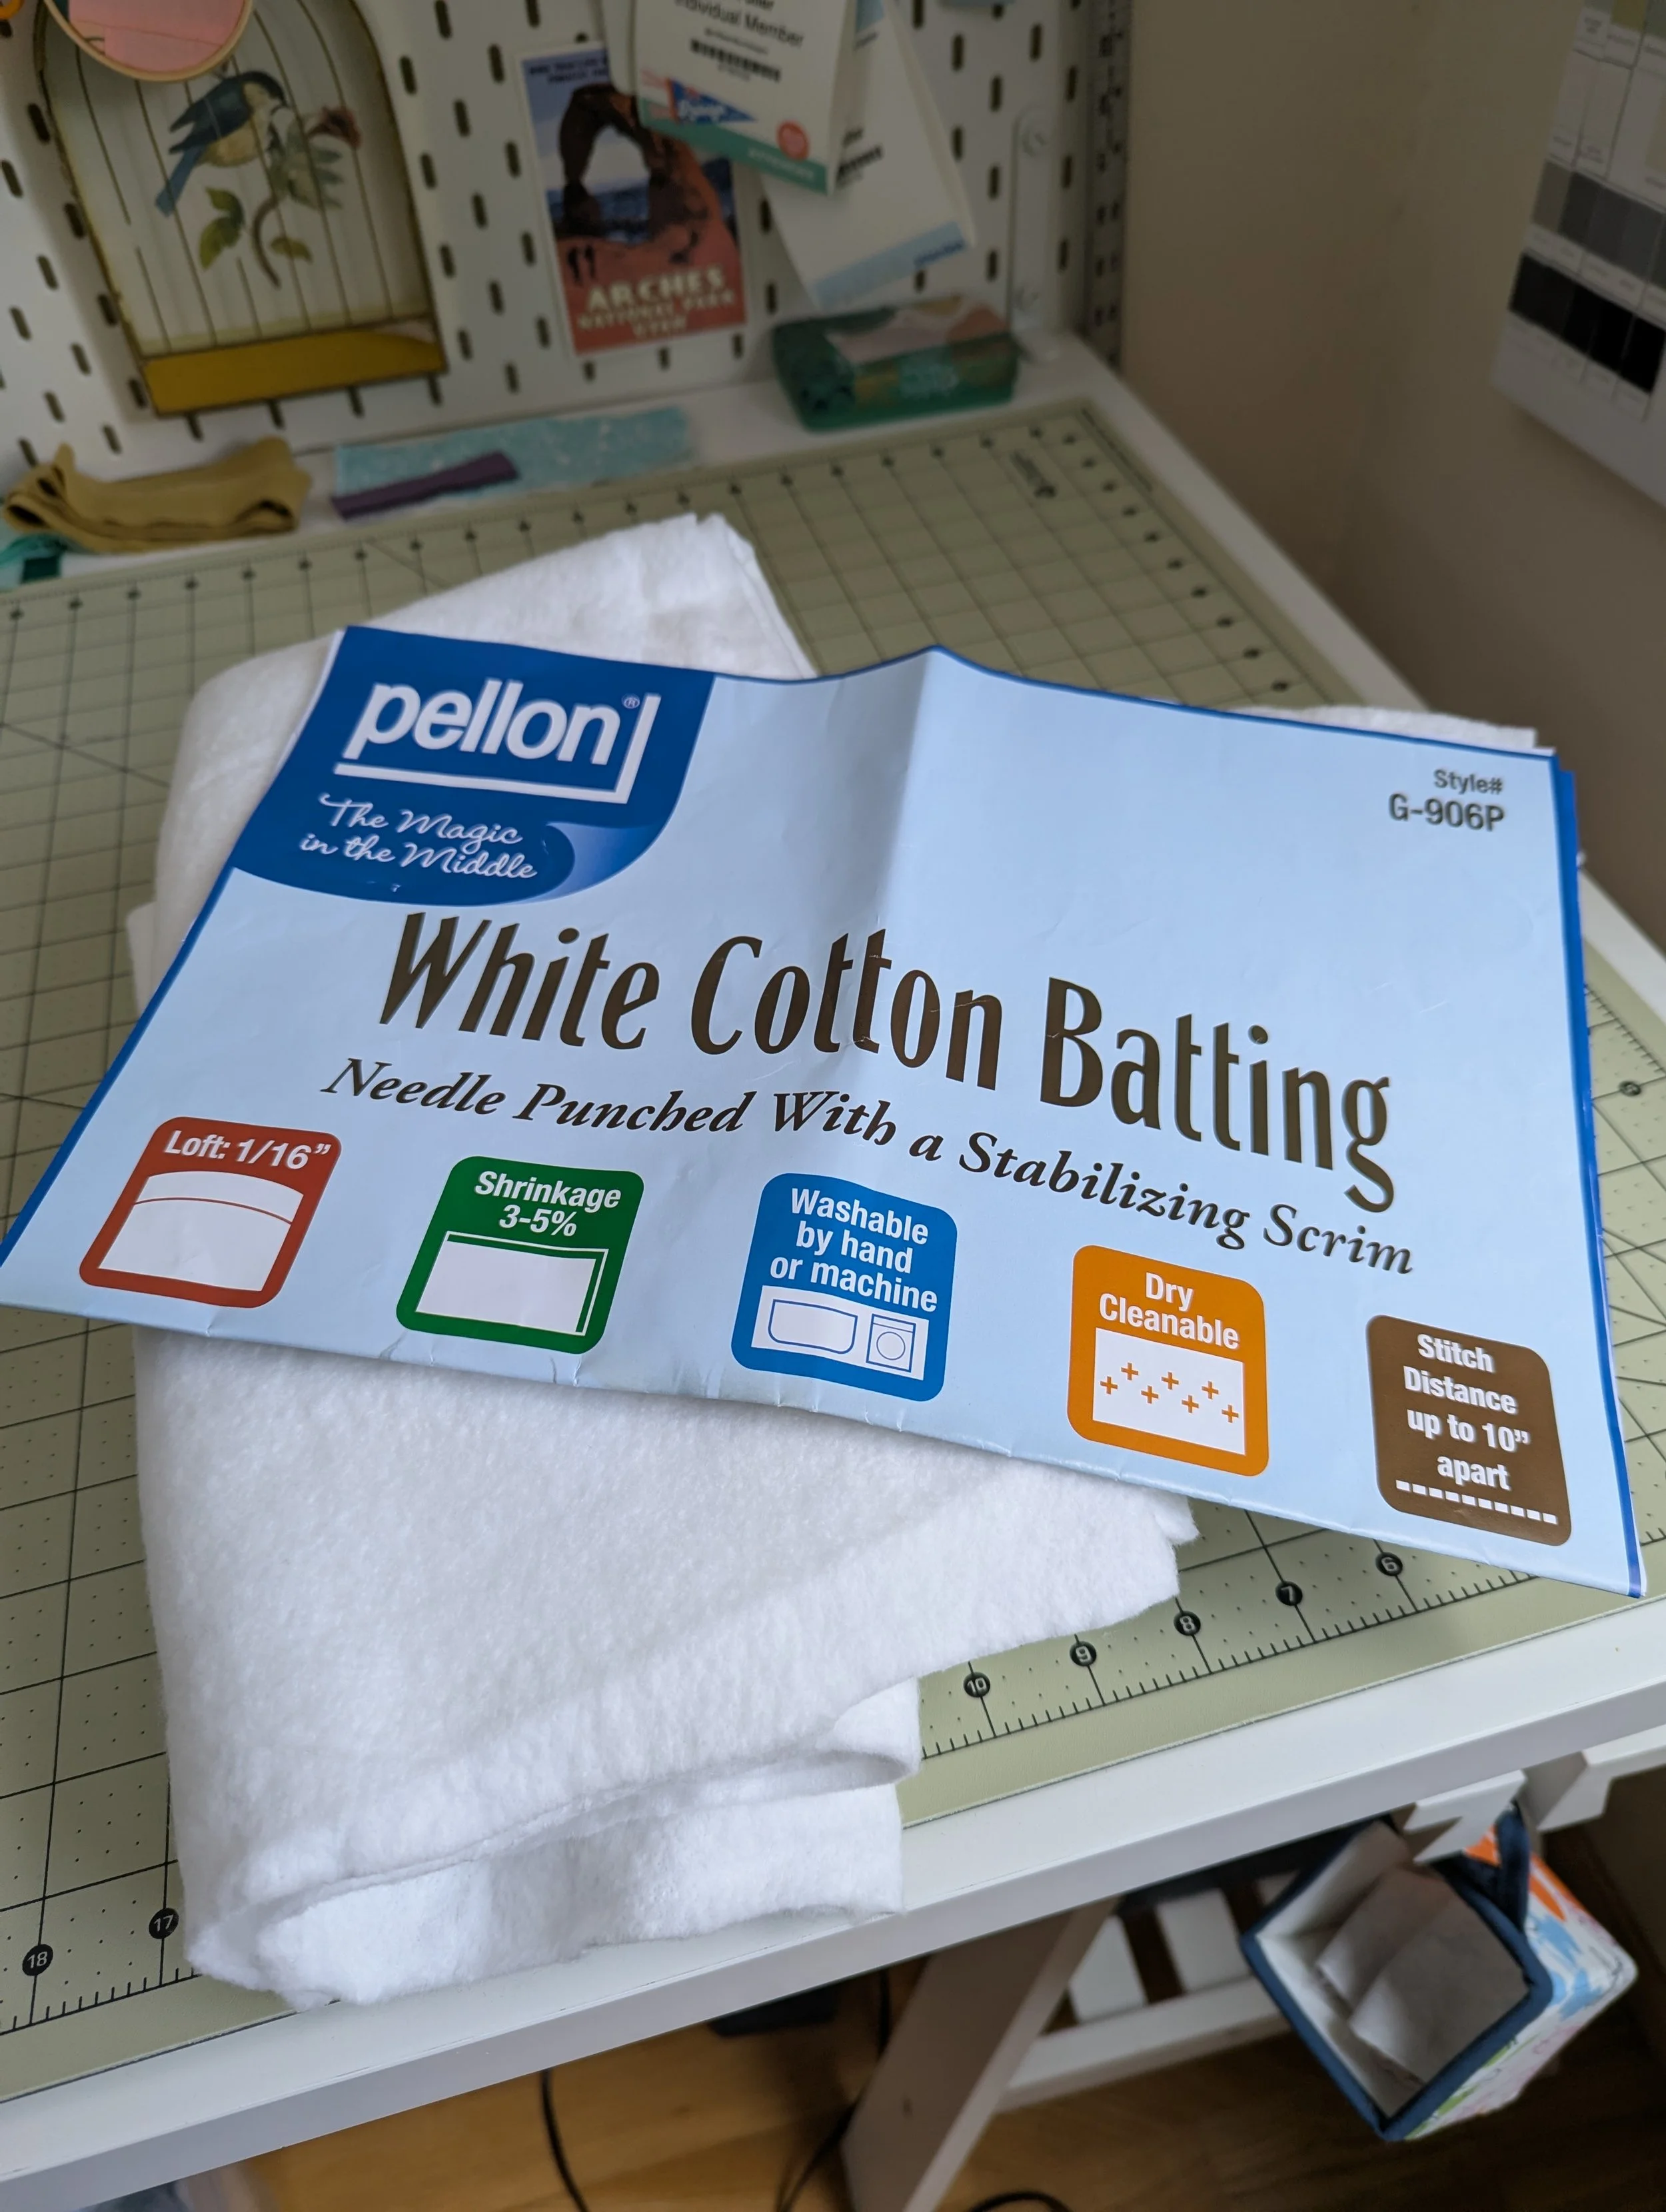
The first step is to identify what kind of batting you have. I keep my batting scraps in bags, with the label tucked into the bag so I know what it is. I would join the same type and color of batting together, although color could matter less if you are working with a dark colored quilt that you won’t see any batting variation through.
My batting scraps I’m working with
Next, identify the size batting that you need for your project. I knew I wanted to keep the number of joins minimal for a large project like this, so I was hoping to fuse only two pieces of batting together. Keep in mind that you need about 3” of overlap for your joins, so that will have to factor into your dimensions.
My throw that I’m working on needs batting that is 63.5” x 74.5”. I found two long skinny pieces that were over 74.5” long and each around 36” wide- perfect! With one long join in the middle, and accounting for the approximate 3” of overlap, my two pieces were plenty big enough!
I cut the length of both pieces to about 75”, then laid them out on the floor overlapping about 3” in the center. My width will be slightly larger than I need it to be, but that’s okay- I can trim later if needed. Smooth out your batting as much as you can.
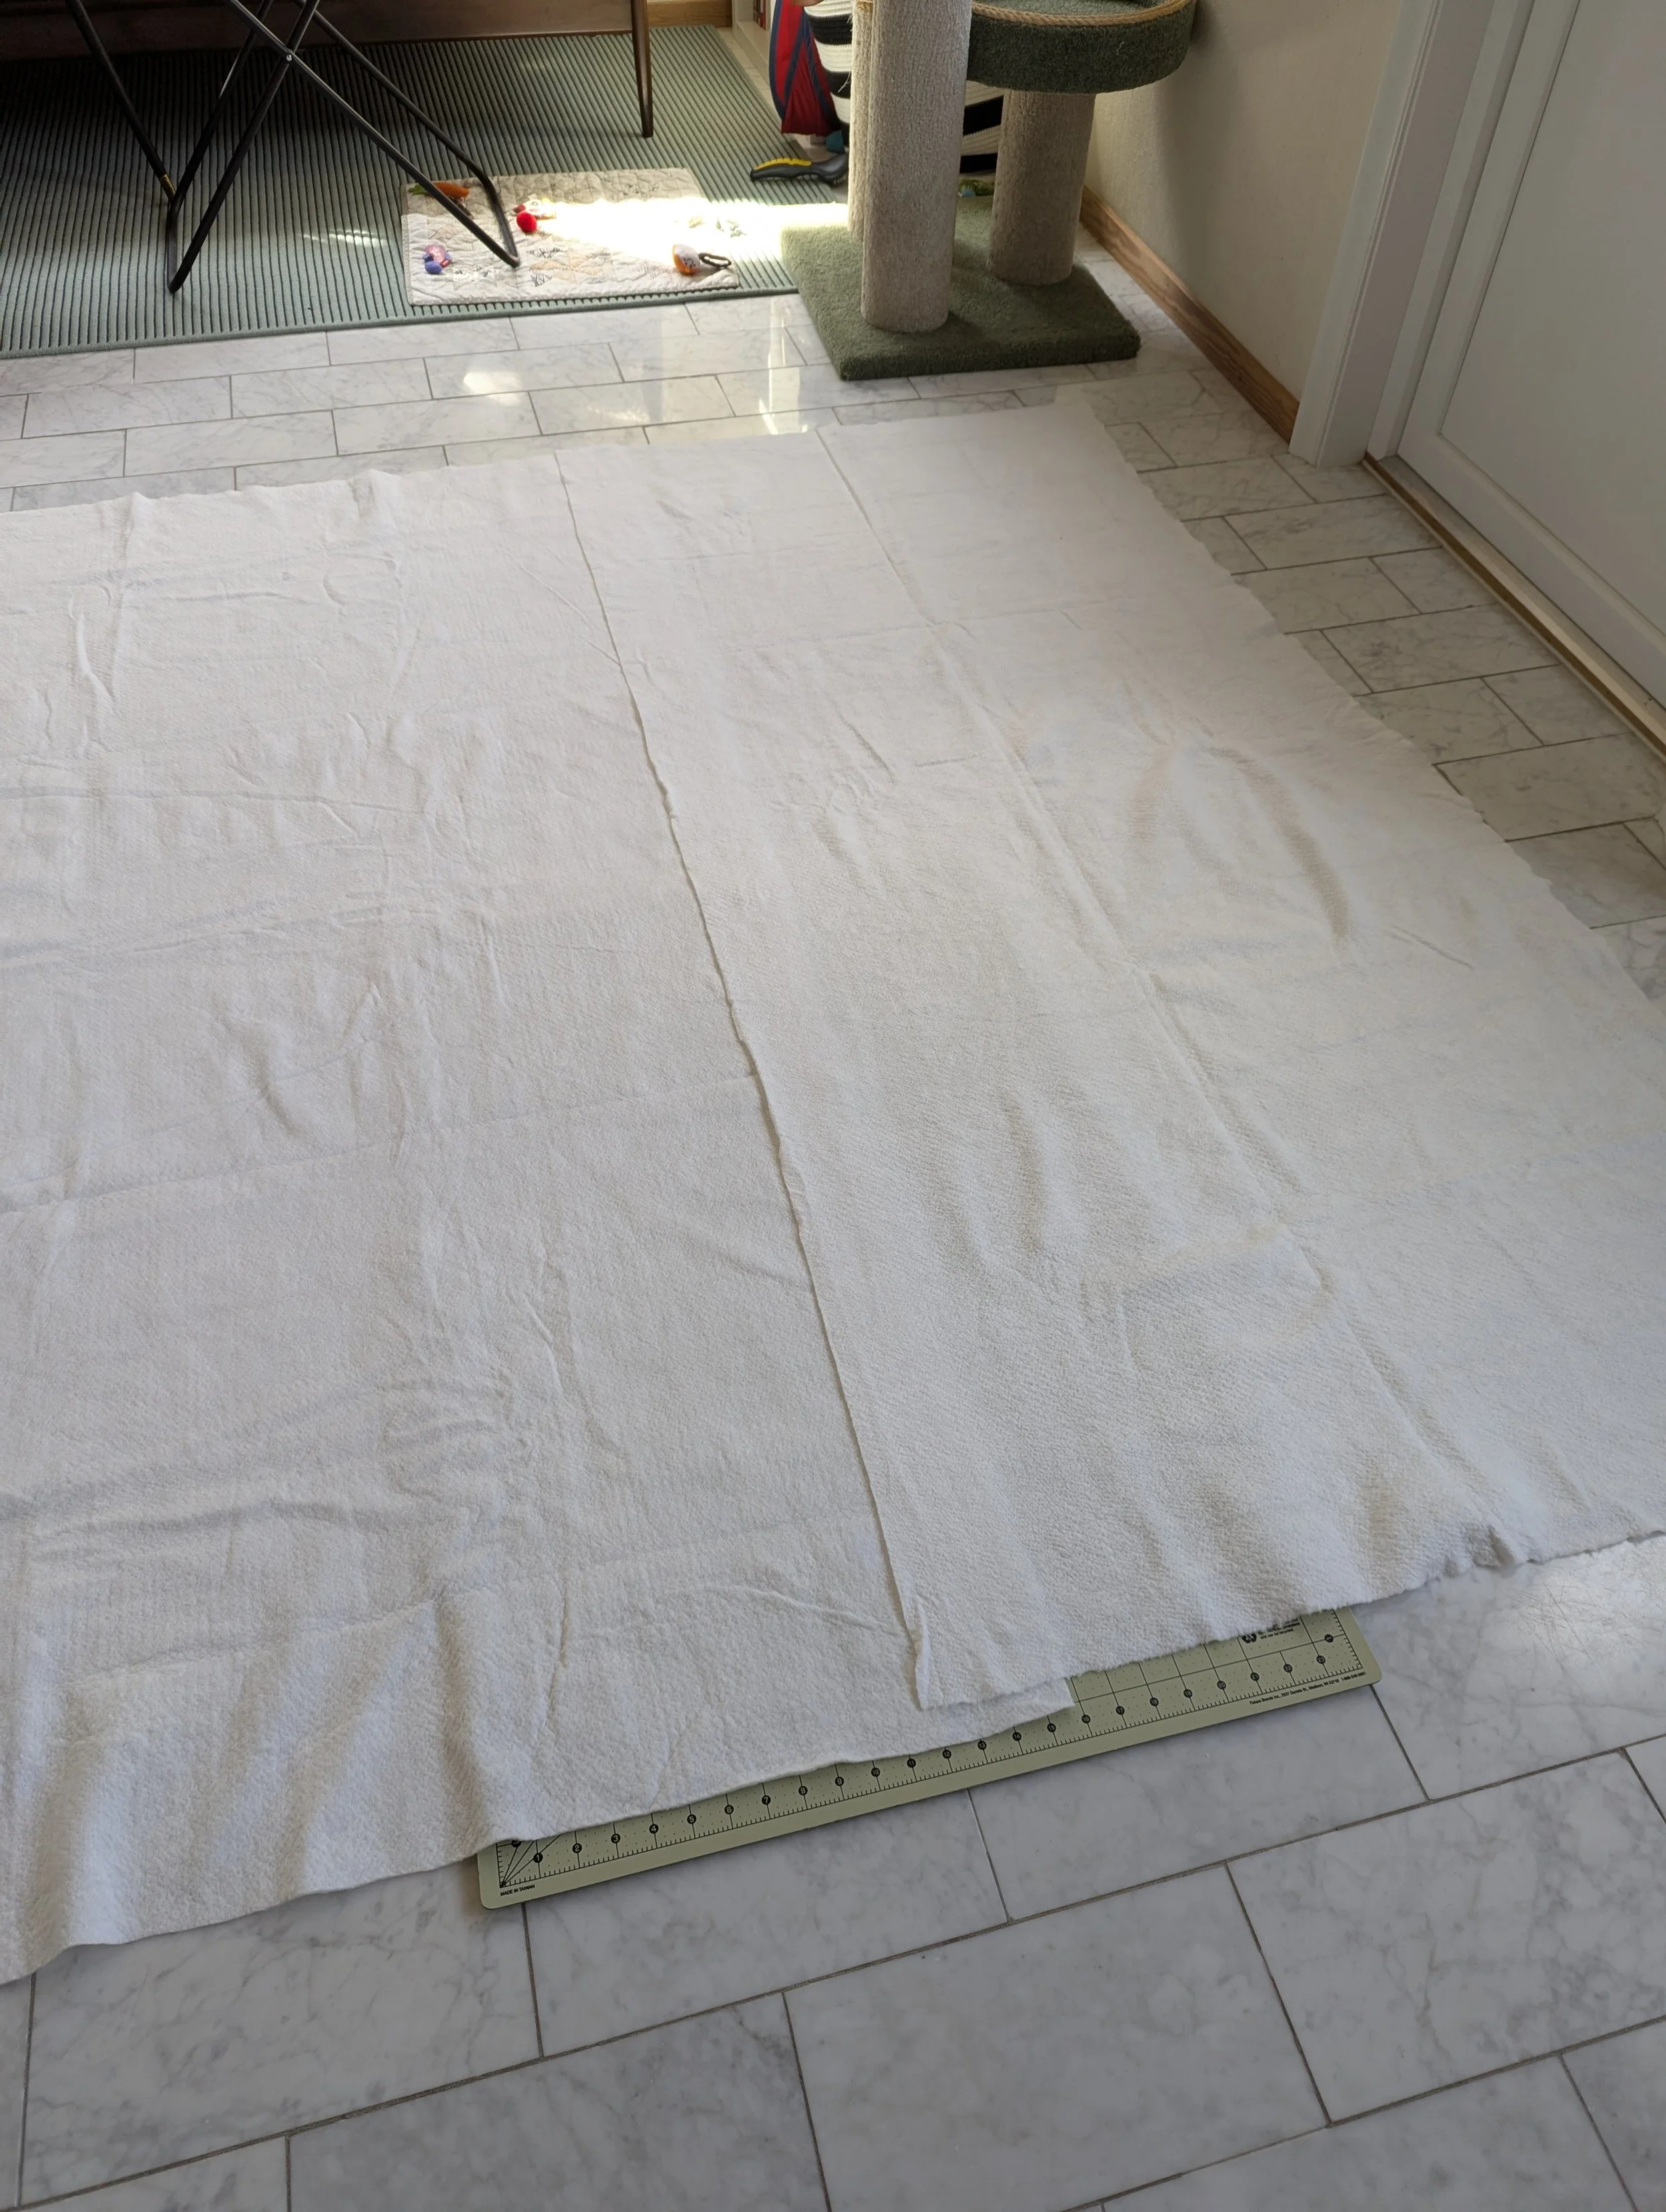
My two pieces of scrap batting, cut to length and overlapped in the middle
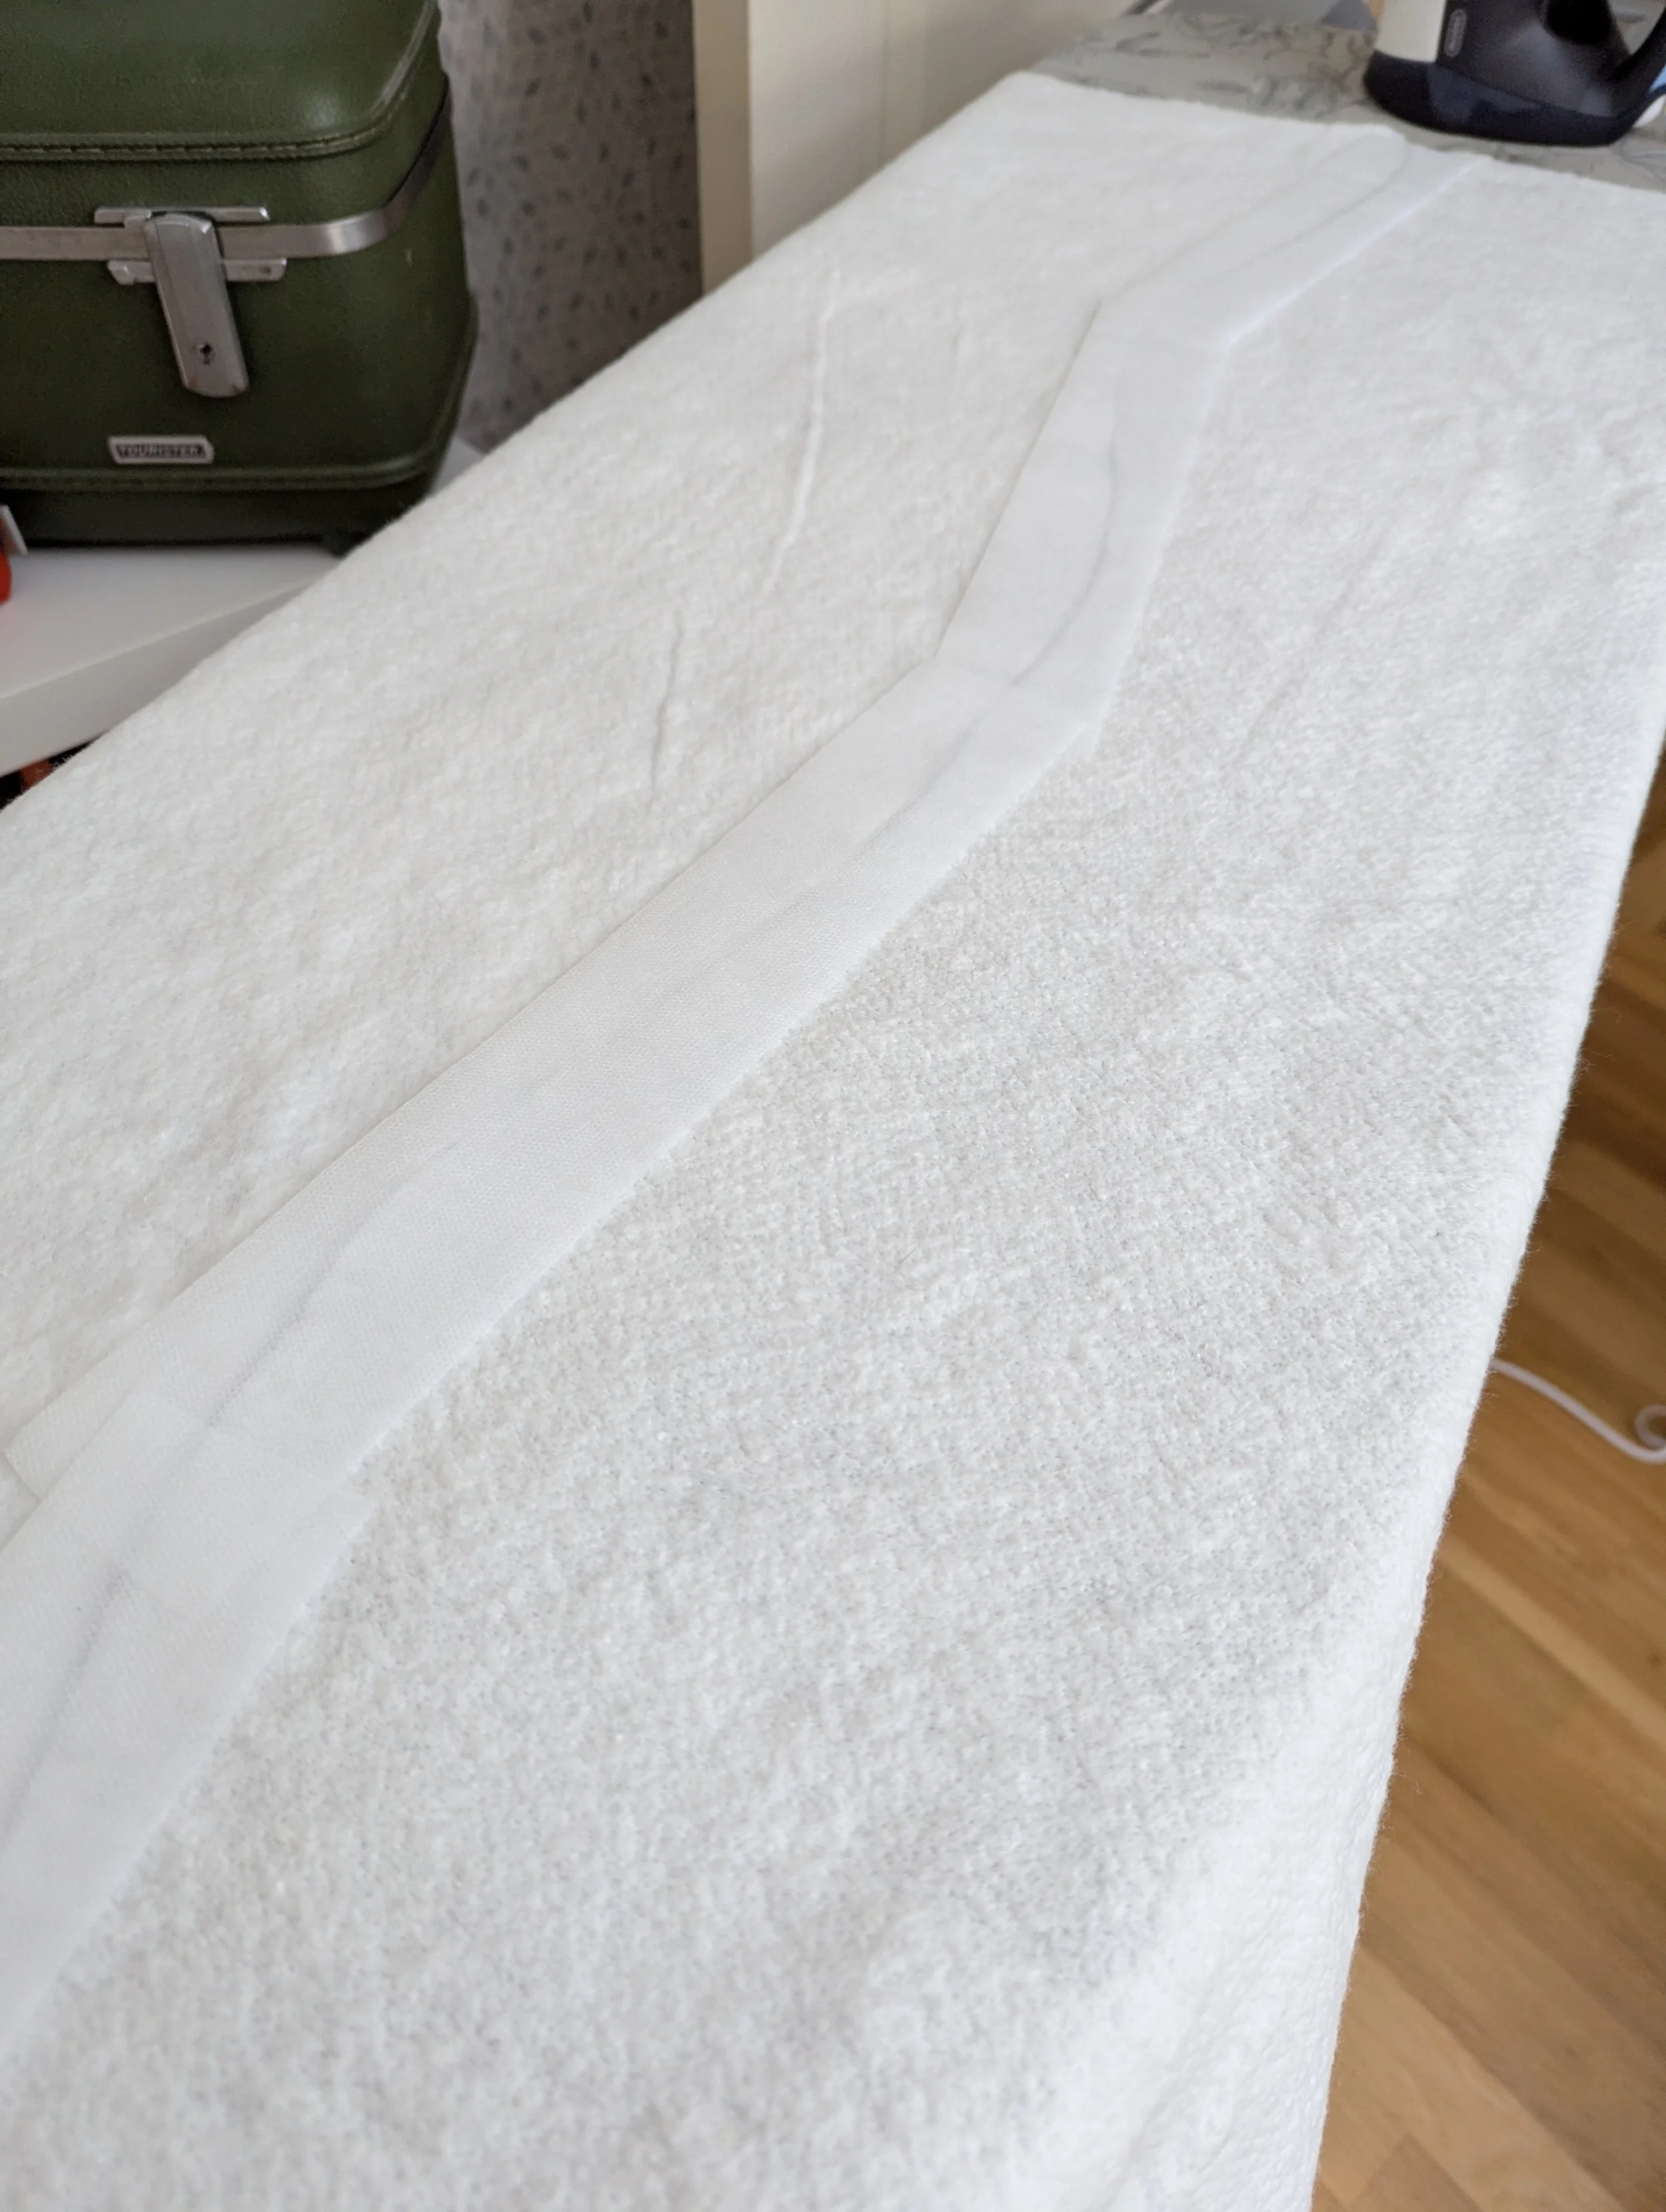
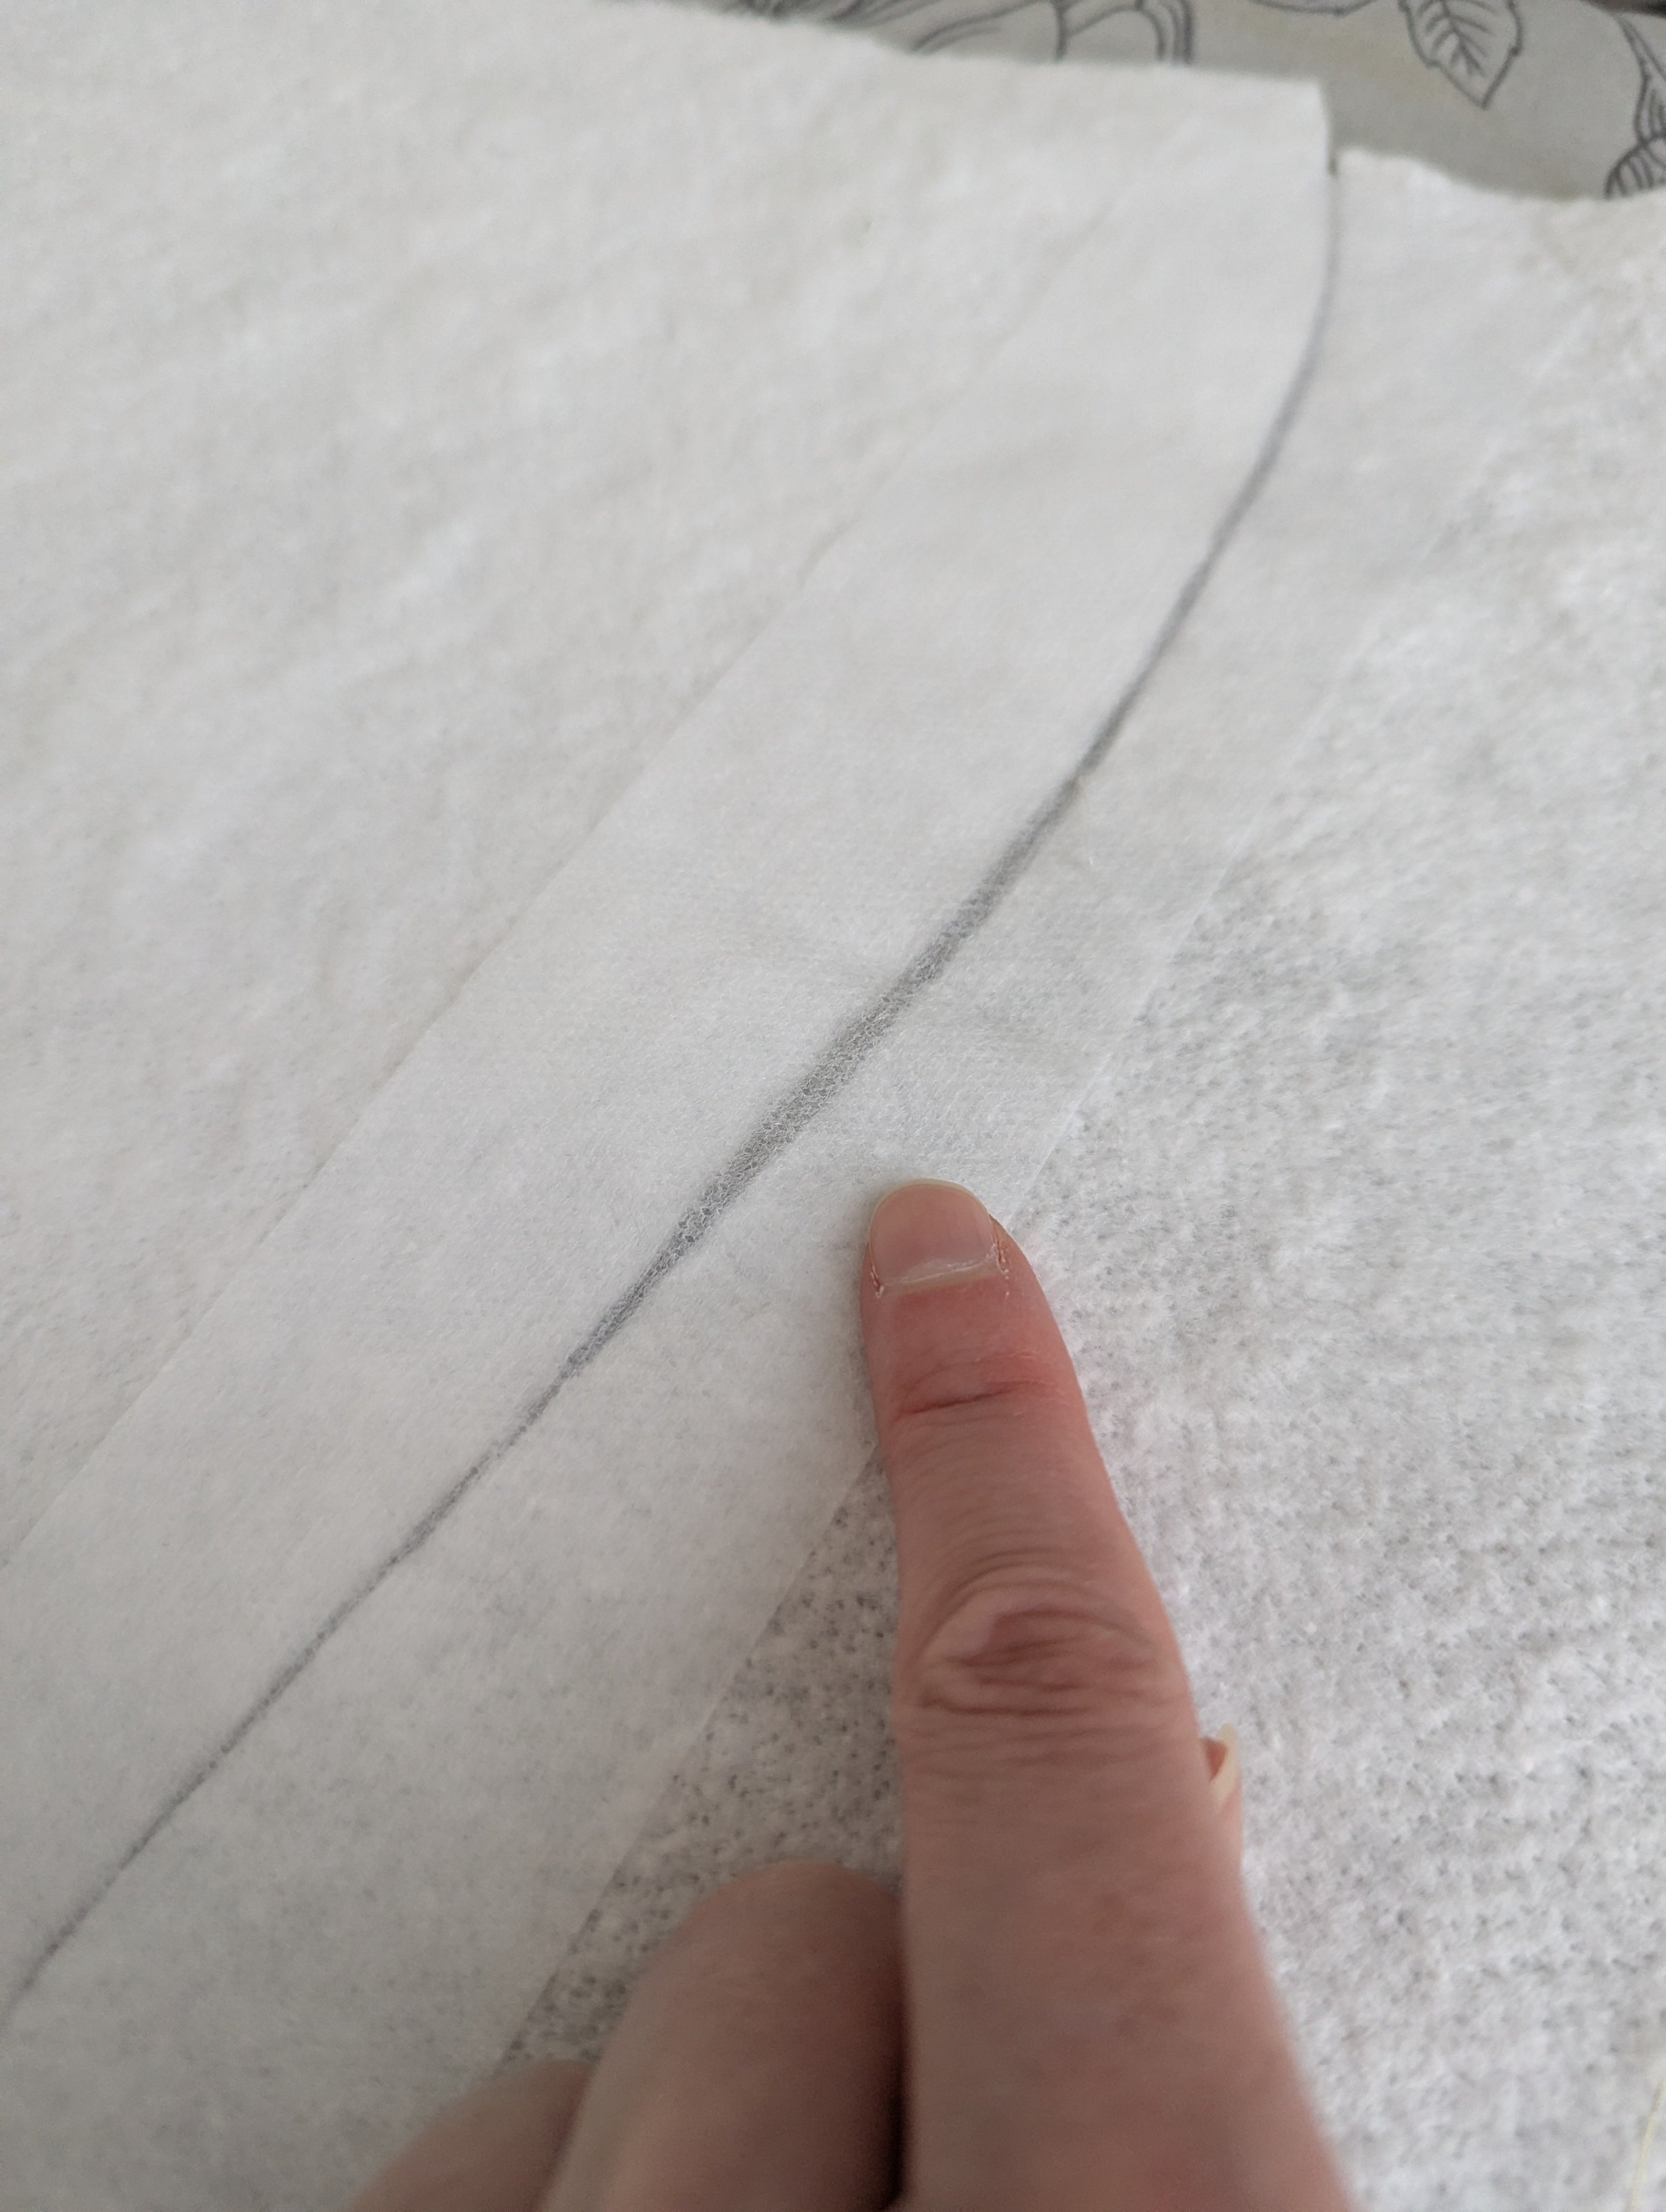
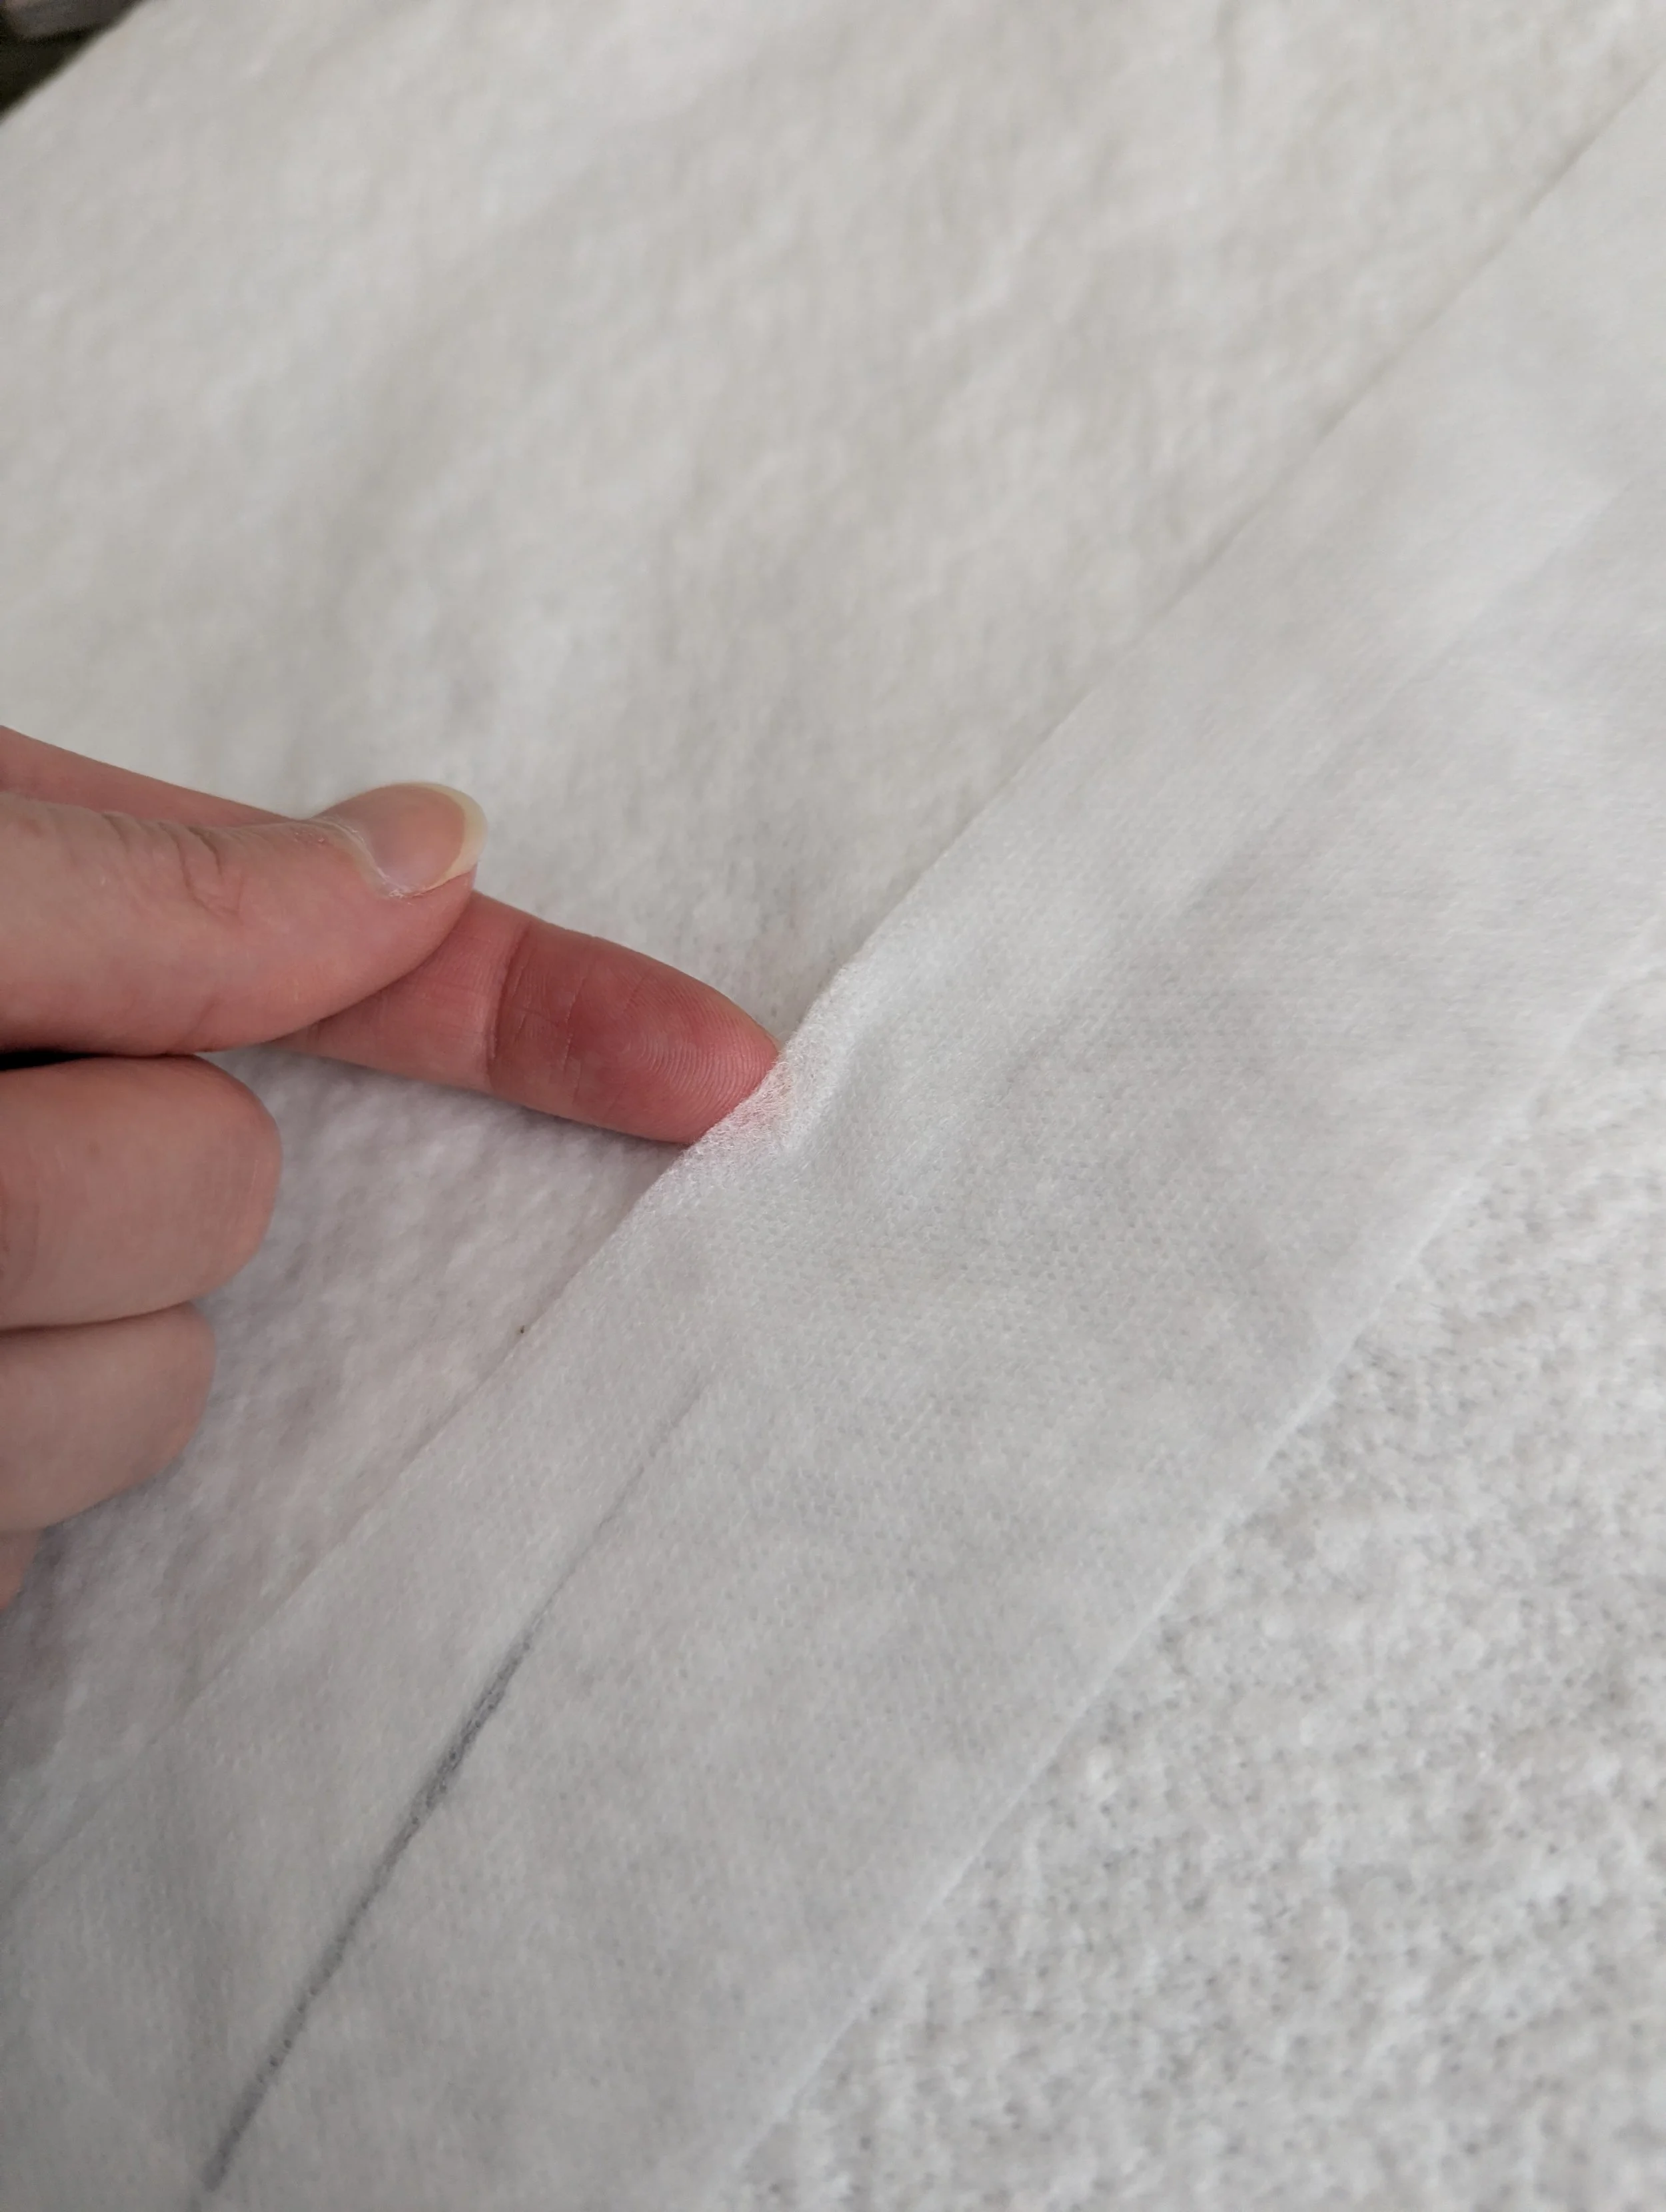
Next you’ll slide your cutting mat under the overlapped area, and with your rotary cutter make a long slightly curved cut through both layers of batting. The curves help you line up your seams. Work your way the length of your overlap, moving the cutting mat if needed. Remove the two scrap pieces (these are ones I wouldn’t save- I don’t think they are large enough to join to anything). At this point I would put a pin on the top of both pieces of batting before you take it to the iron so you know you are joining the correct ends together. Now it’s time to join!
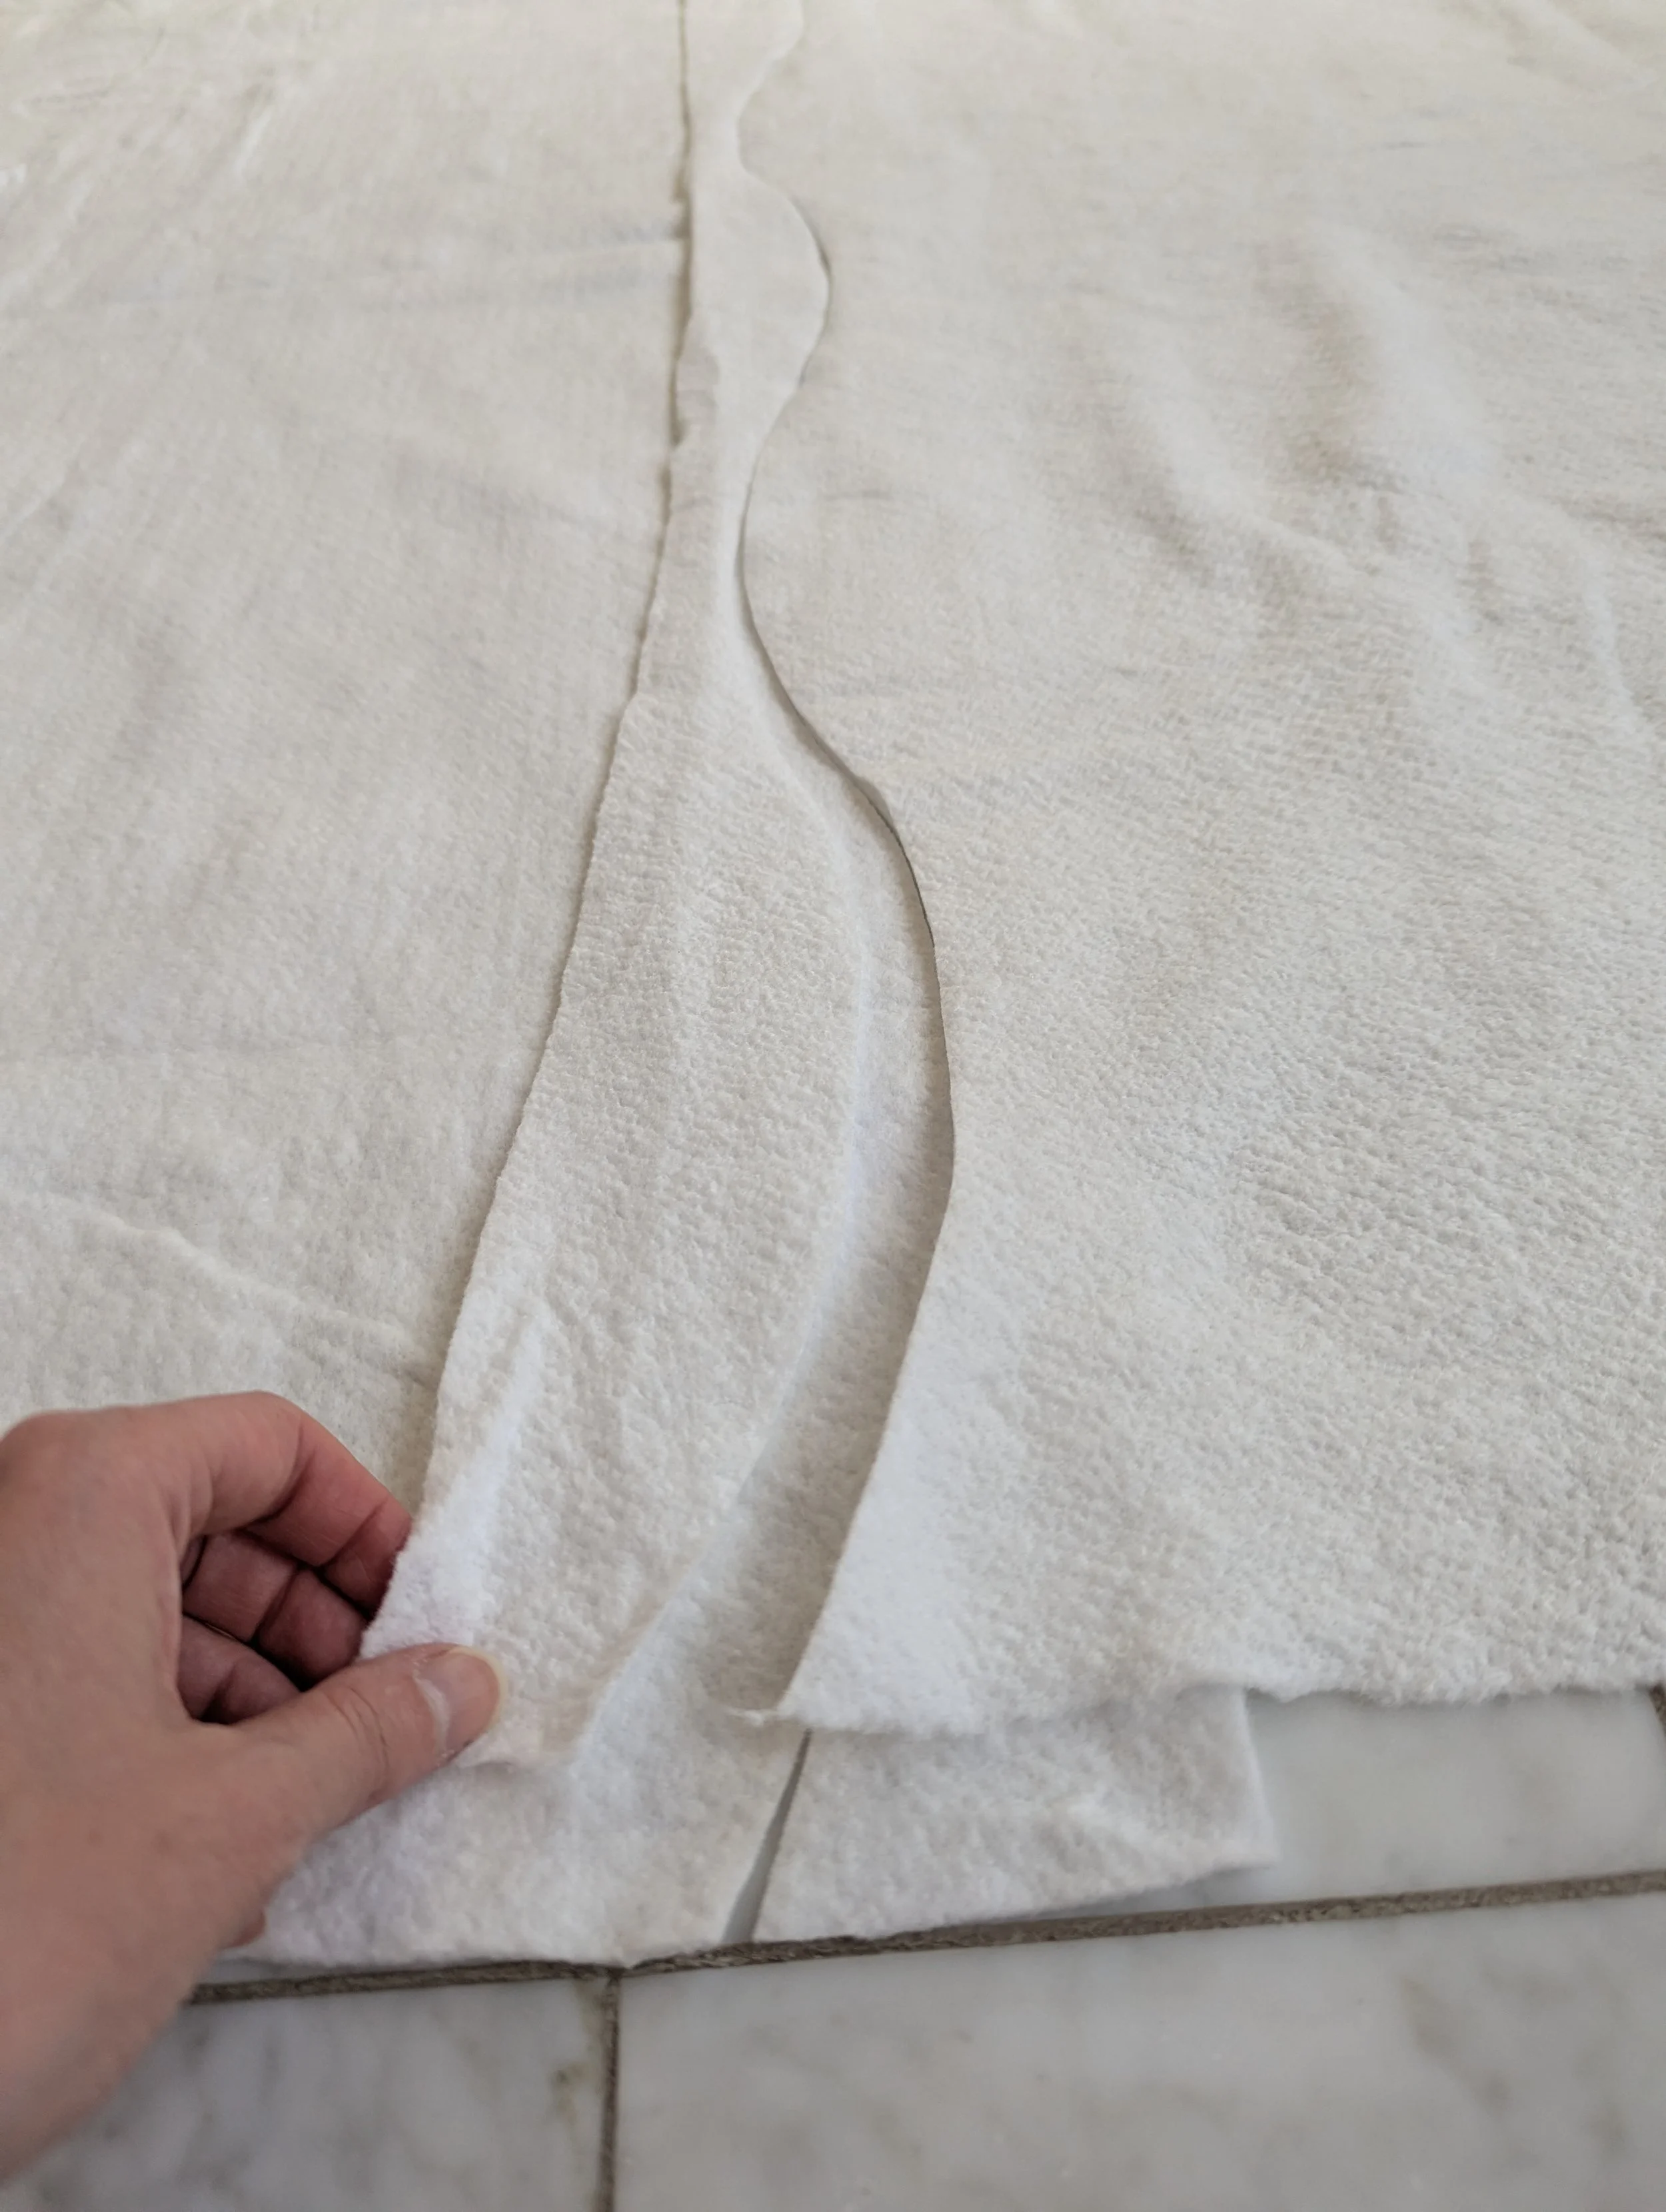
Remove the two smaller bits of batting- one on top (on the left) and one underneath (on the right)

A nice curved join!
Joining Your Pieces
Take your two pieces to your ironing board, with the curved cut in the center. My batting pieces were longer than my ironing board and I felt they needed a little support to help reduce drag- grab something to prop the batting up if needed!
Supporting the length of the batting with a stool so it doesn’t drag as much off the end of my ironing board
Butt your seams together as best you can, then start laying short strips (about 9” or 10” long) of the fuse tape over the curved seam, overlapping the tape as you work down the seam line.
Line up your curved lines and start laying down your fusible tape
The tape has a smooth side and a bubbly side- make sure the bubbly side is down, facing the batting (that’s what will fuse the pieces together!)
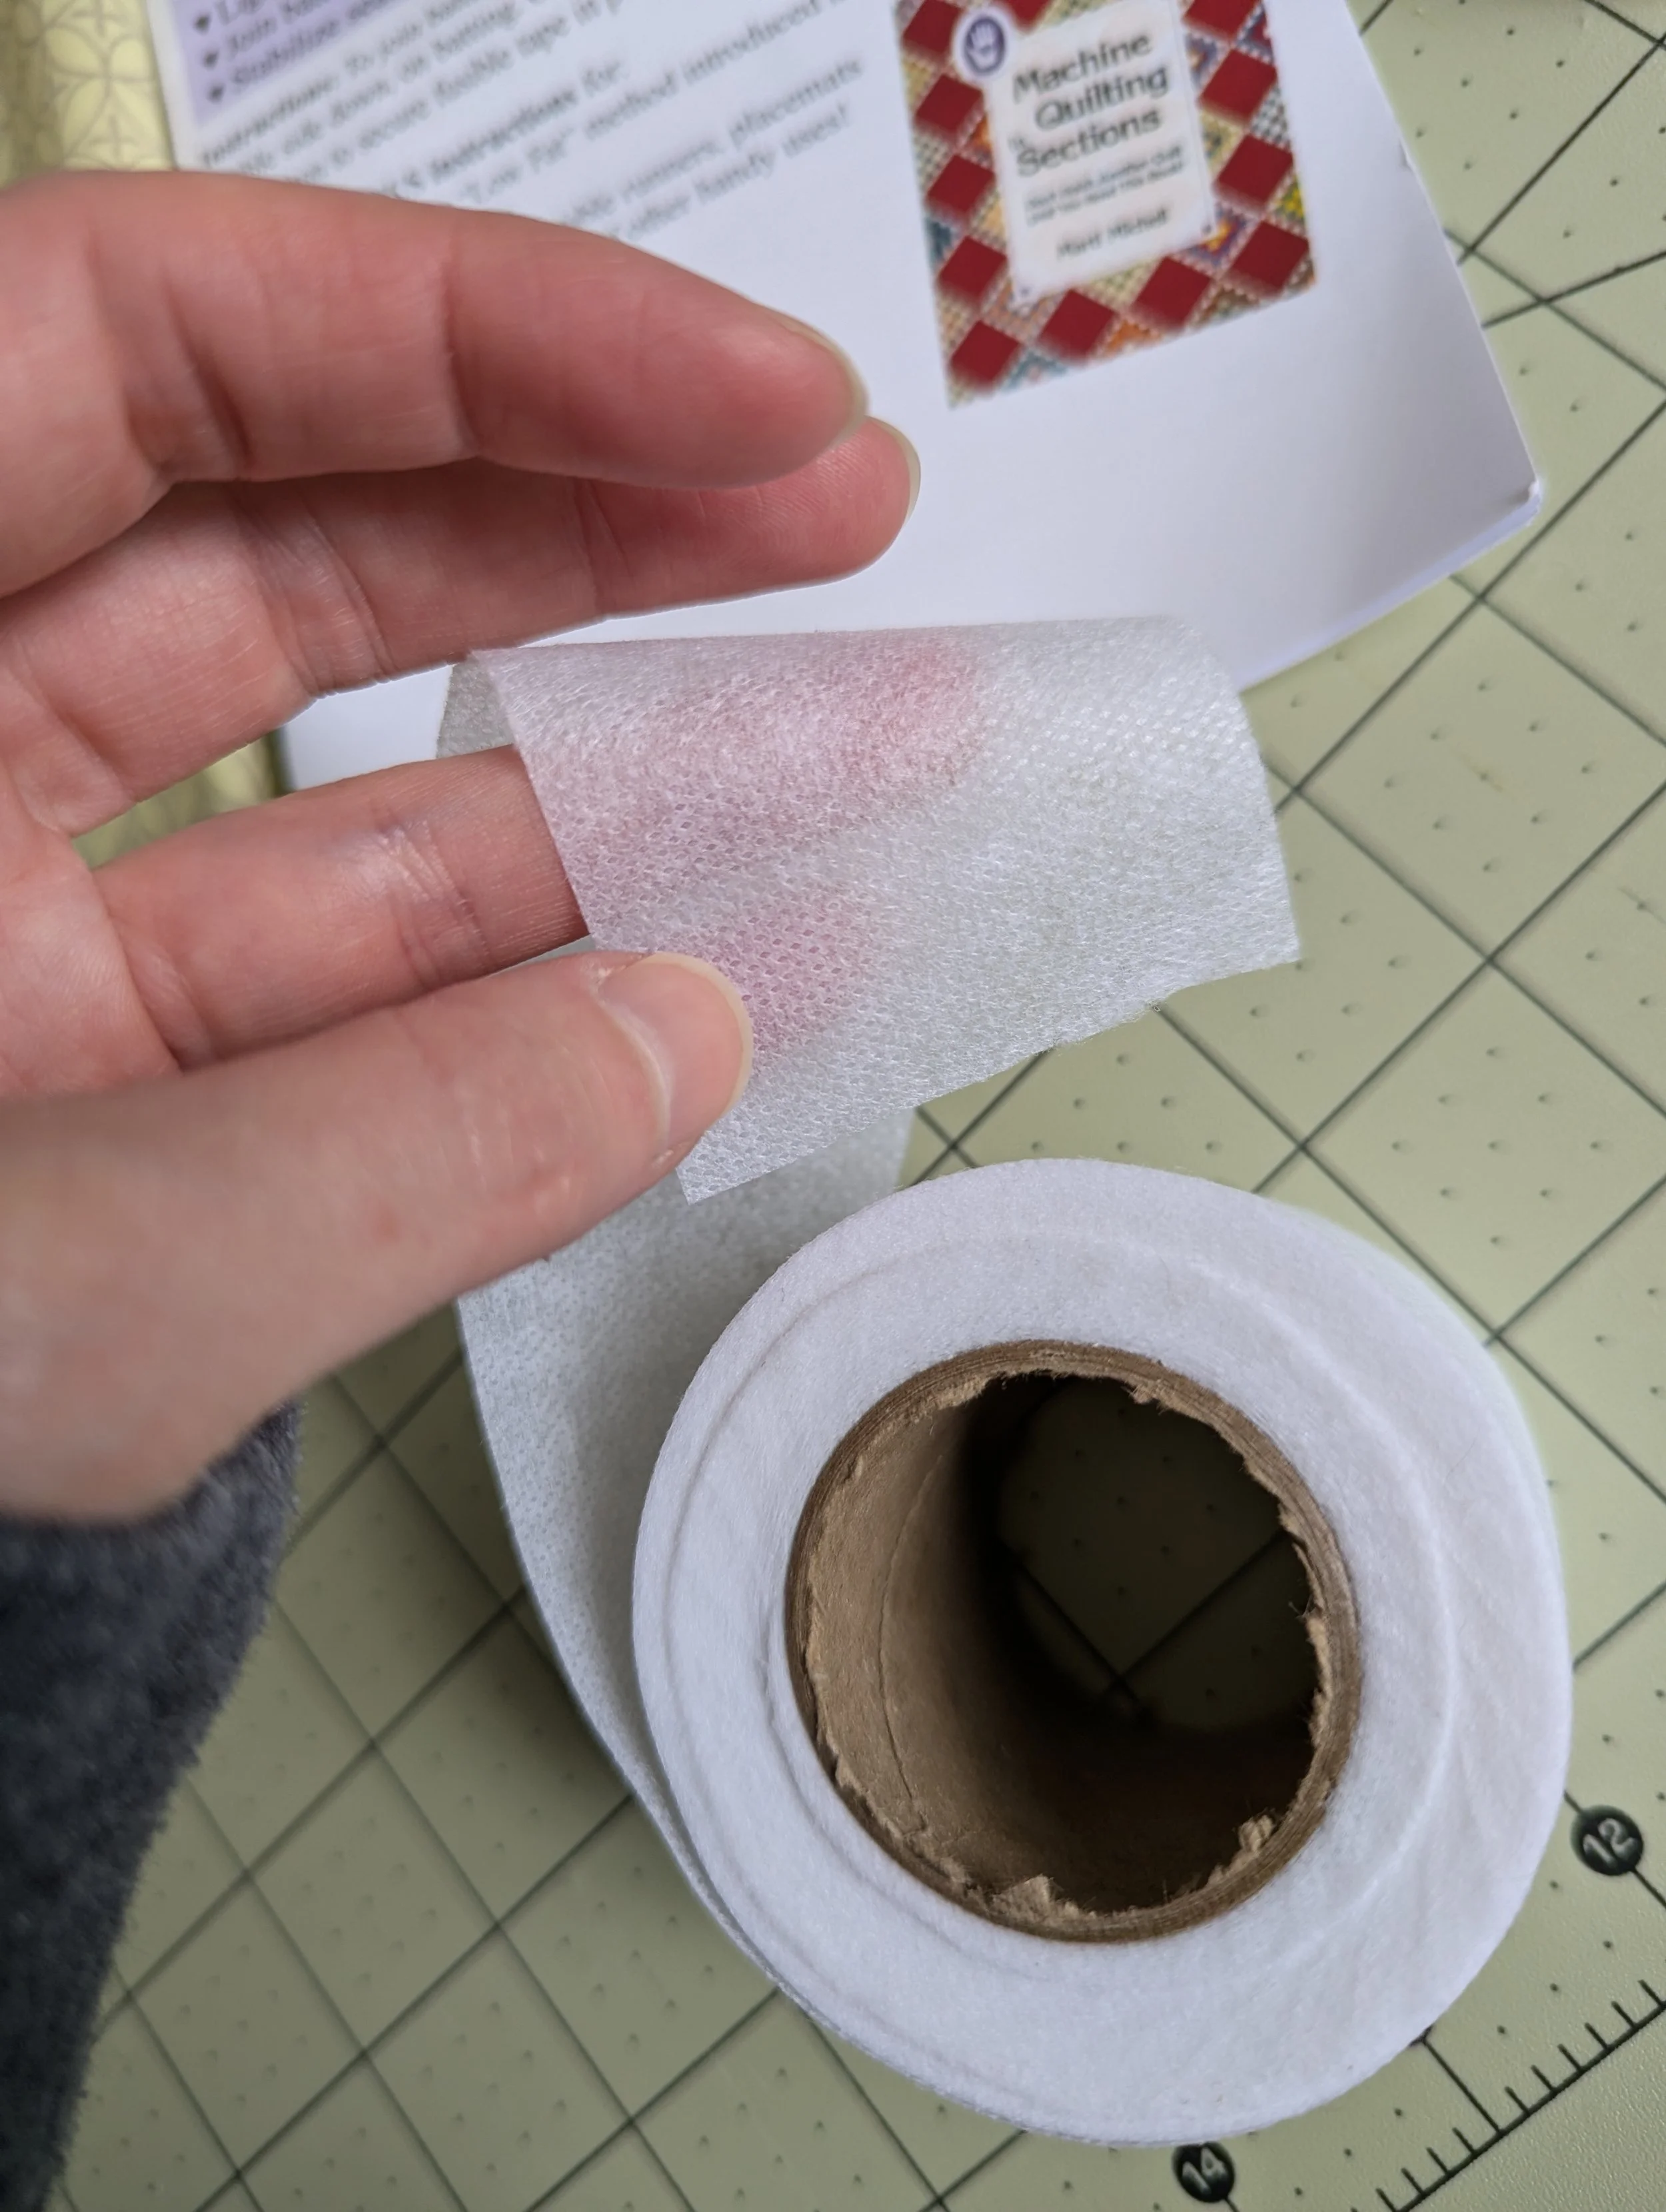
The tape has a smooth side and a bubbly side- make sure the bubble side is facing the batting when ironing
Using a crappy piece of fabric, cover the taped seam where you’ll be ironing and press with an iron on the cotton setting with steam. Hold for about 5-10 seconds, and repeat down the length of your seam.
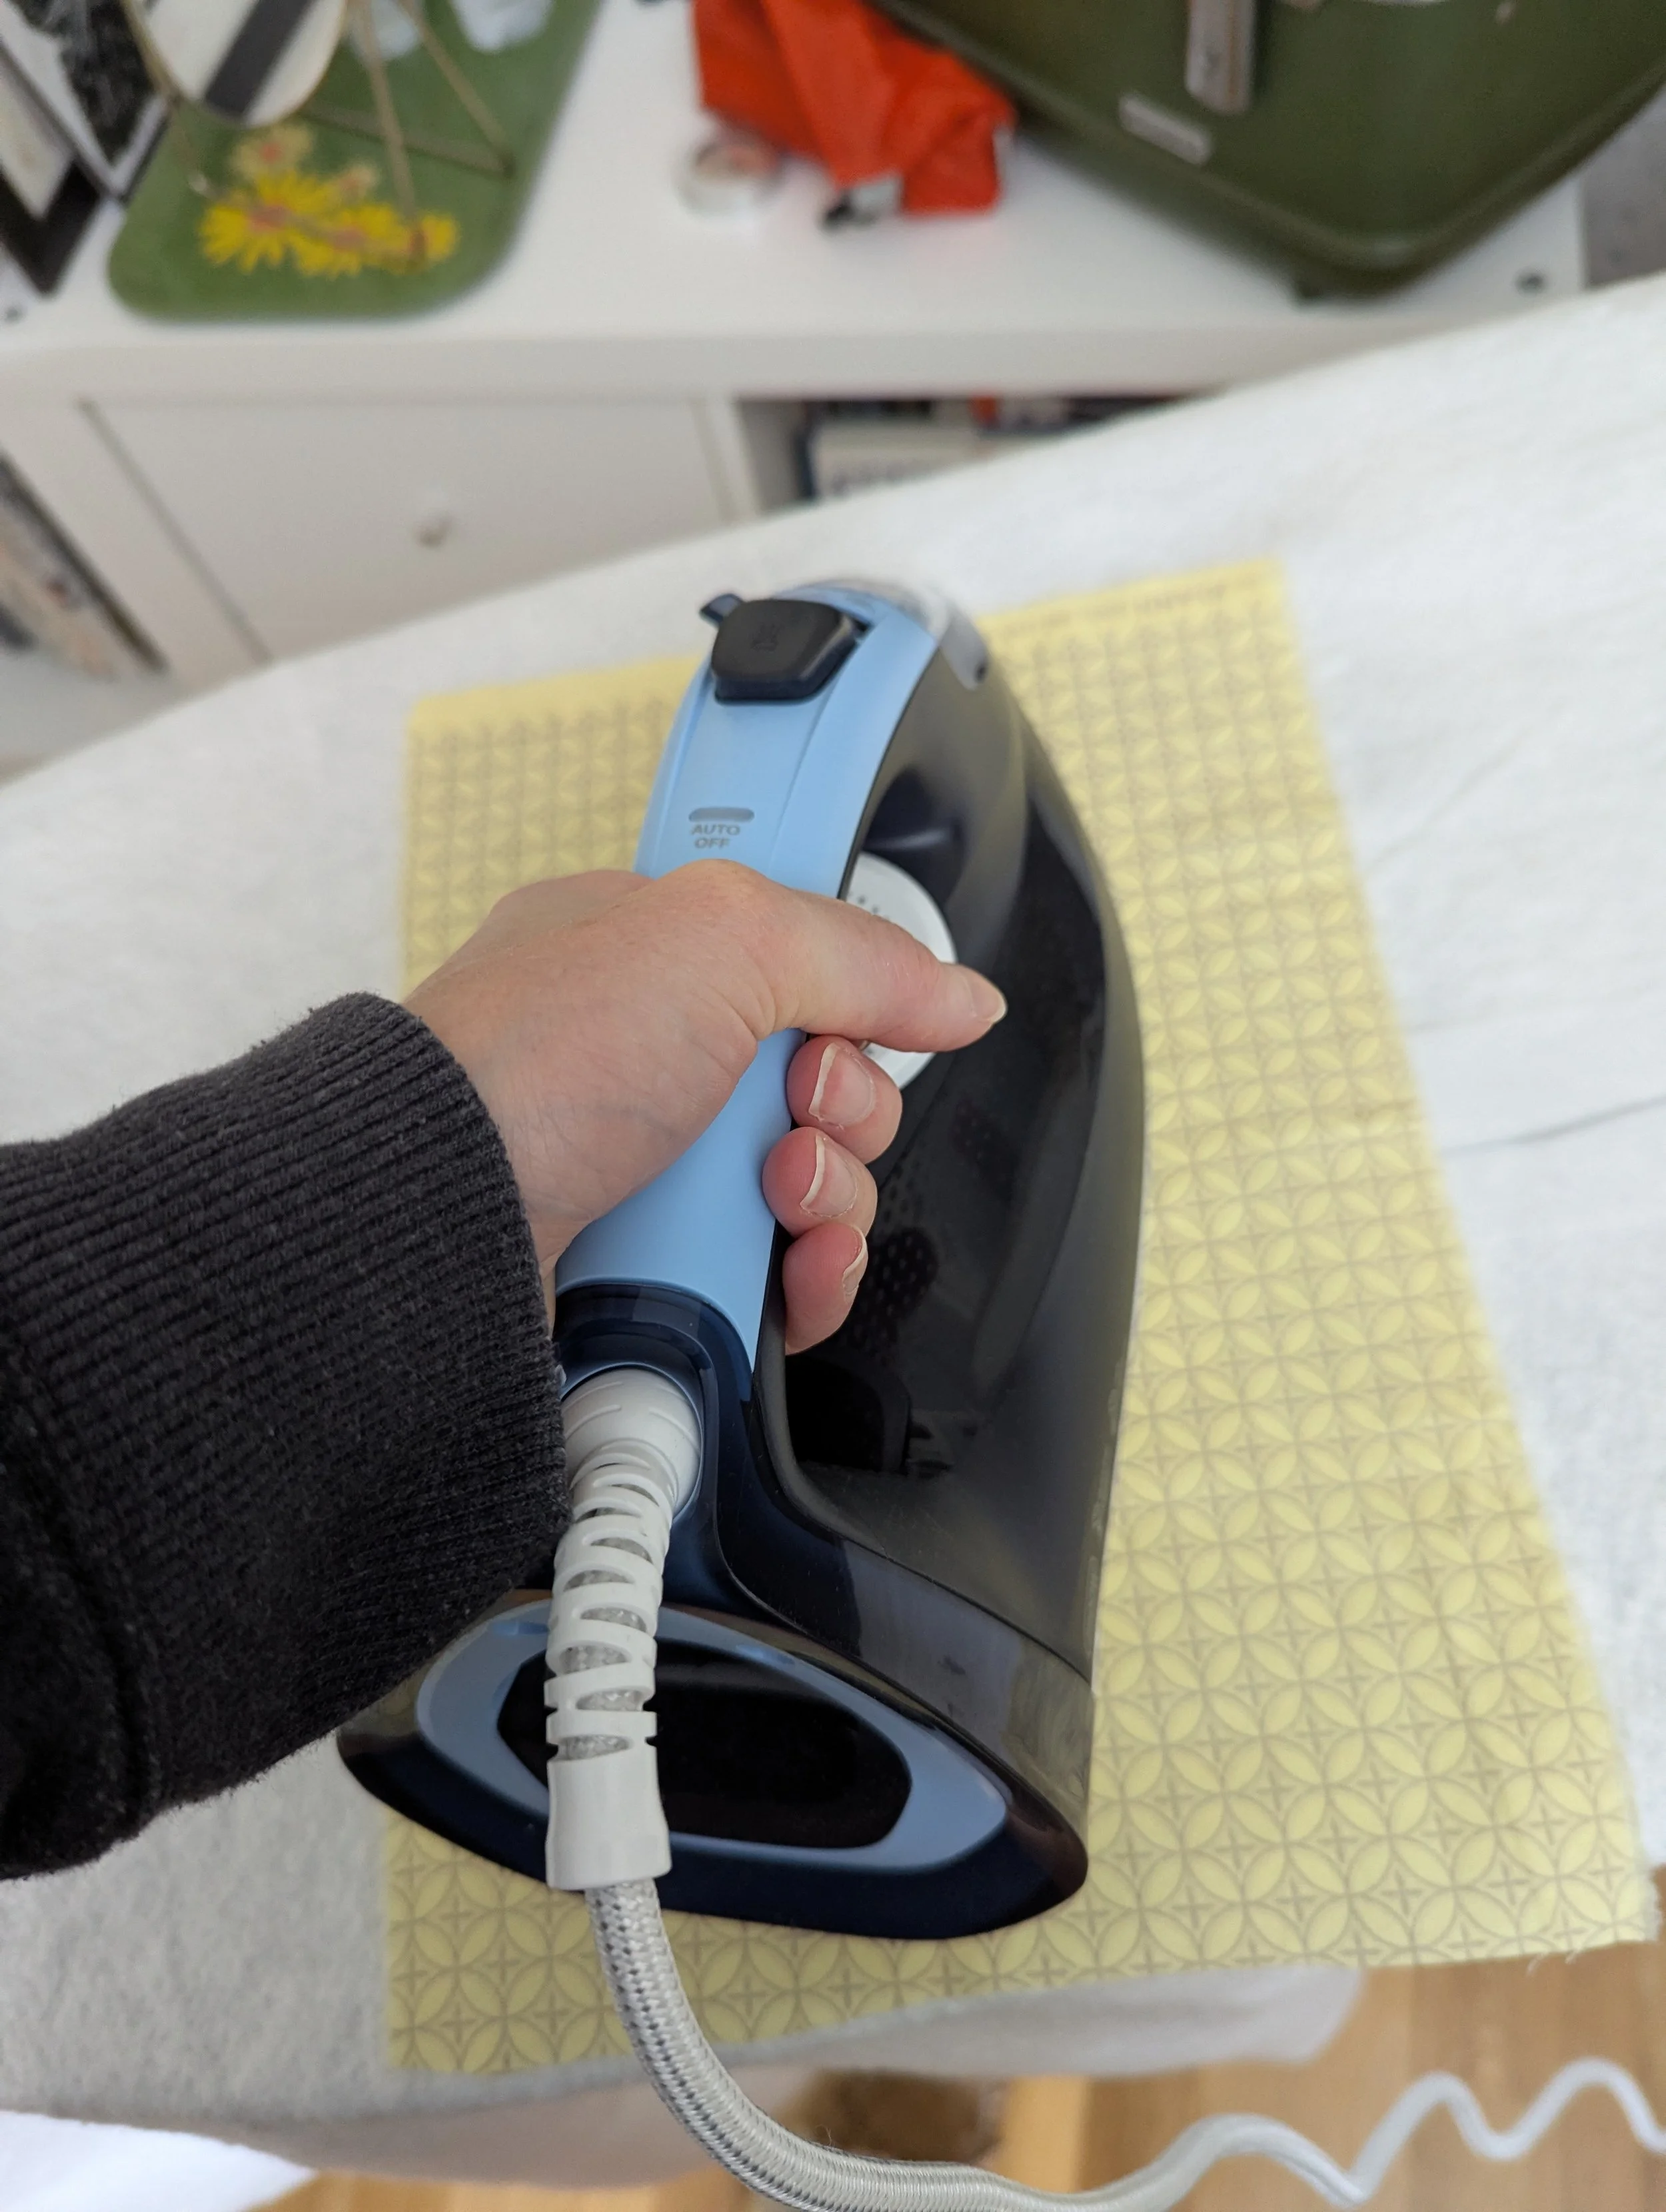
Use a piece of fabric you don’t care about over your tape when you are pressing
Things to Keep In Mind
Make sure you use a piece of crappy fabric bigger than your iron. The last thing you want is to accidentally put the tape with the bubble side up and fuse your iron. The fabric is there to help prevent any mishaps.
Mind the gap! I developed a few gaps in my seams- the batting may have been dragged down a bit when it was on my ironing board. Just before you press, make sure your curves align, and it may help to hold the batting in place while pressing.
Check the tape once you’ve pressed and it’s cooled. If the tape pulls up at all, just grab your crappy fabric and re-iron that area.
You can fuse the seam on both sides of the batting, if you wish. I’m going to try just one side and see how it comes out!
That’s it! It’s pretty painless, and doesn’t add too much extra time to the quilting process. I really like being able to use the random pieces that I already have on hand.
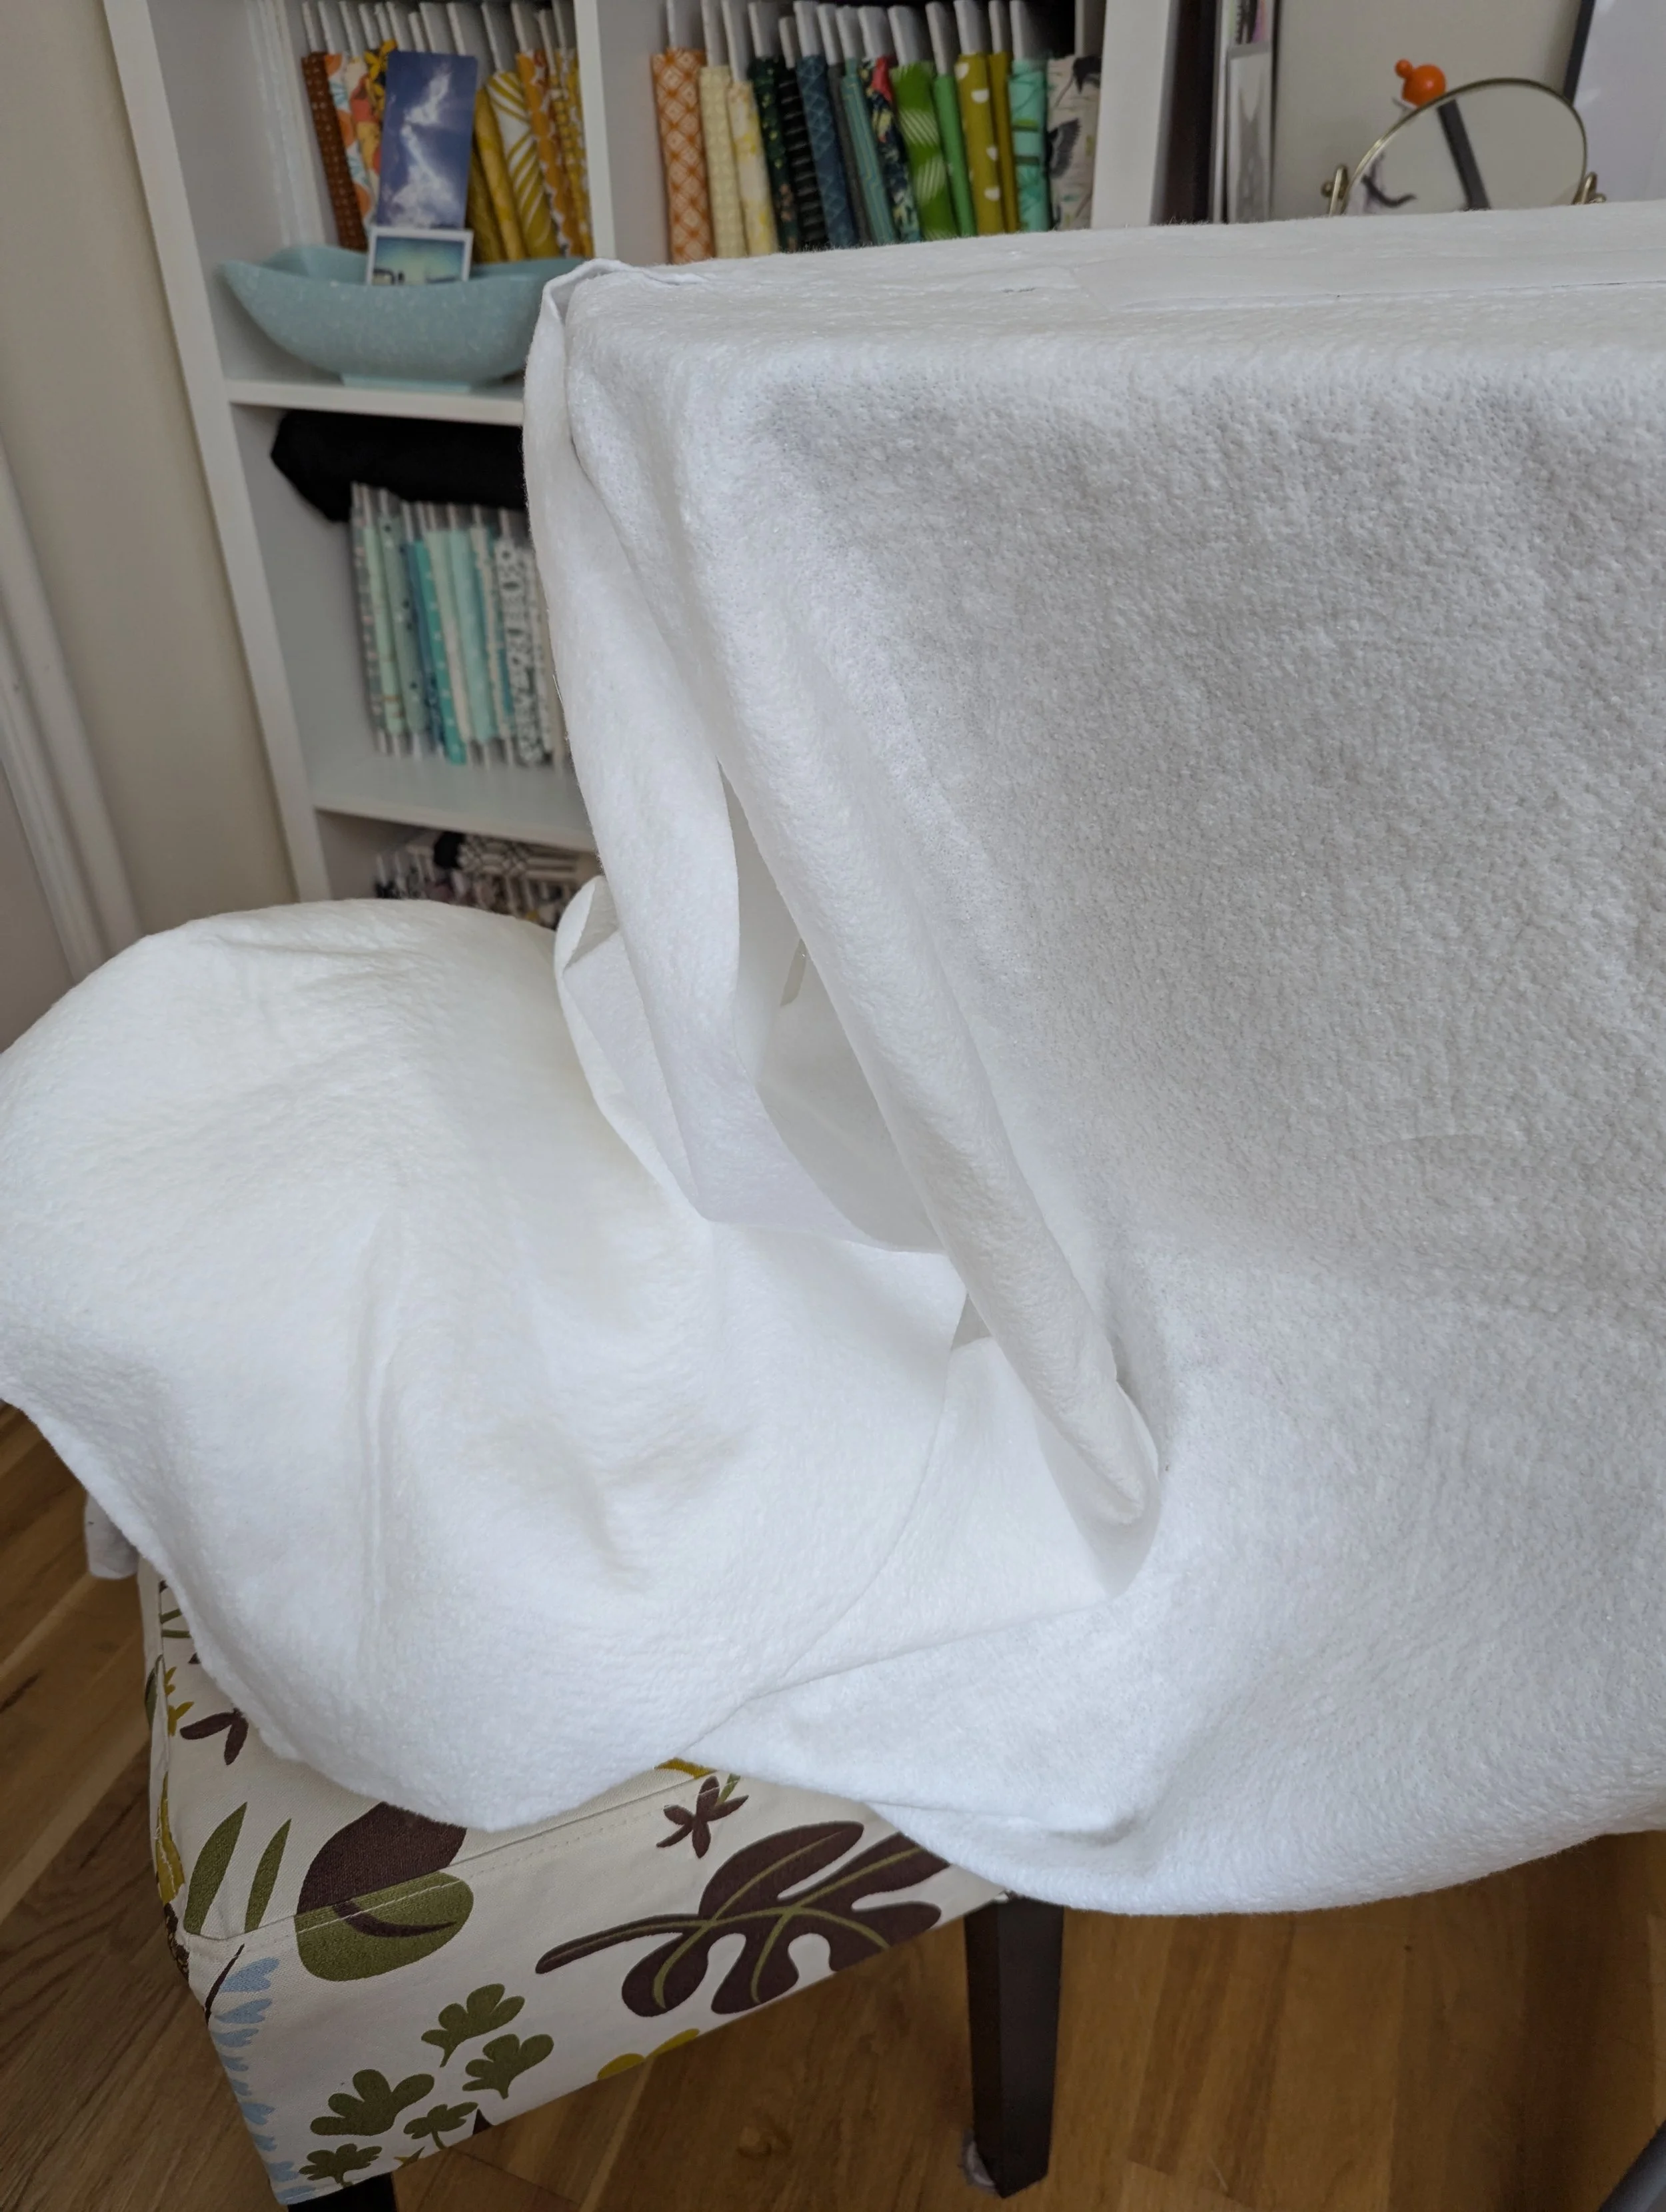
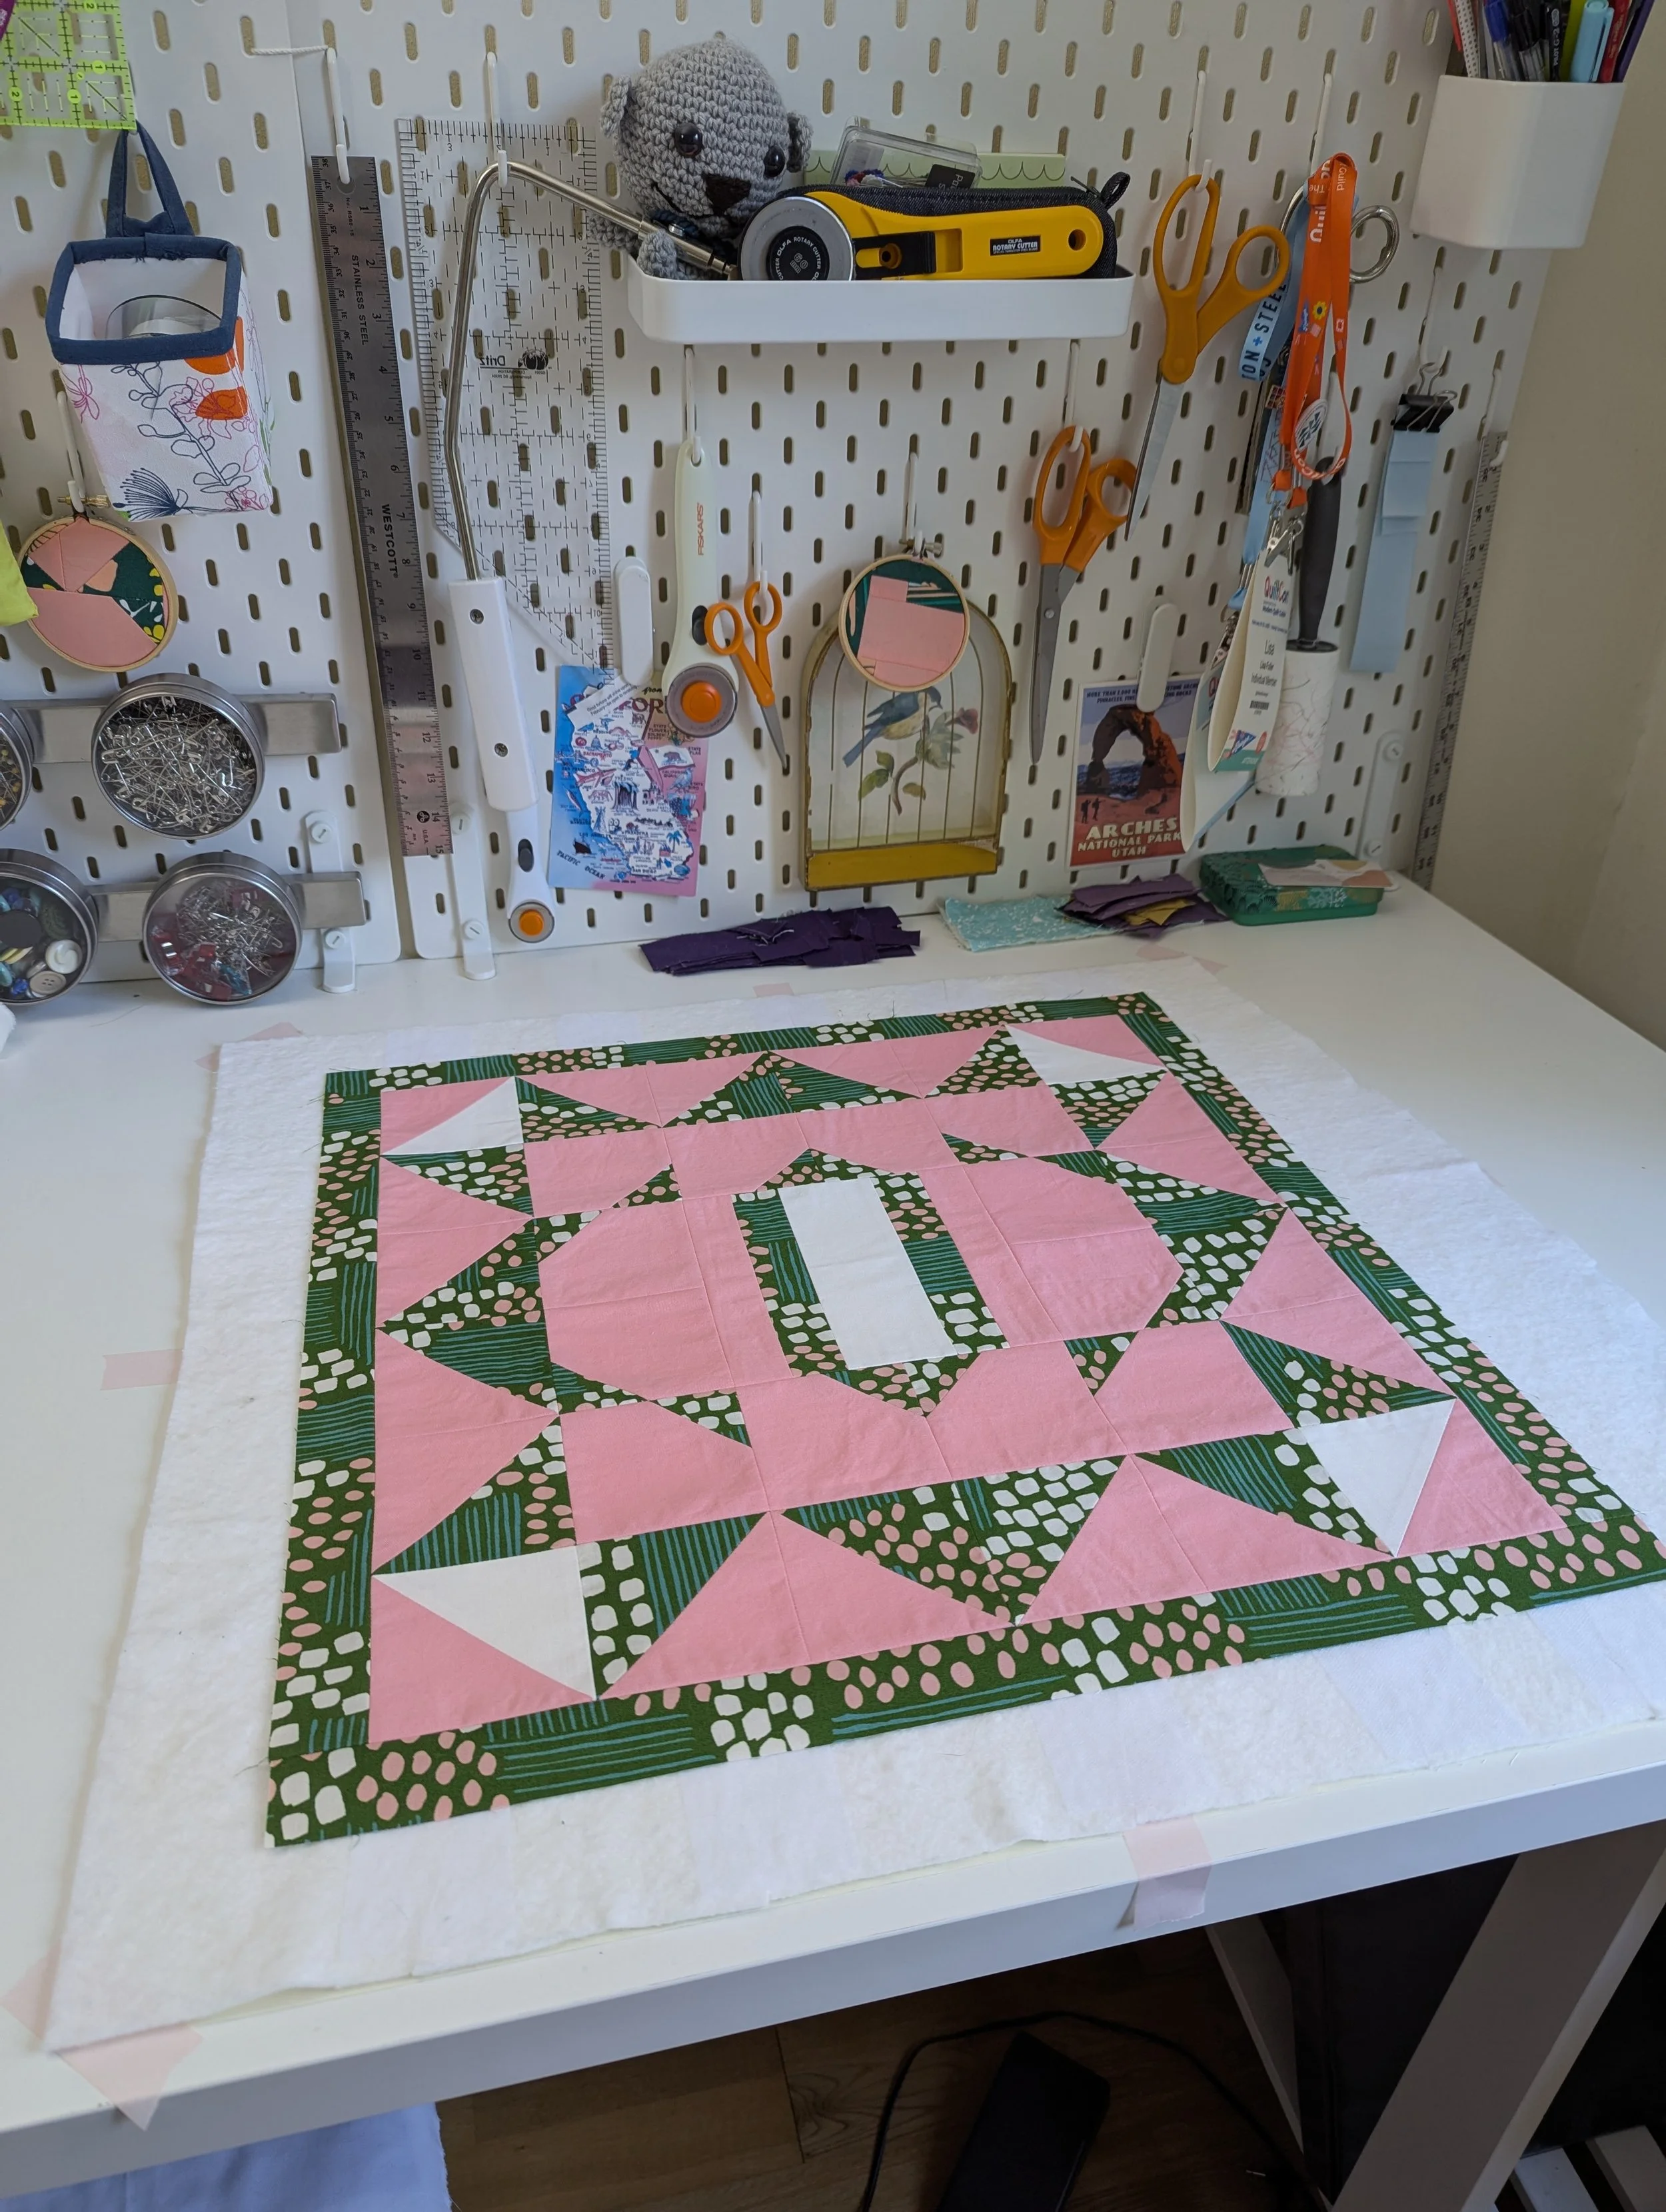
For this project I used big pieces of batting, but I’ve also joined a lot of smaller pieces when working on small projects (think pillows or wall hangings). Below is my 2995 Cushion, all ready to be basted on my table. It’s a little hard to see in this picture, but I used 4 or 5 small pieces of batting for this project- a perfect application for scrap use!
Using lots of batting scraps for a small scale project
The big project I documented in this tutorial, The 4161 Quilt, I’ll be showing off in July this year. Stay tuned!!