
The 5759 Block - Pillow Tutorial
From Millie & Bun Designs
A step by step guide on making a pillow out of your 5759 Block from the Modern Botanical Sampler
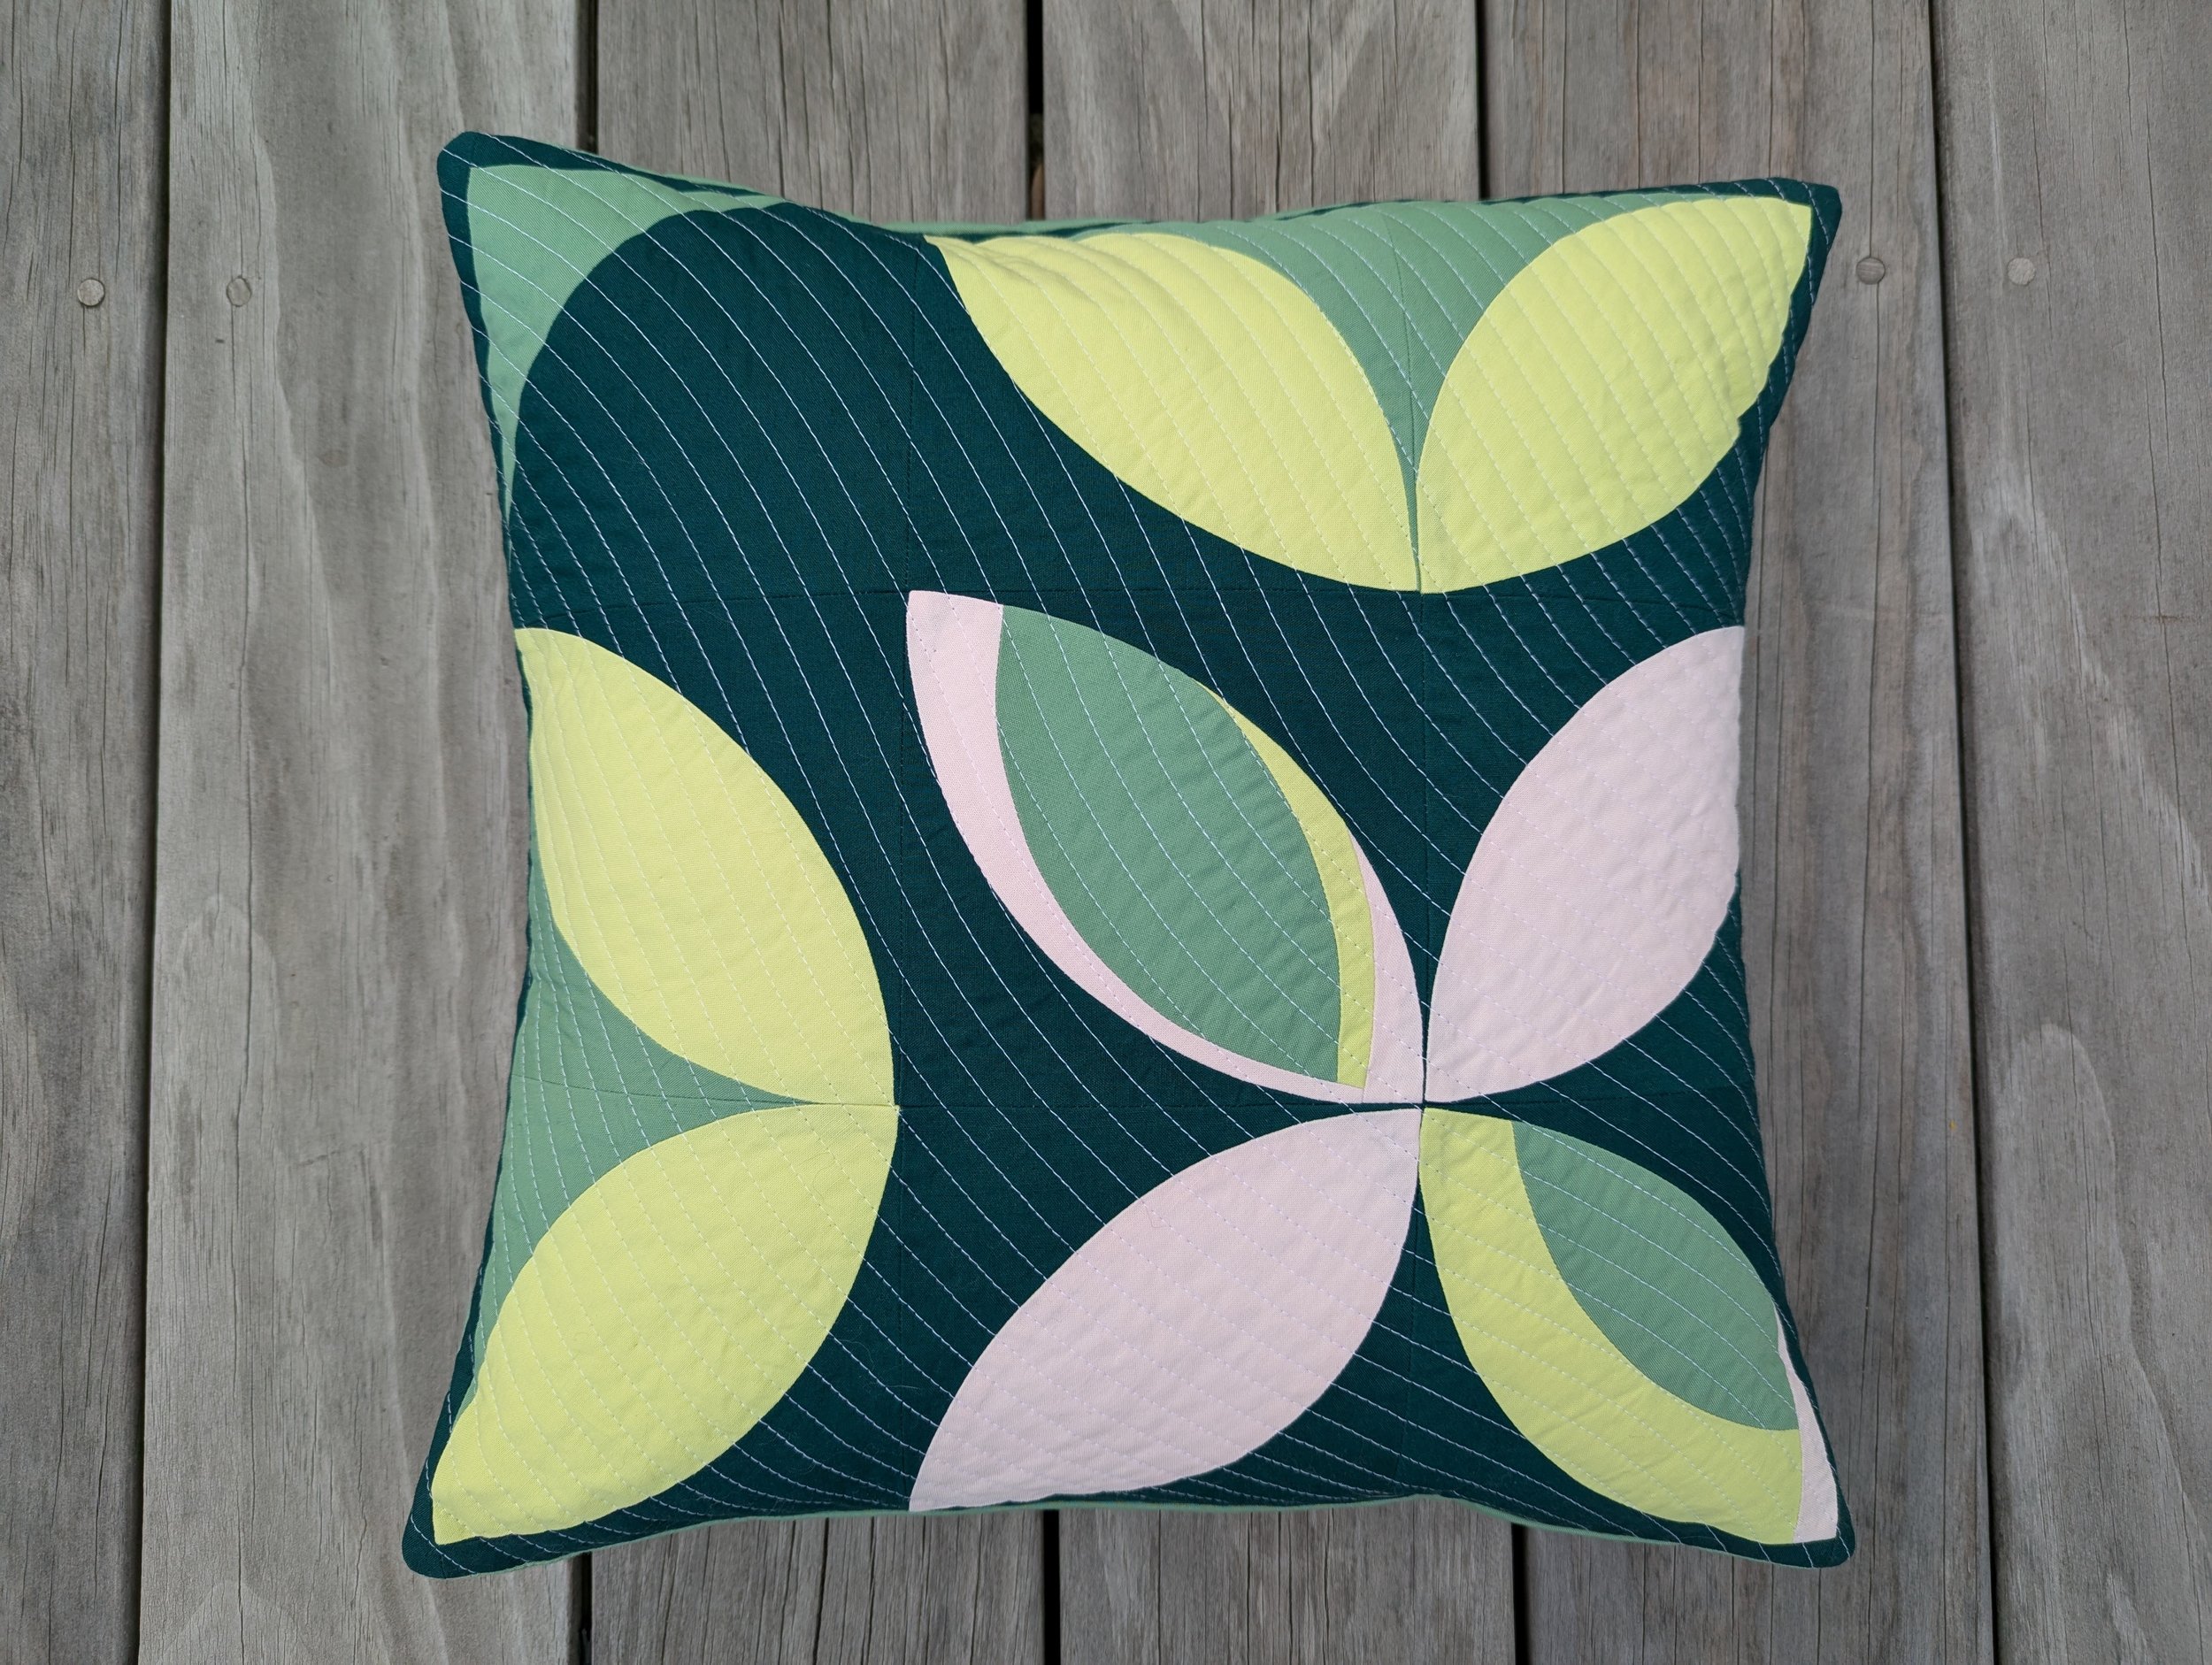
I’m not one to change my house decor very often. I have a number of pieces that I love, and they stay pretty static throughout the year. But one thing that is easy to change out and can make a big visual impact in a space is a throw pillow (I am also a firm believer that you can never have too many throw pillows!) So any chance I get to make a fresh new pillow for my living room, I’ll take it. And it just so happens that the block sizes for the Modern Botanical Sampler are perfect for making adorable throw pillows! I hope you will make the full sampler so you can enjoy all 16 amazing designs from 16 incredible designers, but why not create a pillow (or a few pillows) to accompany your quilt?
Let’s get into it!
What You Need
The 5759 Block from the Modern Botanical Sampler (or any block from the sampler- they all finish at the same size!)
(2) 1.25” x 15.5” pieces of fabric (See what is leftover from your block construction!)
(2) 1.25” x 17” pieces of fabric (See what is leftover from your block construction!)
Pins
Sewing machine
Thread
Iron
Rotary Cutter
Ruler
Basting pins or spray
16” Square Pillow insert
Piece of batting 21” square (which will give you 2” extra on all sides) Tip: this is a great place to use up some batting scraps!
Piece of fabric 21” square (which will give you 2” extra on all sides). Note: this will not be seen, as it is inside the pillow. This can be whatever fabric you have but be careful if your pillow top is light in color, and then make sure you use a light fabric so it won’t be visible.
(2) 10.5” x 17” pieces of fabric (back panels)
This pattern assumes:
RST = right sides together, WST = wrong sides together
Press seams open
¼” seam allowance, unless otherwise noted.
Adding The Borders
Attach the 1.25” x 15.5” pieces to the top and bottom of your 5759 Block. Then attach the 1.25” x 17” pieces to the sides.
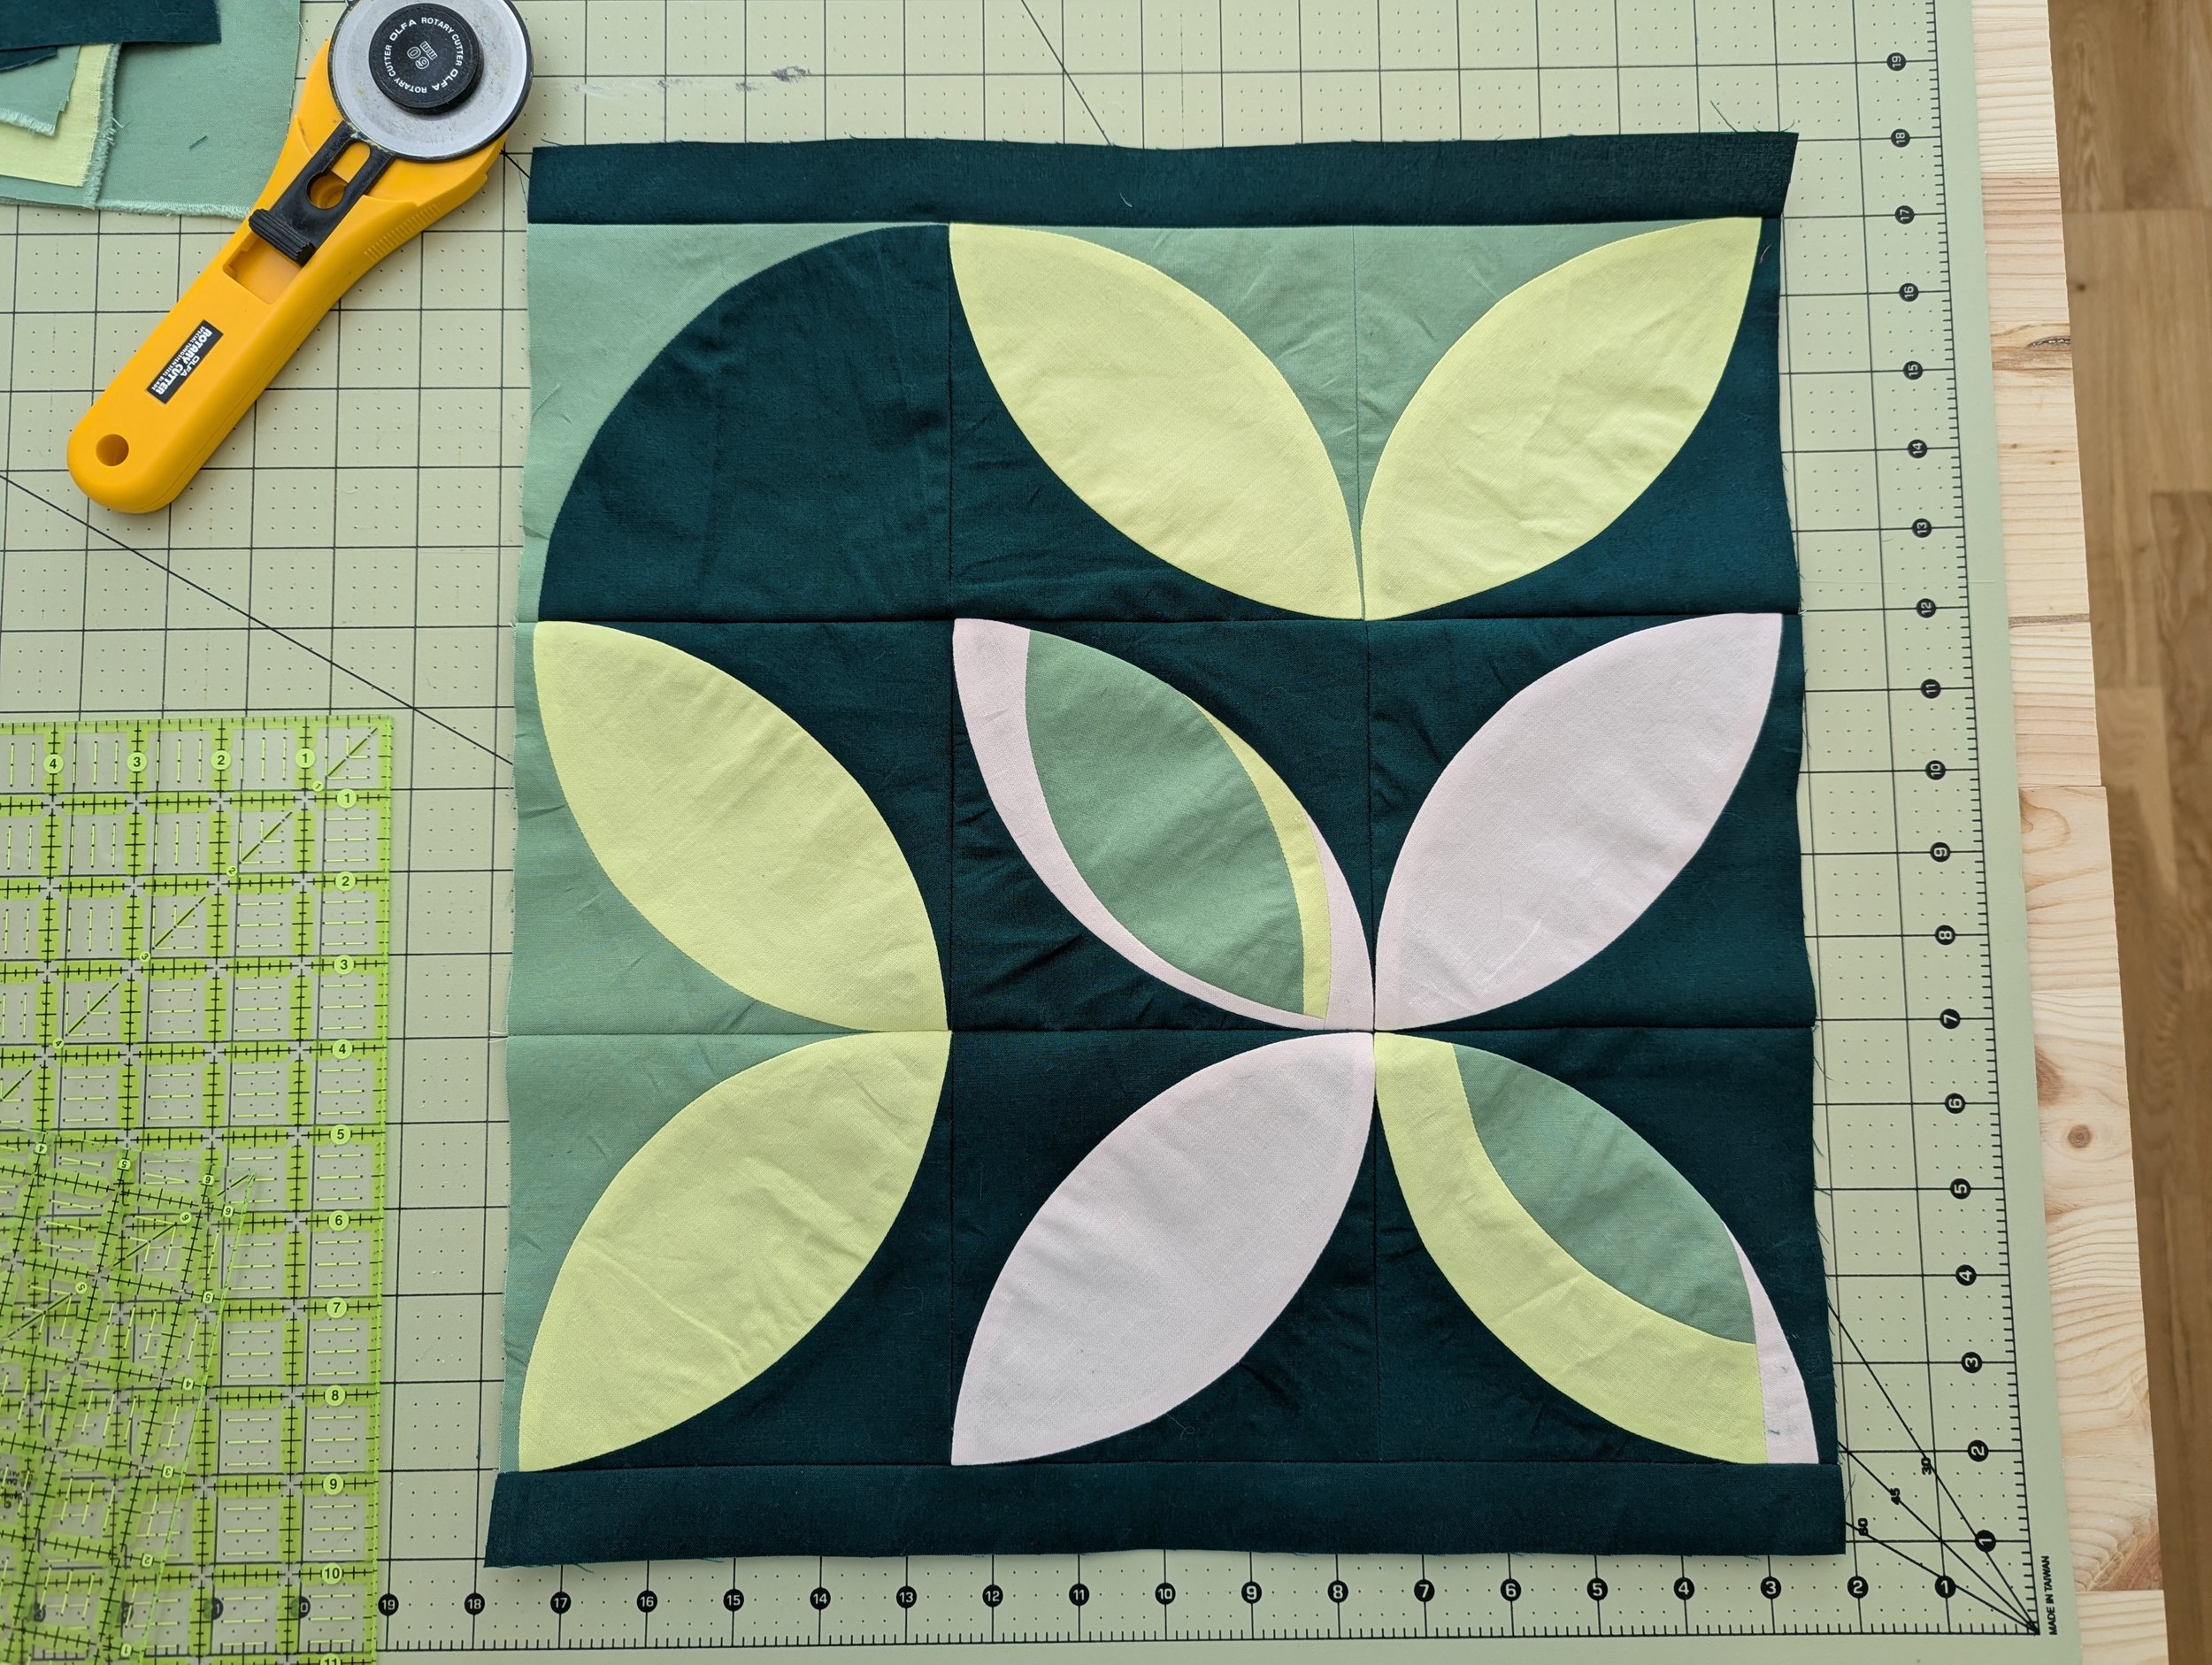
Attach the top and bottom pieces…
Pin and sew all the way around
Clip the corners, flip inside out, and insert your 16" square pillow insert.
The top now measures 17” x 17”.
Quilting The Top
Make a quilt sandwich using your cushion top, the batting, and the 21" square piece of fabric. Quilt as desired, then square your quilt and trim any excess batting and backing. Tip: this is a great place to experiment with new quilting techniques! I used a gentle echoed curve design for my cushion and I love how it compliments the 5759 Block’s design.
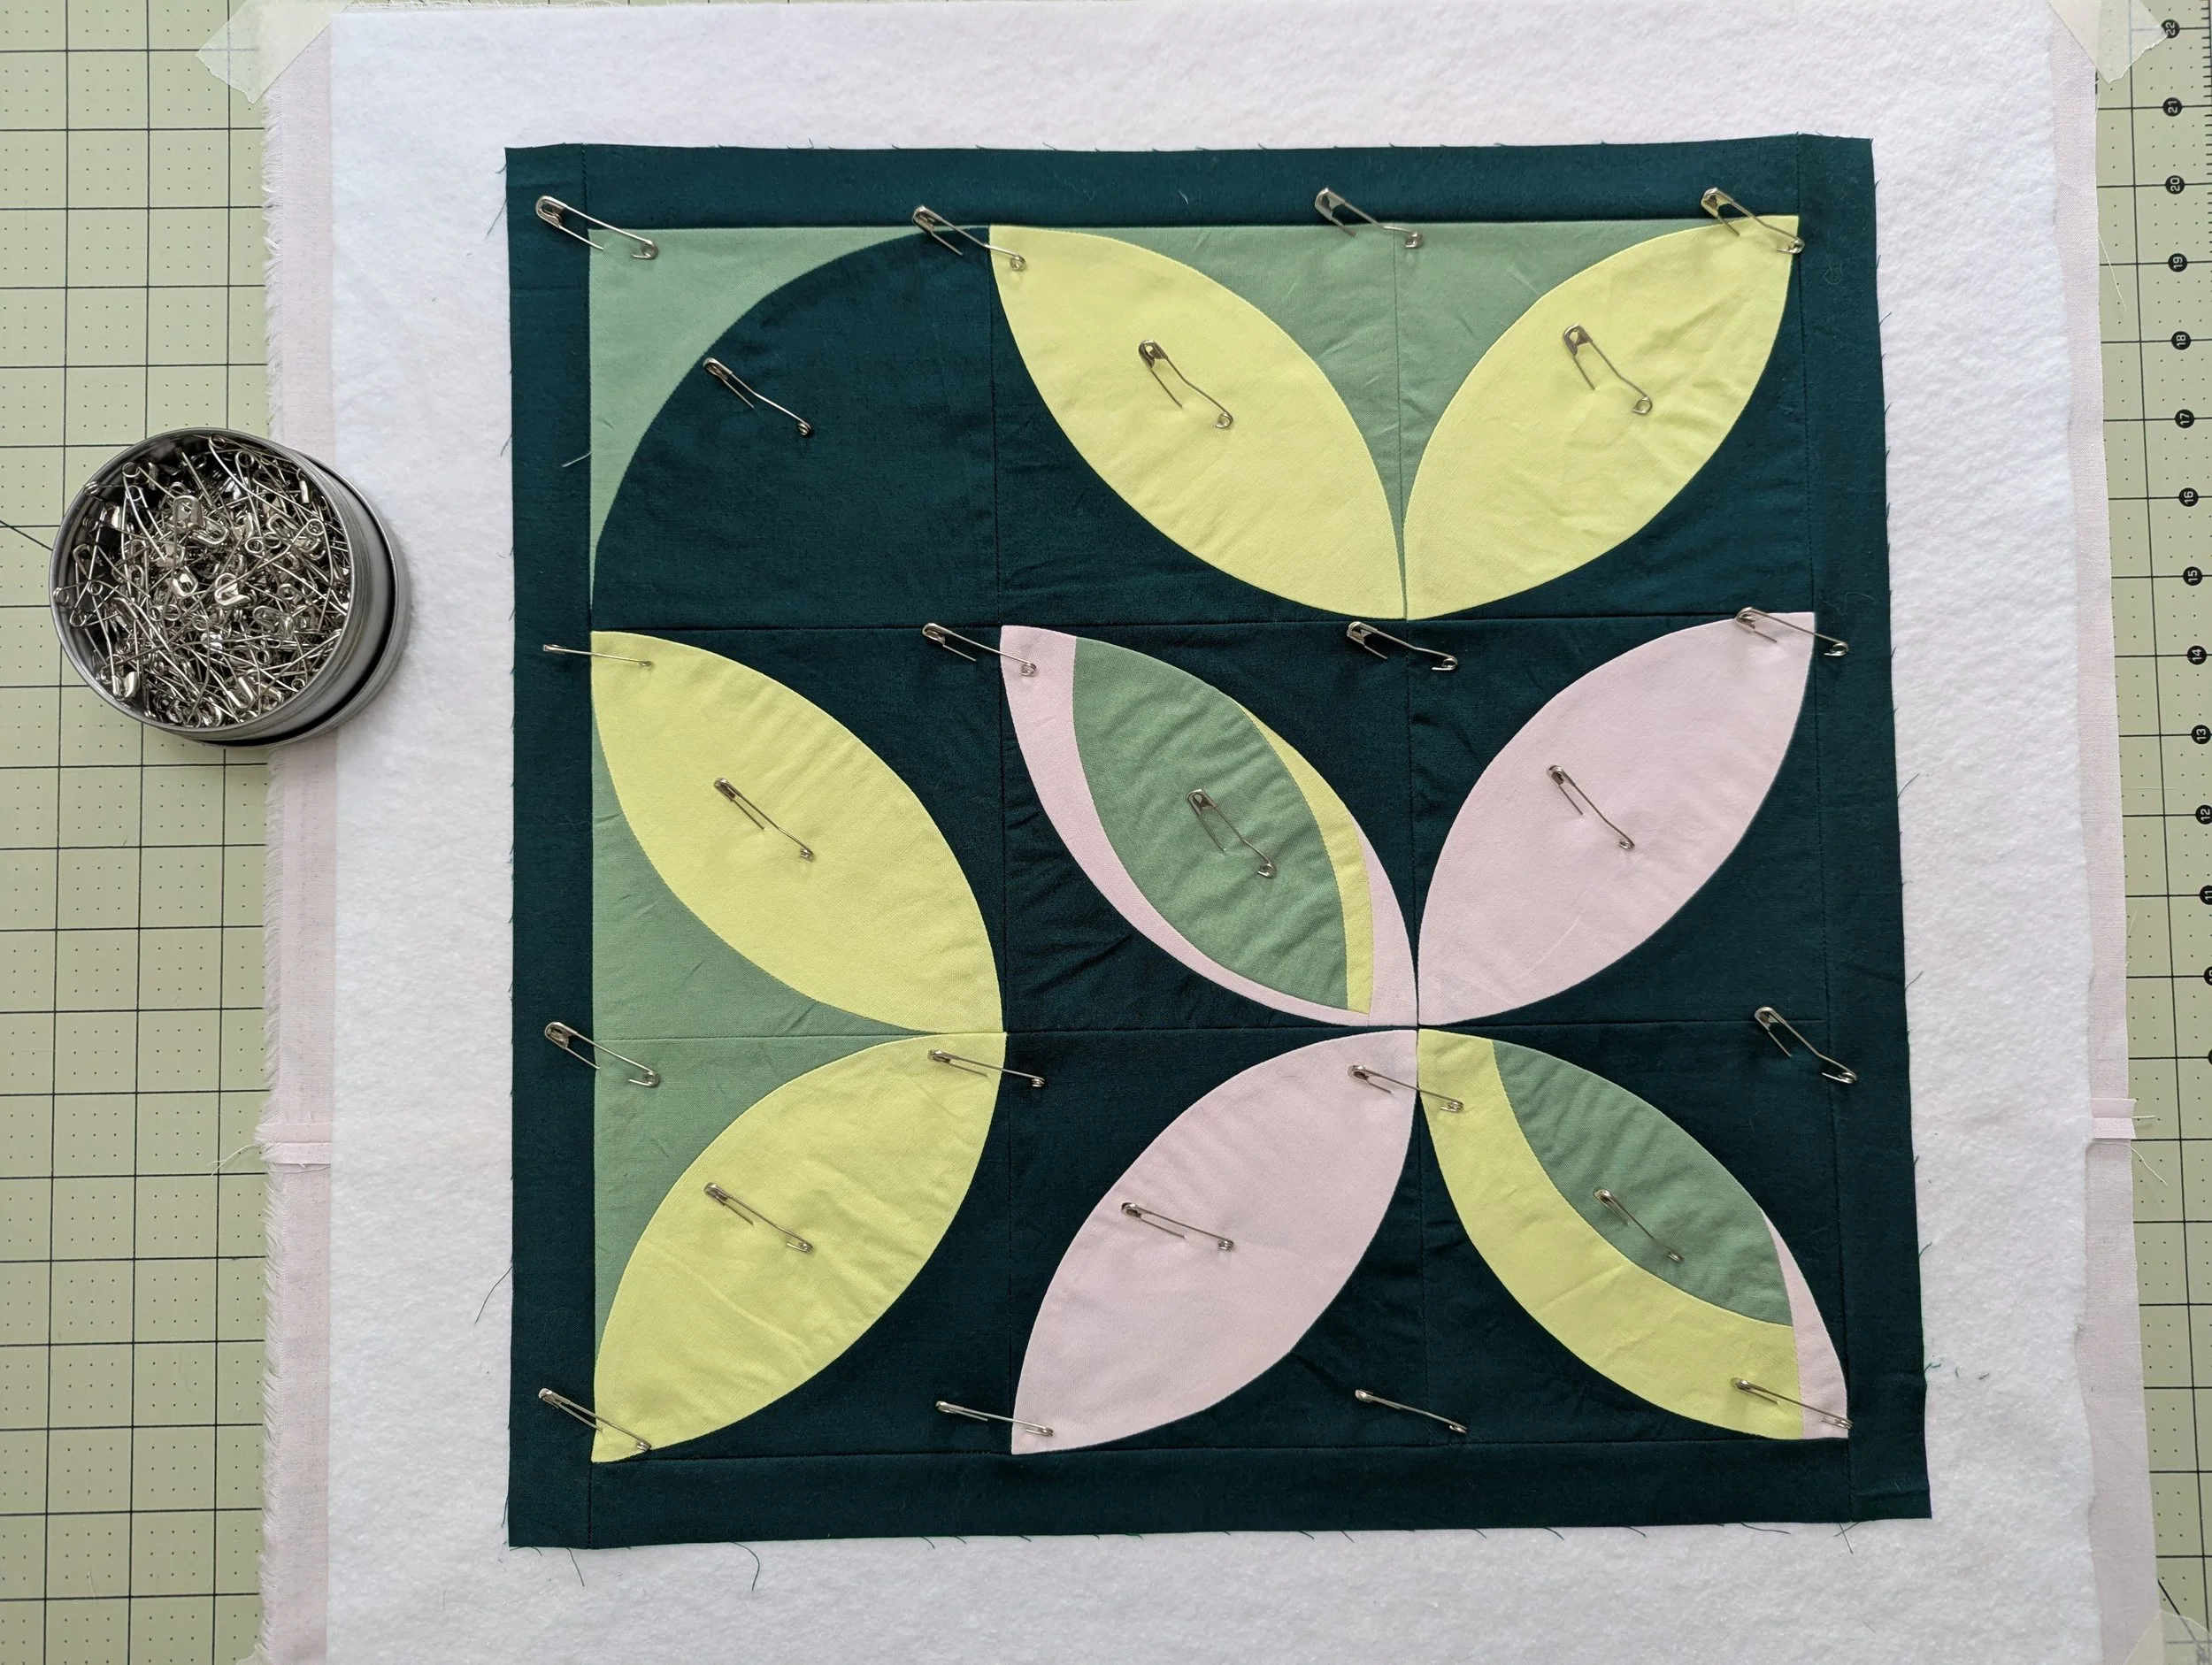
Pin basting the top, batting, and backing
Pin in place and sew all the way around using a ½" seam allowance (I use my walking foot for this step!)
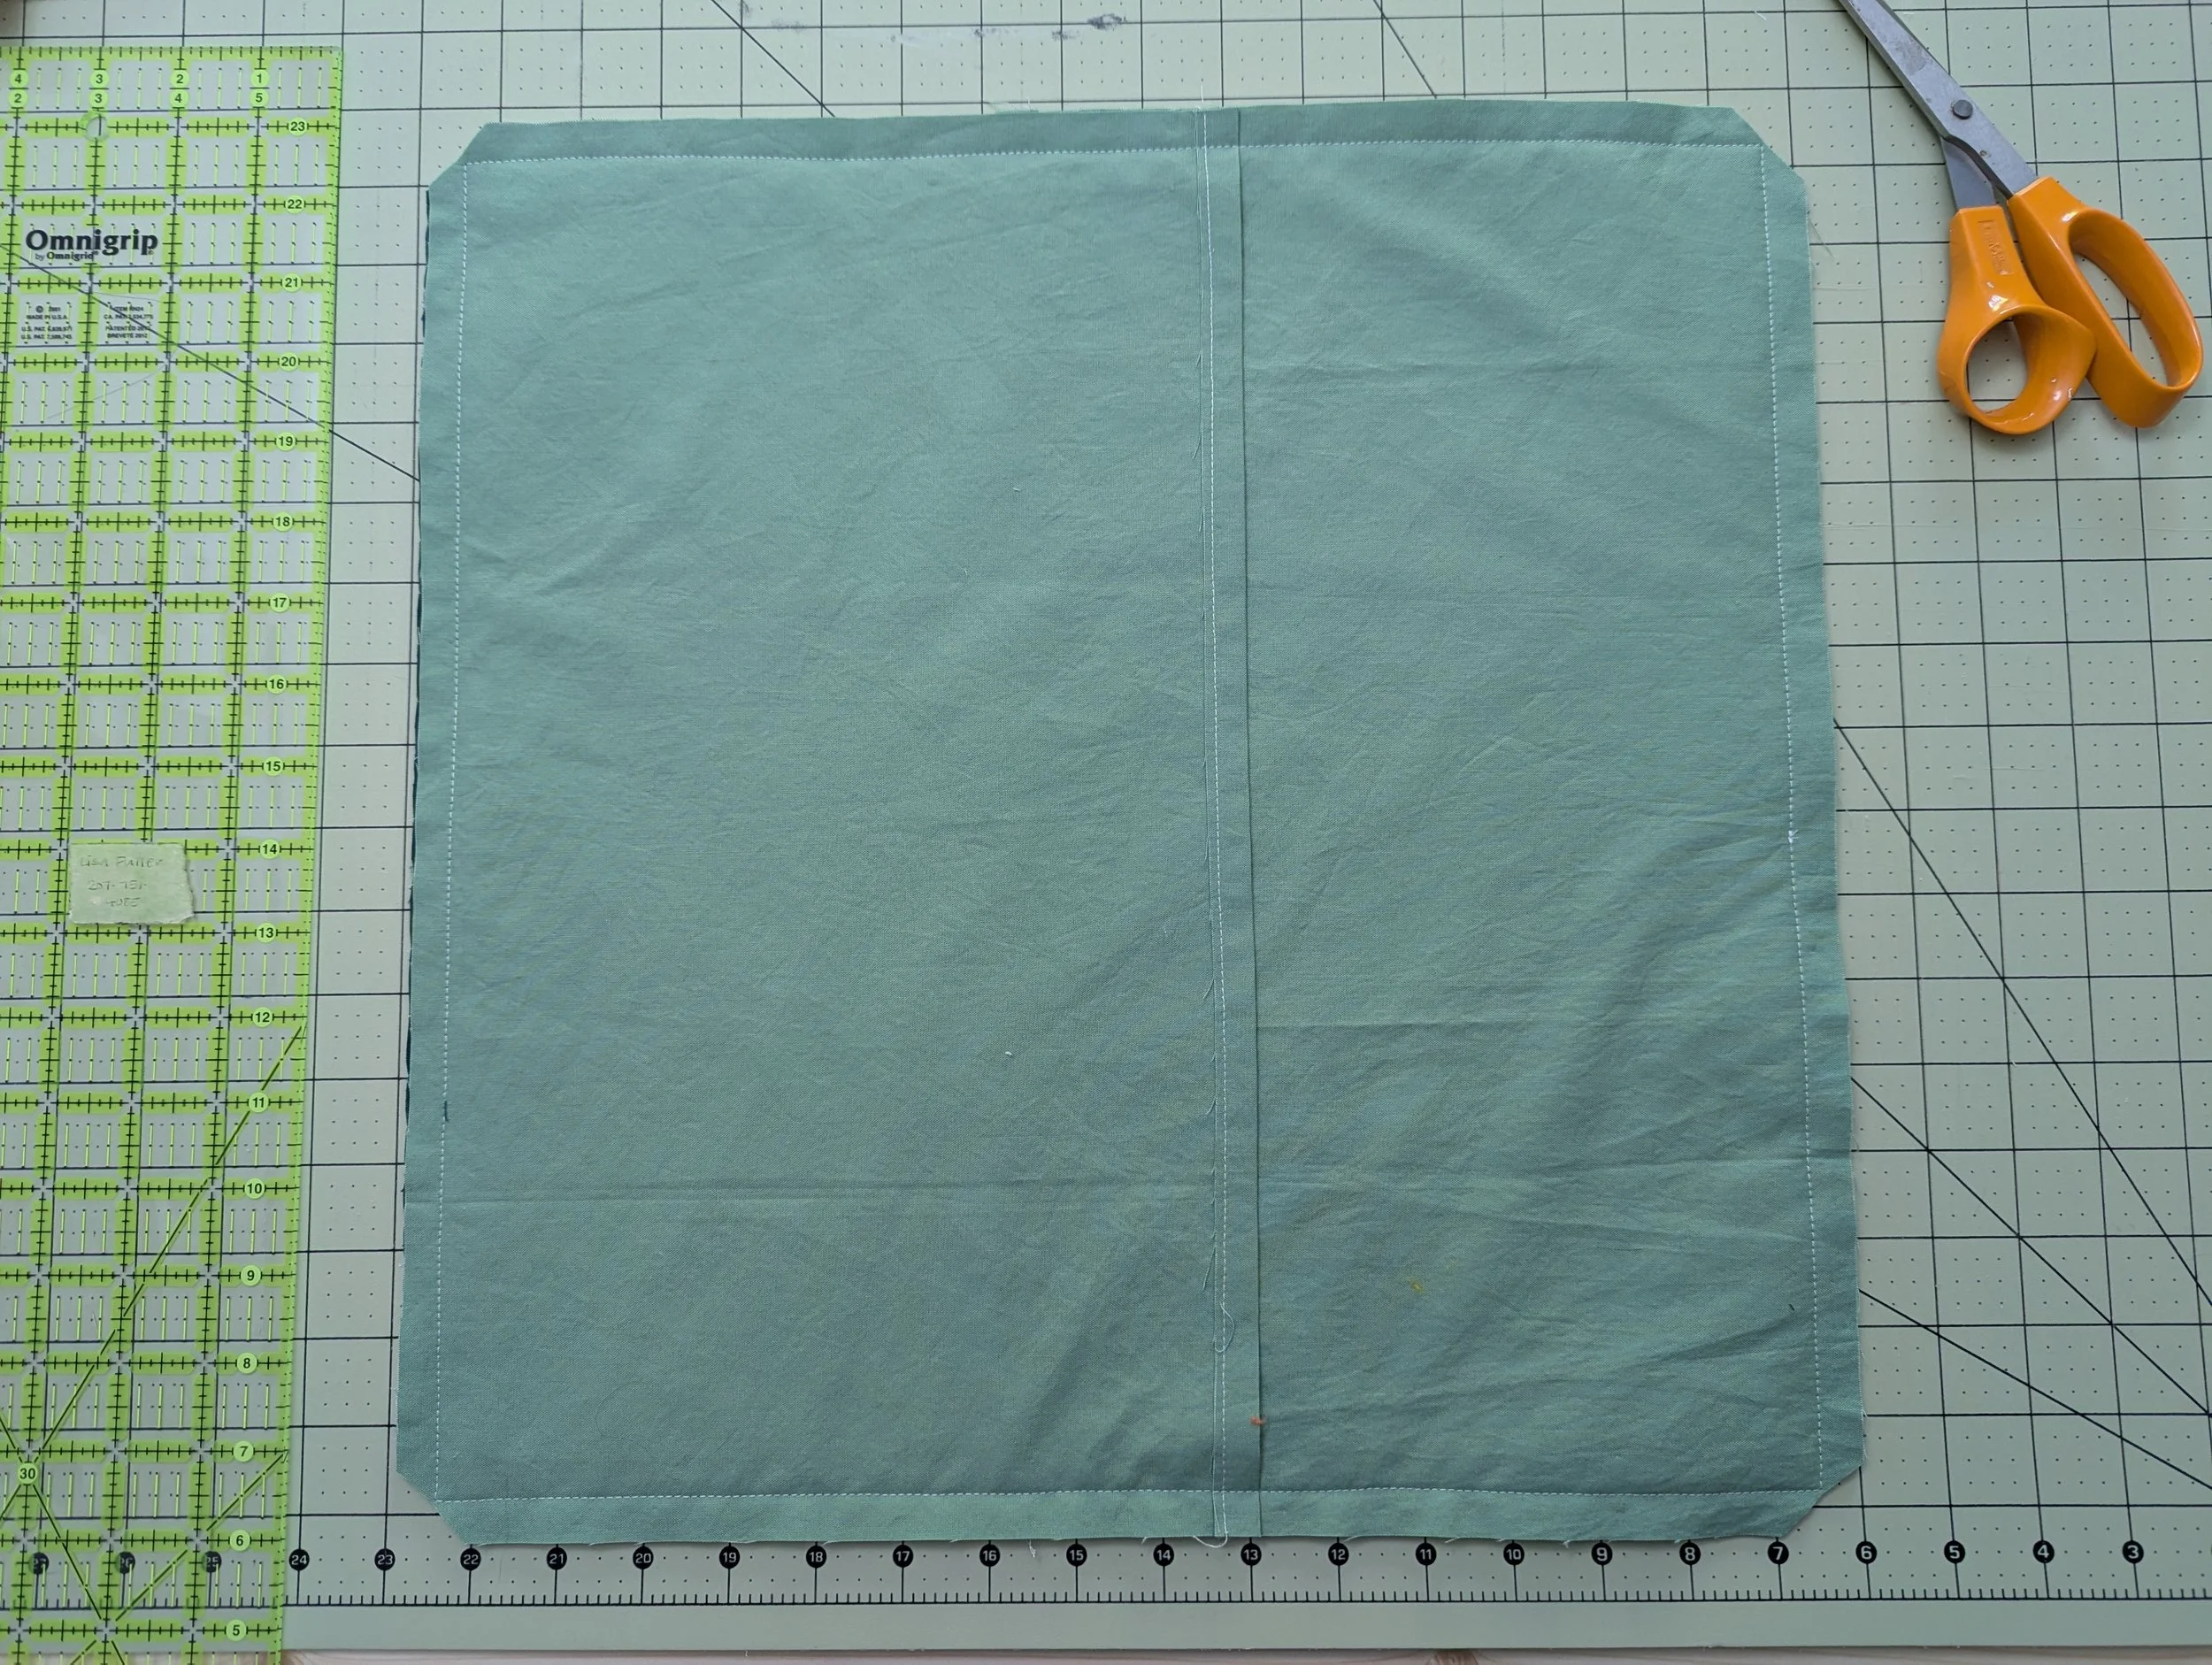
Corners are clipped and it’s ready to turn inside out!
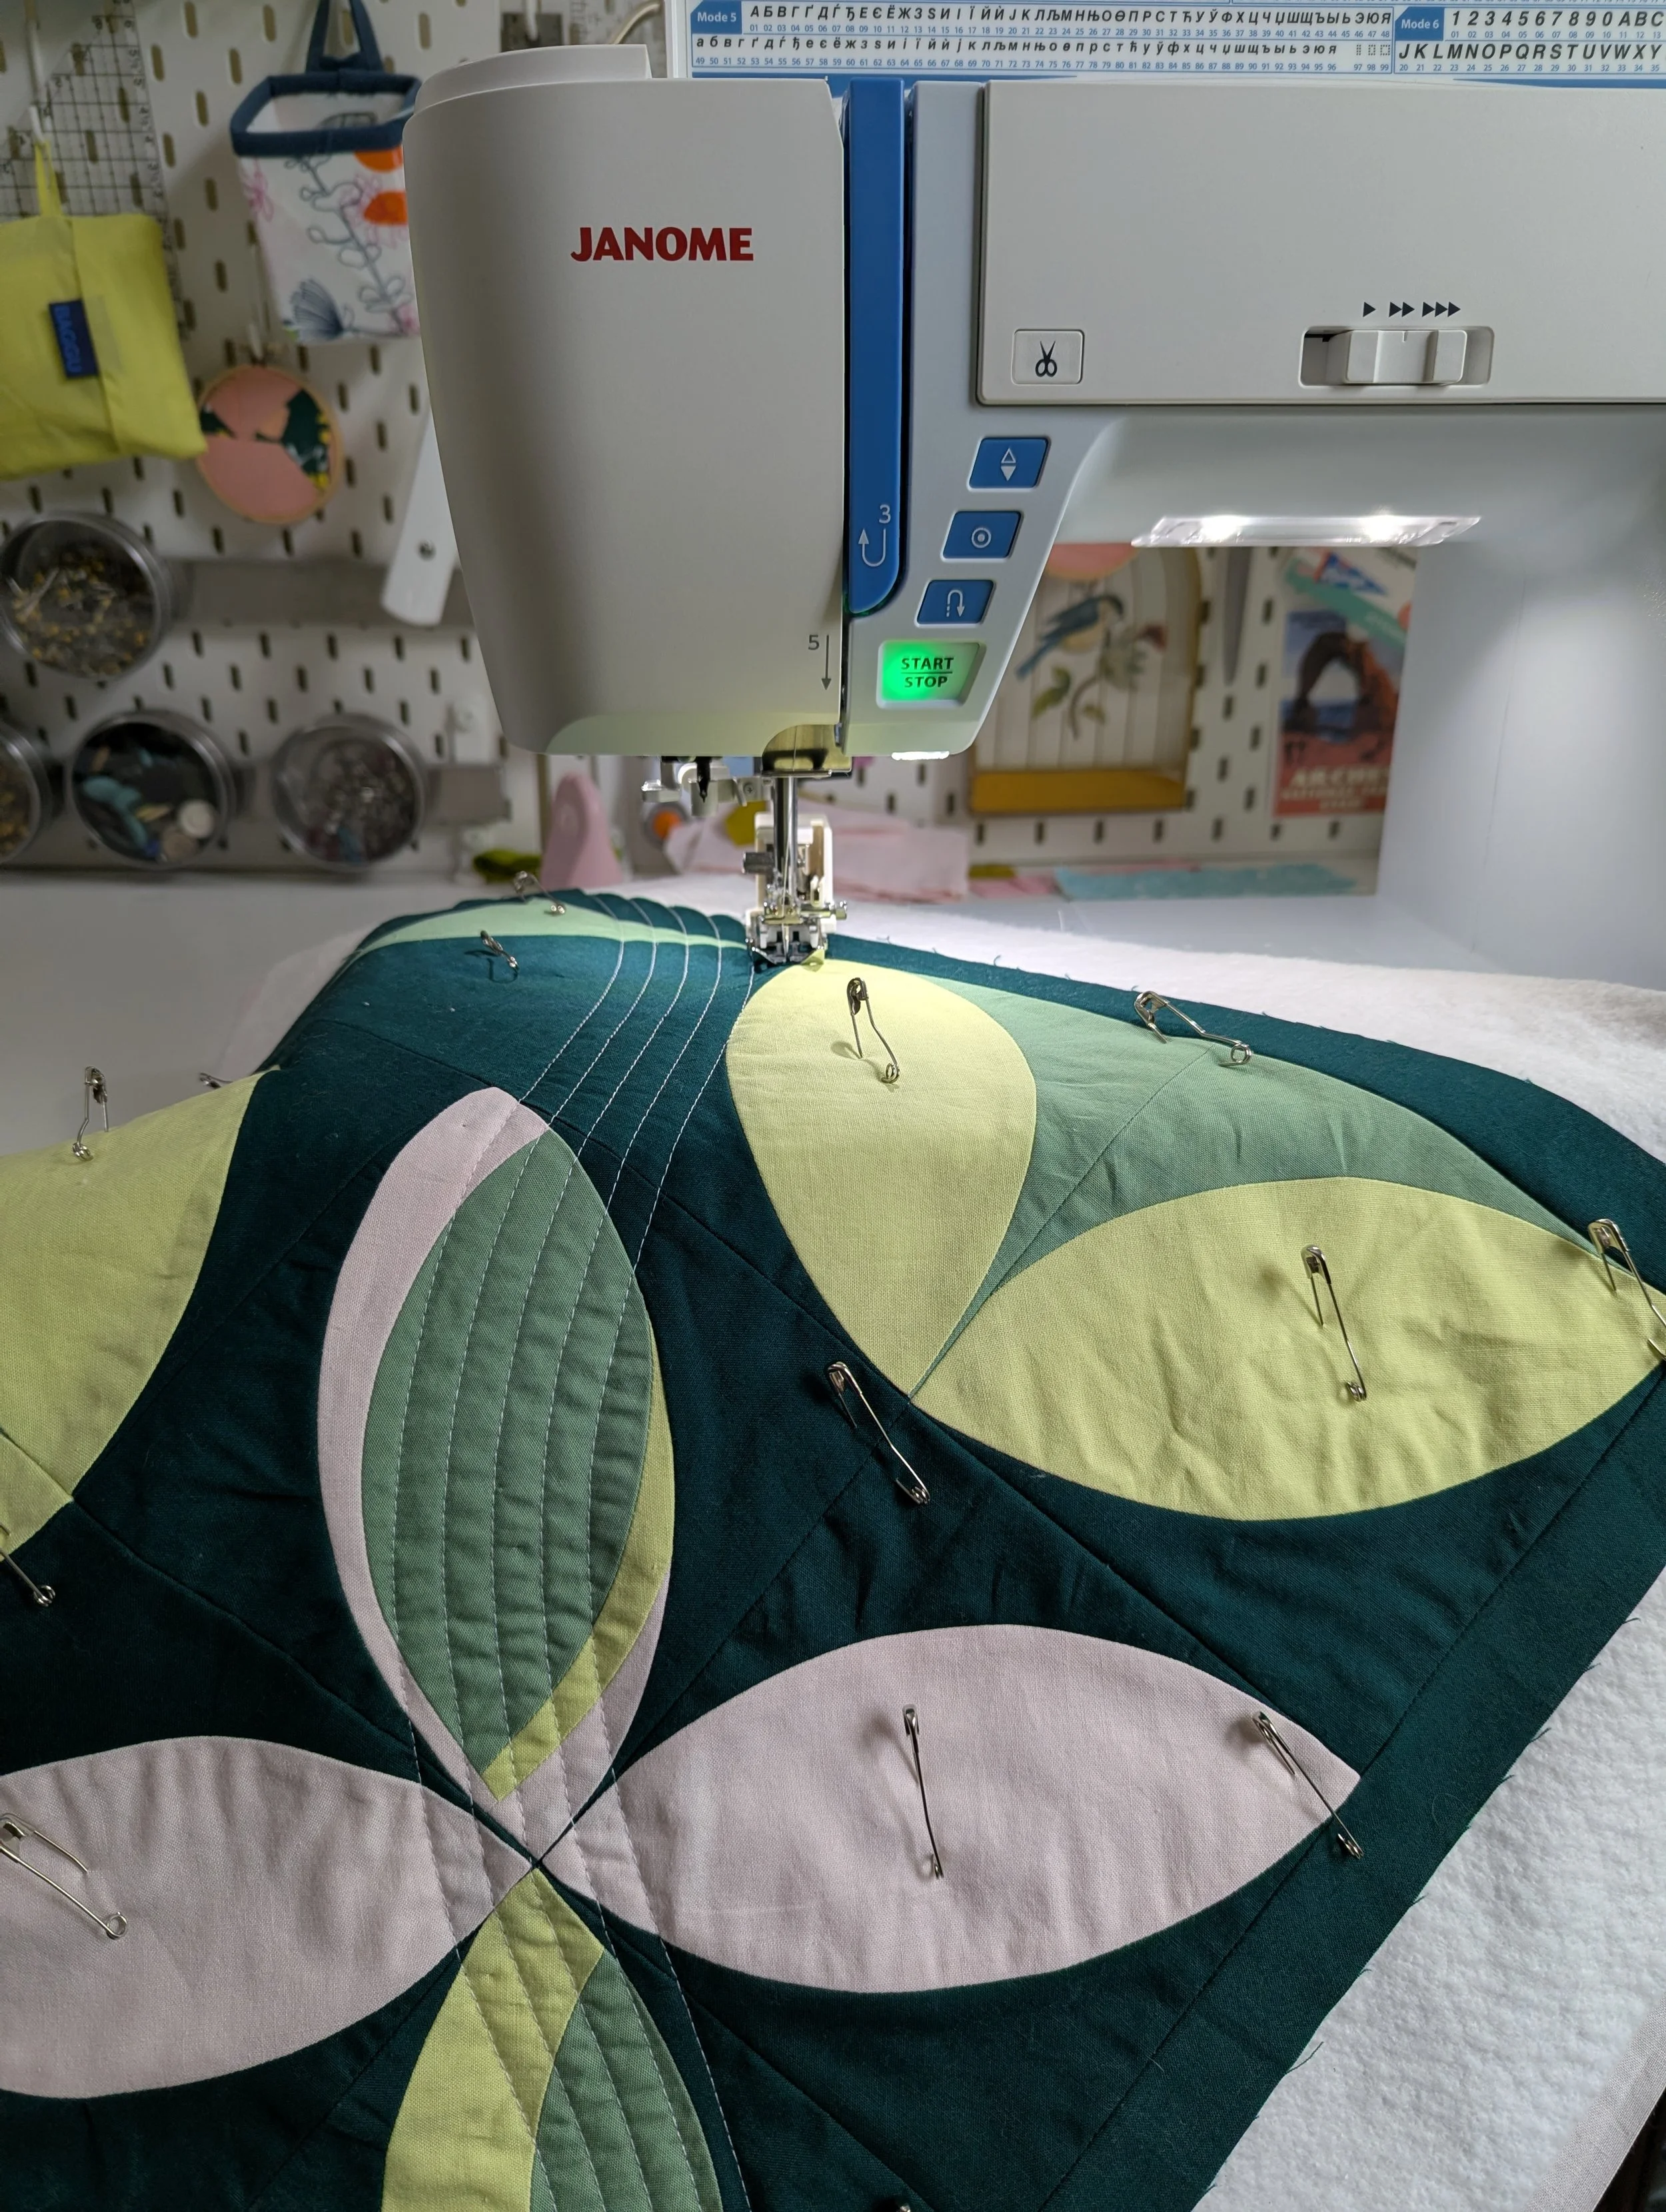
I’m quilting my top using an echoed curve
Fold (1) 17" edge under ½", WST. Press, then edge stitch your seam. Repeat on (1) 17" side of the other panel.
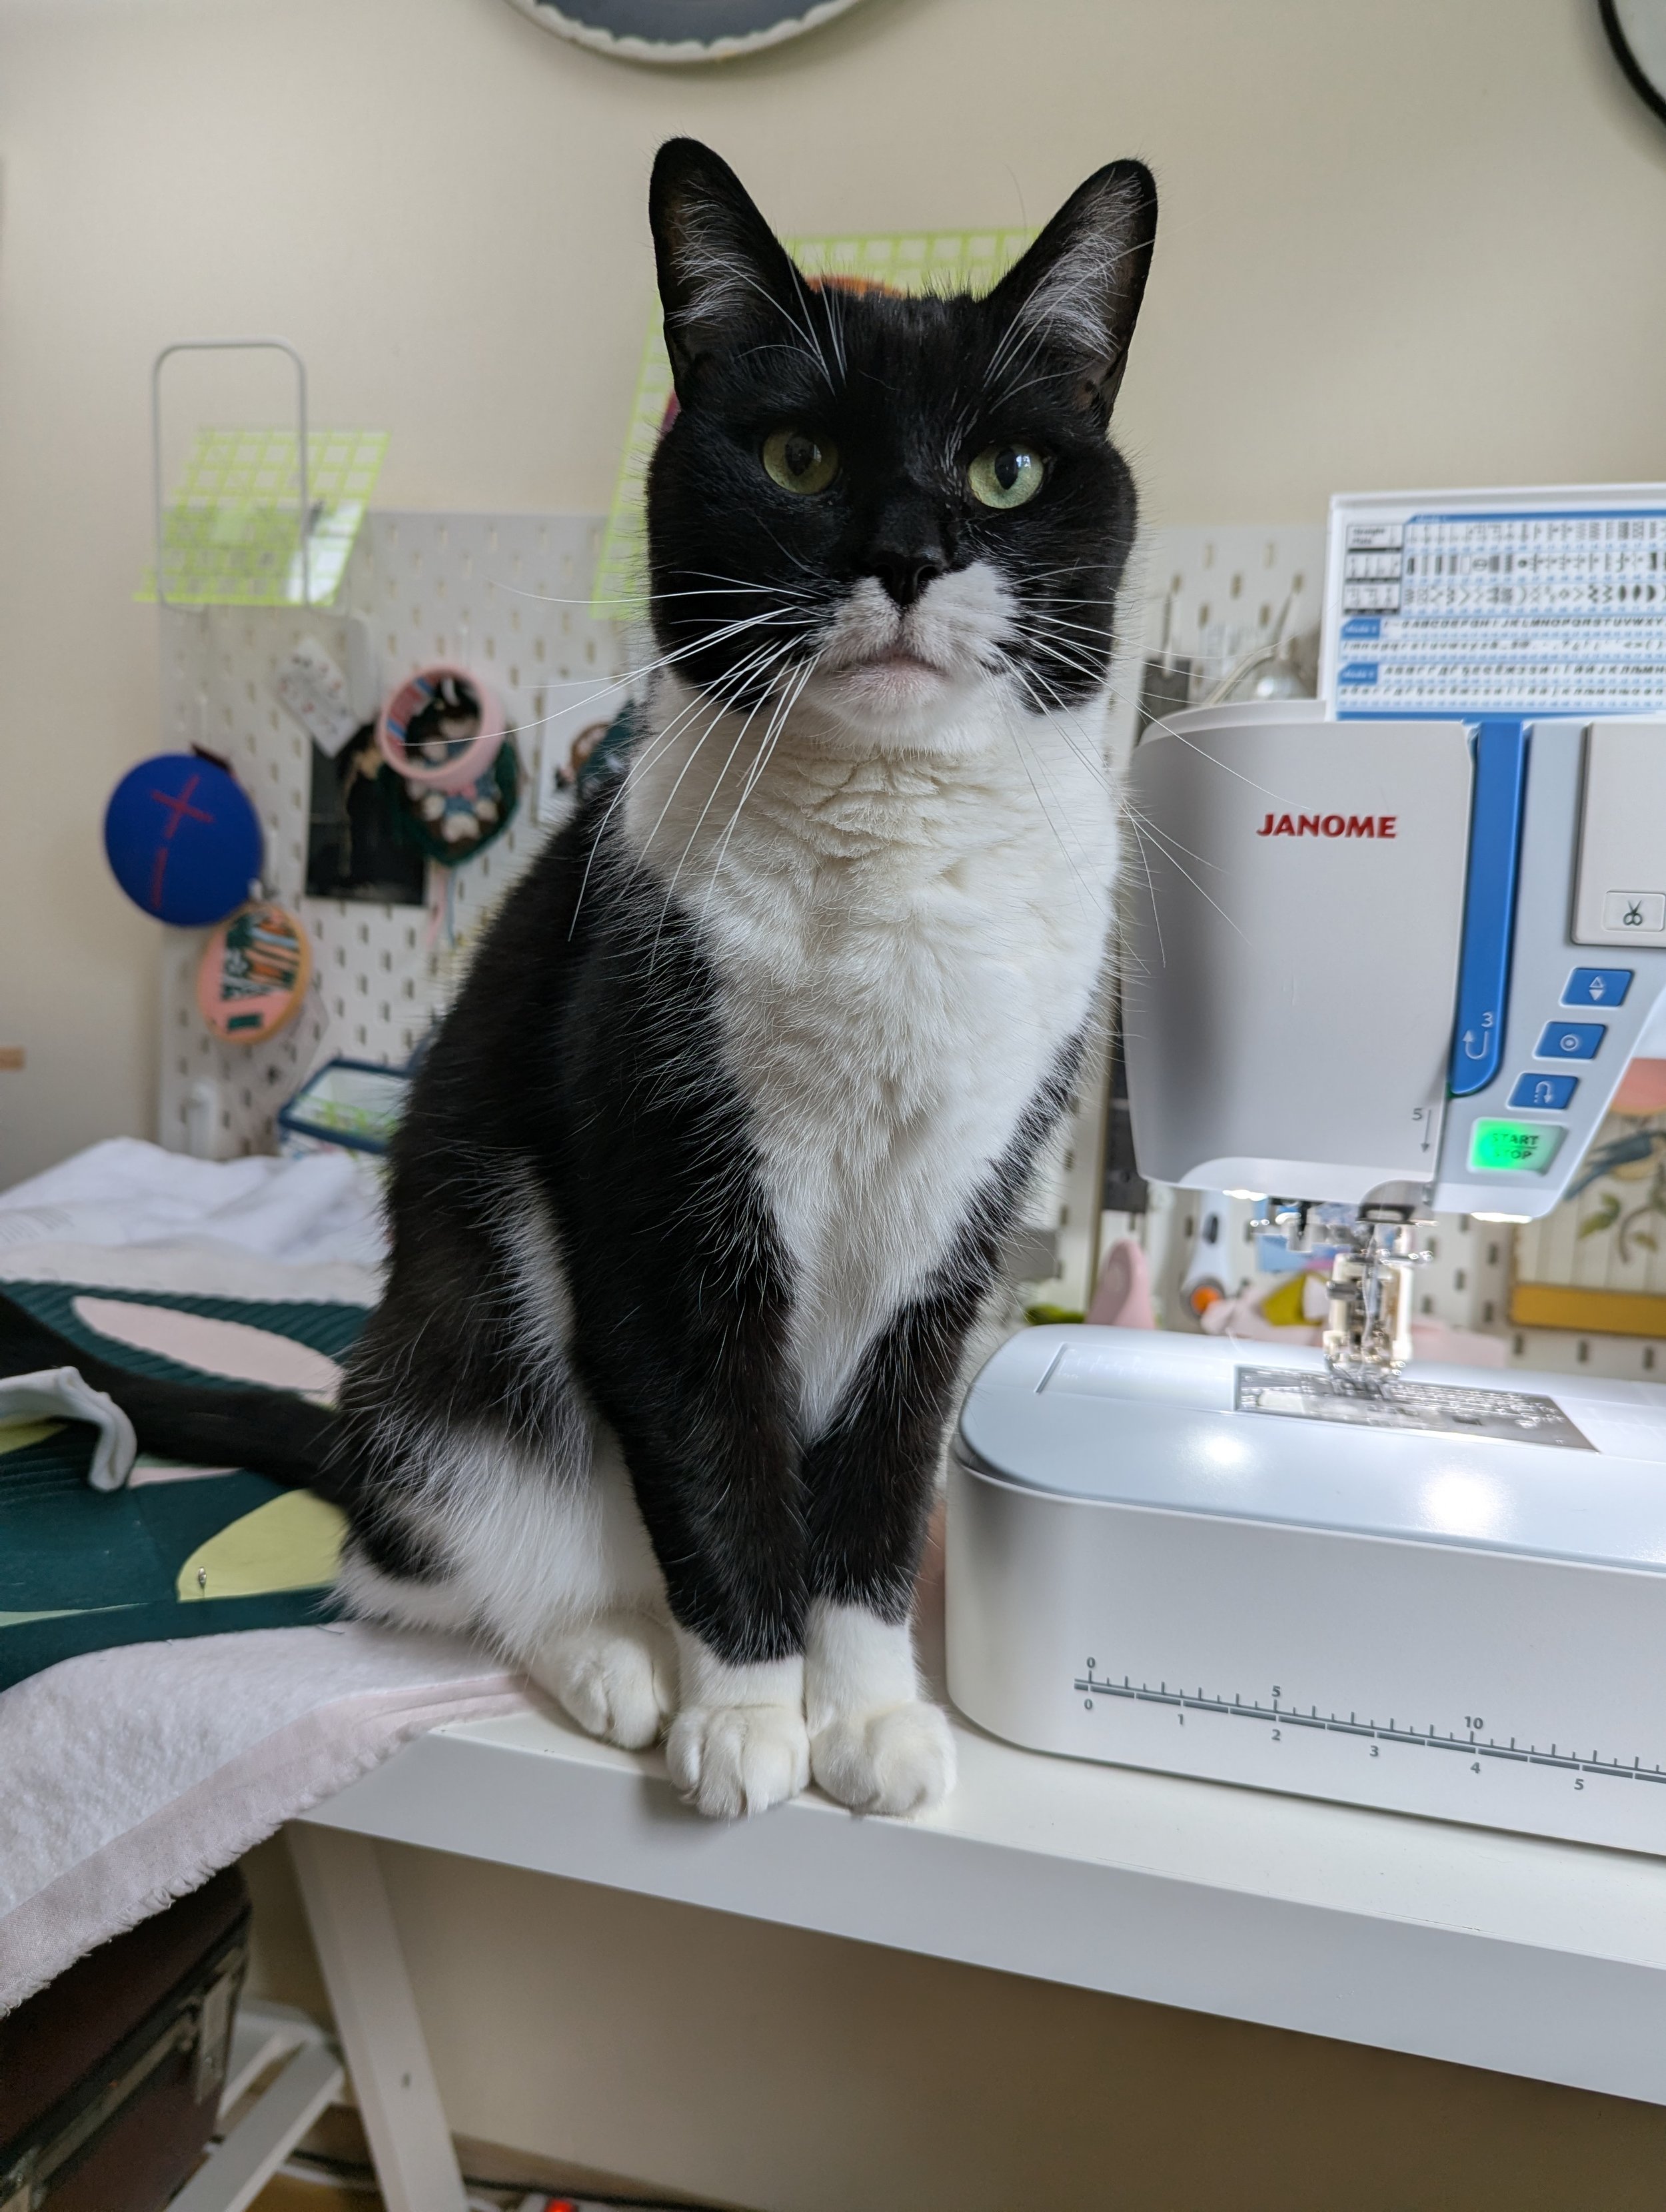
Bun helping with the quilting process
Make The Cushion Backing Panels
Sew It Up!
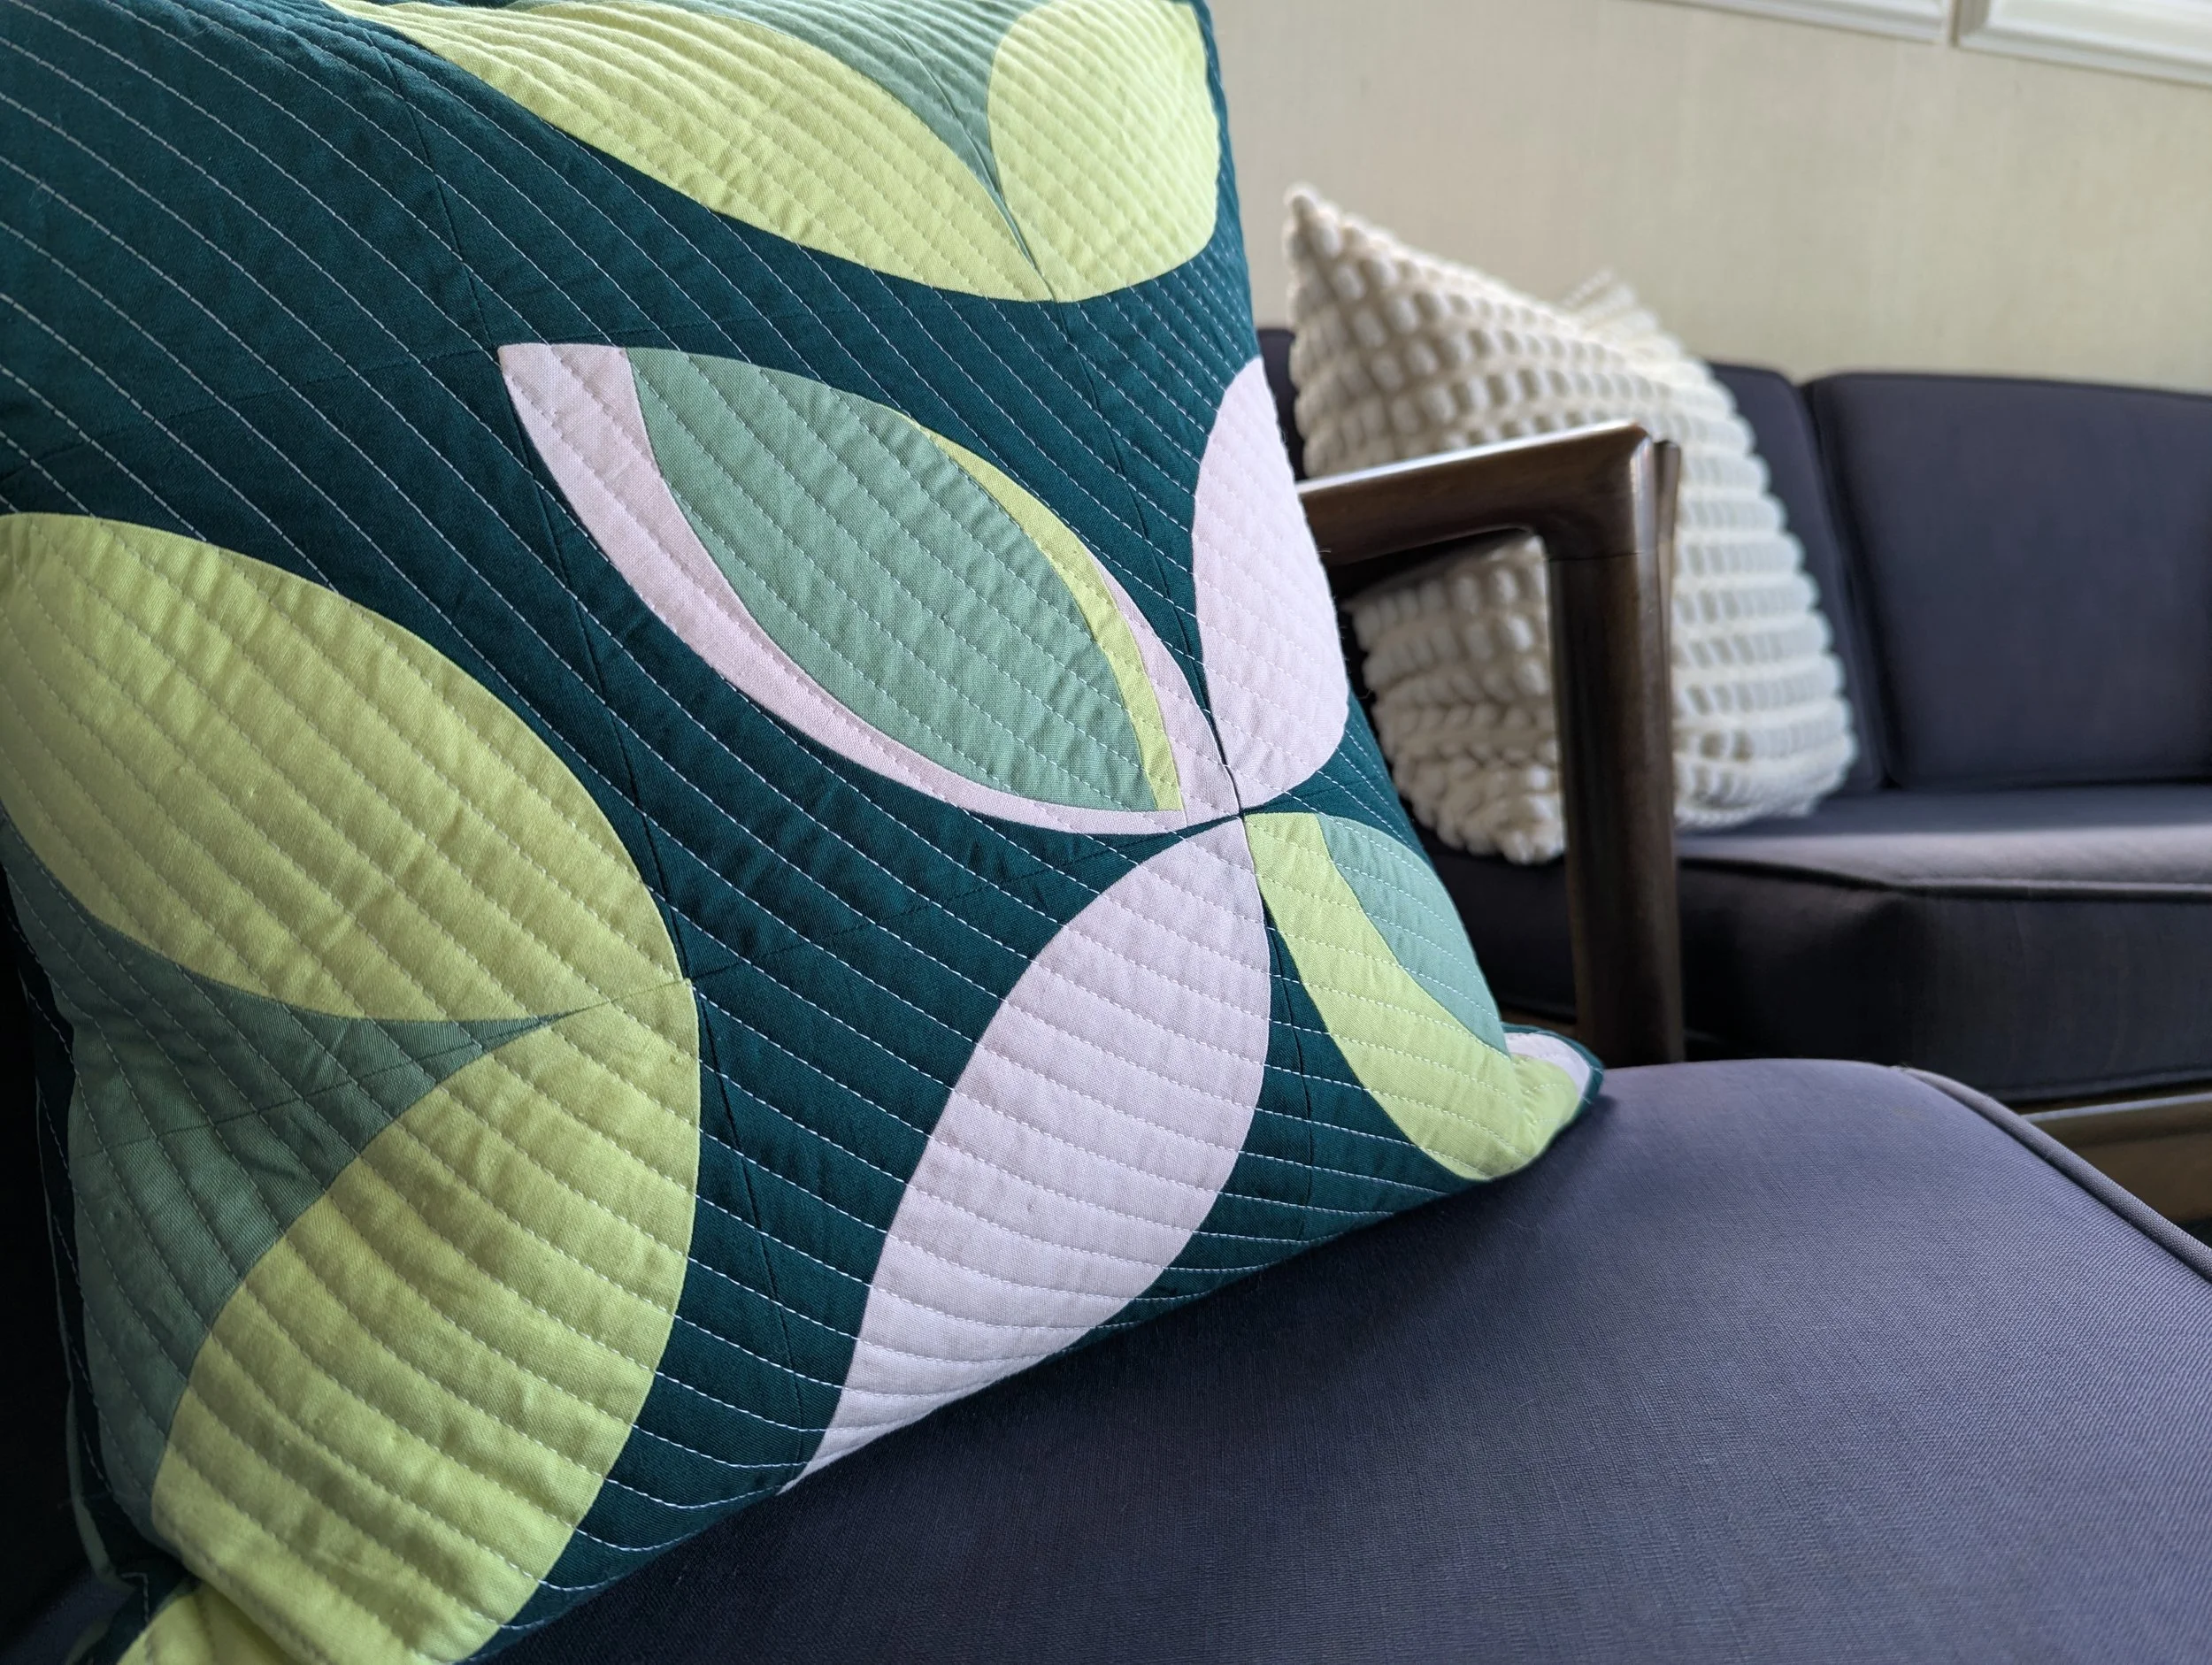
This is so easy. I love a quick project and this one works up so fast. Also it’s a perfect fit for my living room!
New living room decor addition!
I would love to see your own 5759 Block Pillow! Please tag me on Instagram or use my contact form to get in touch and share your own pillow :)
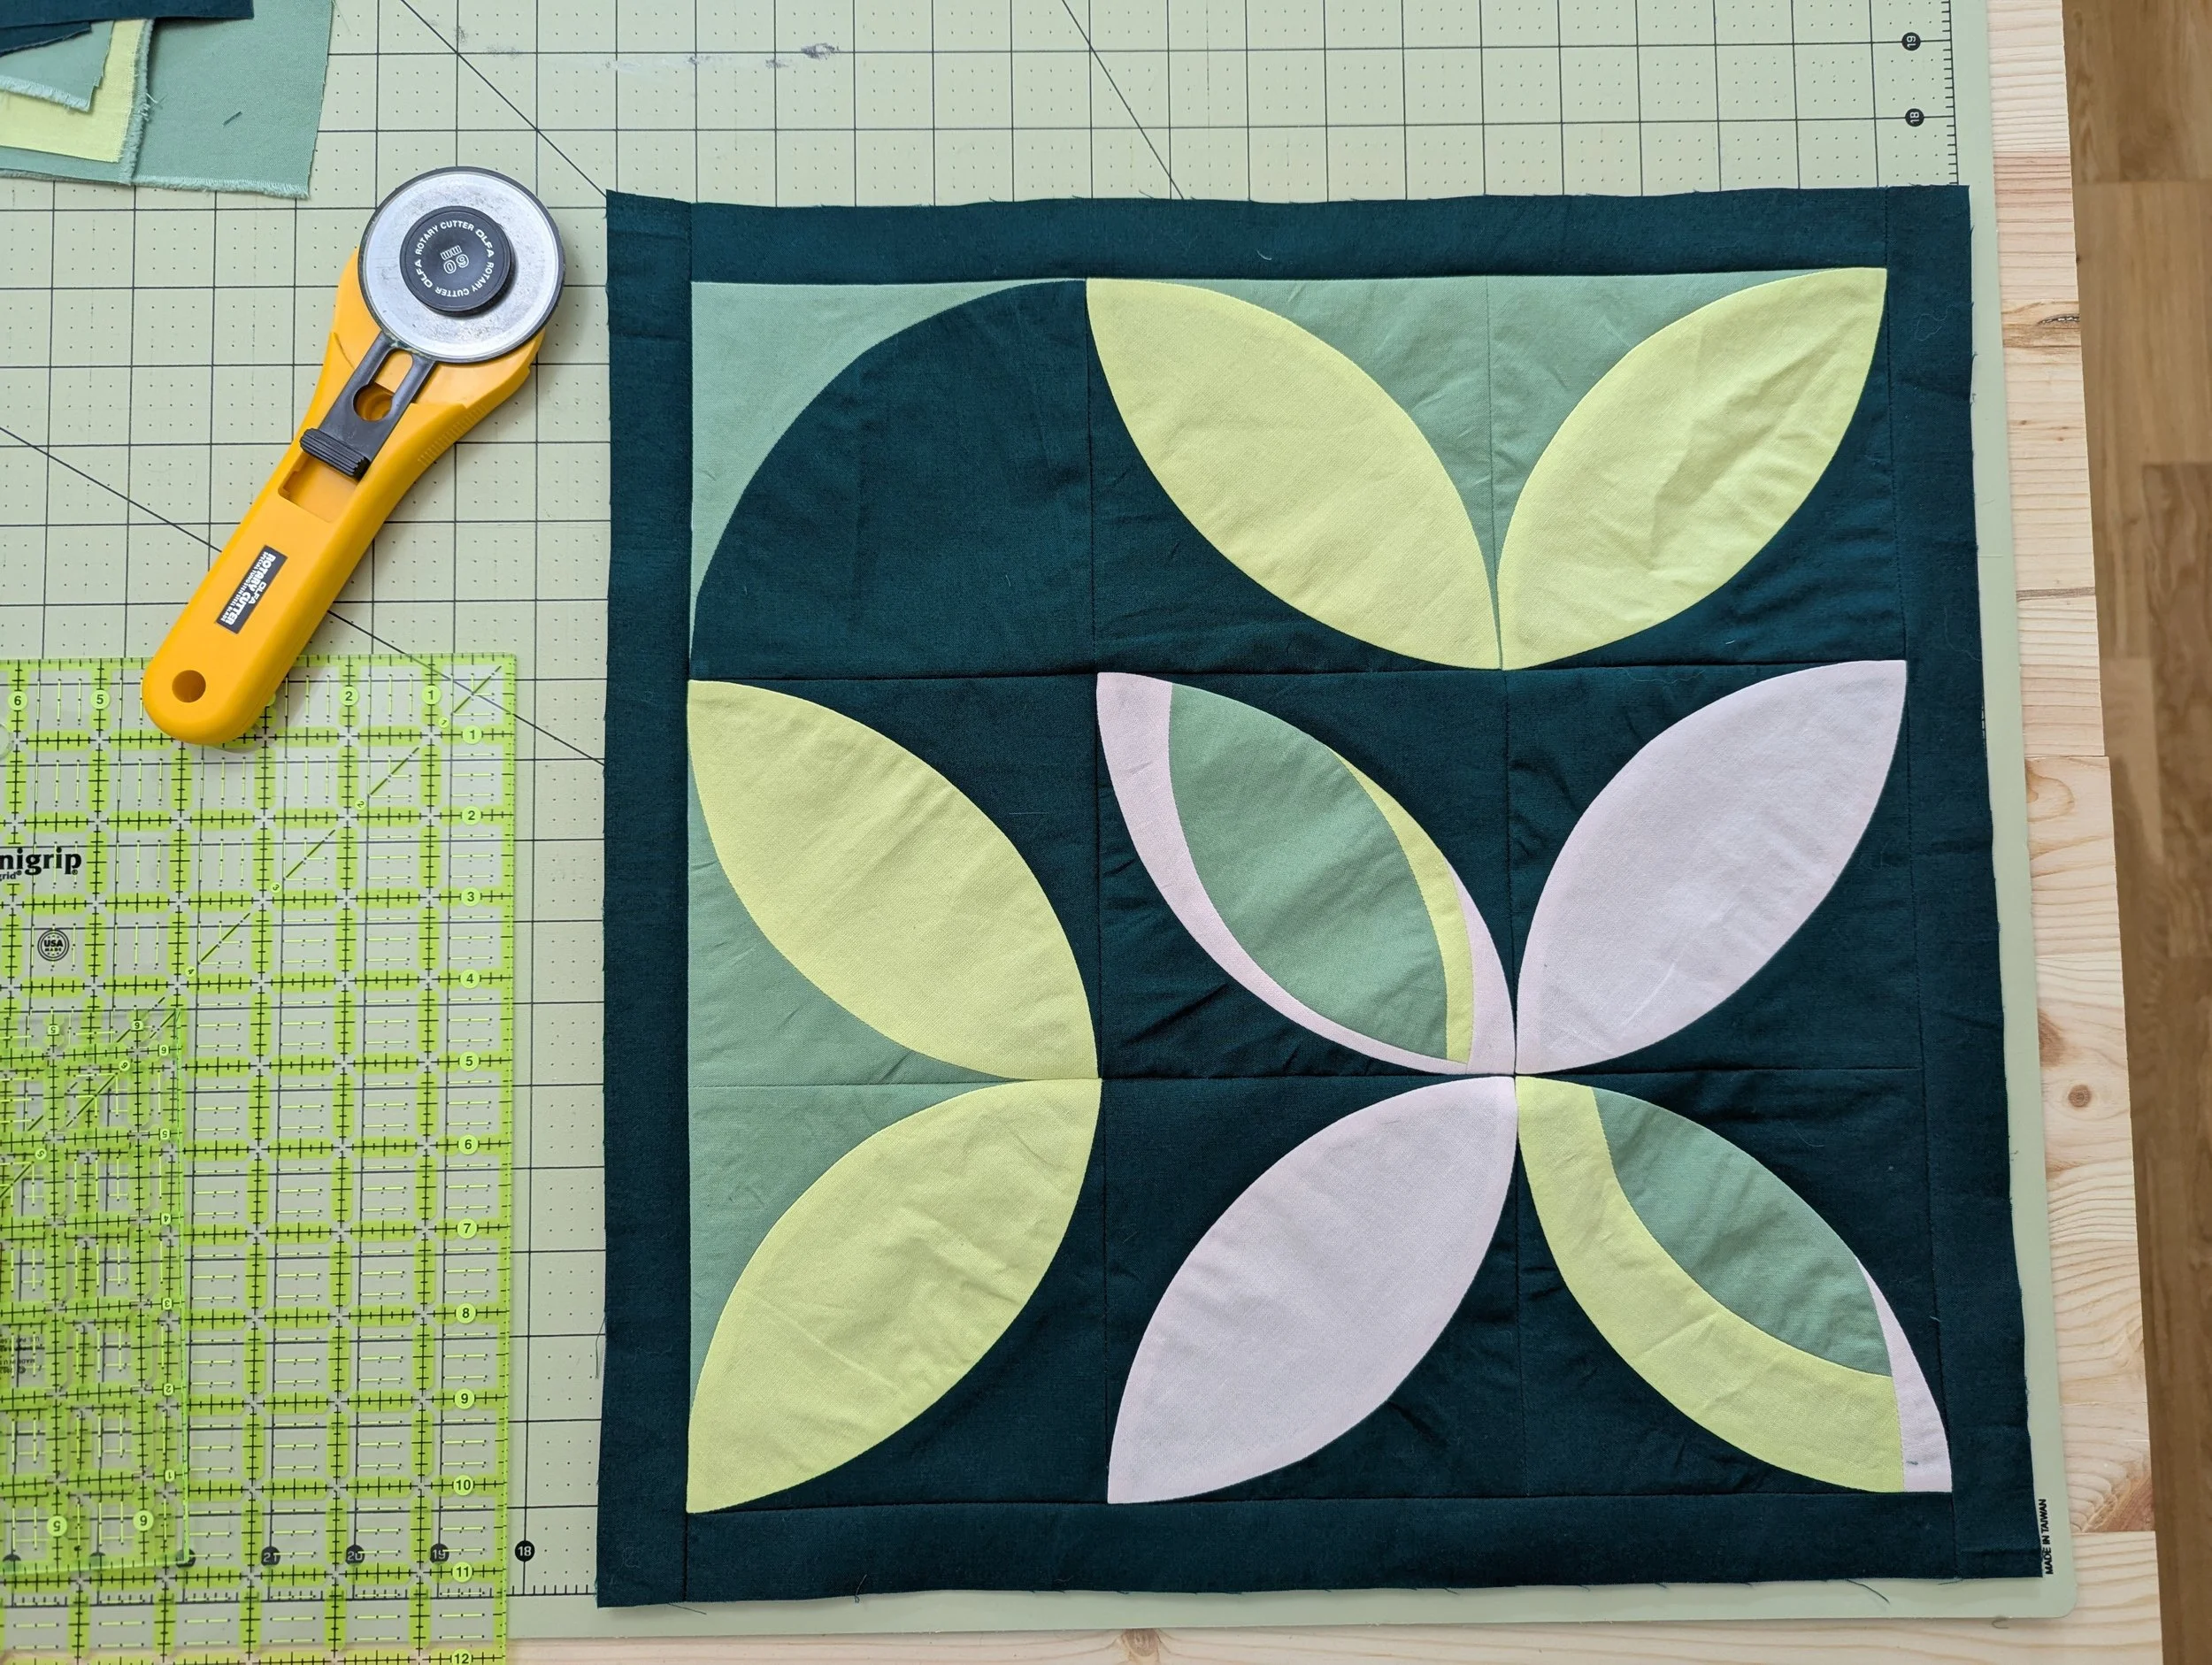
…then attach the side pieces.
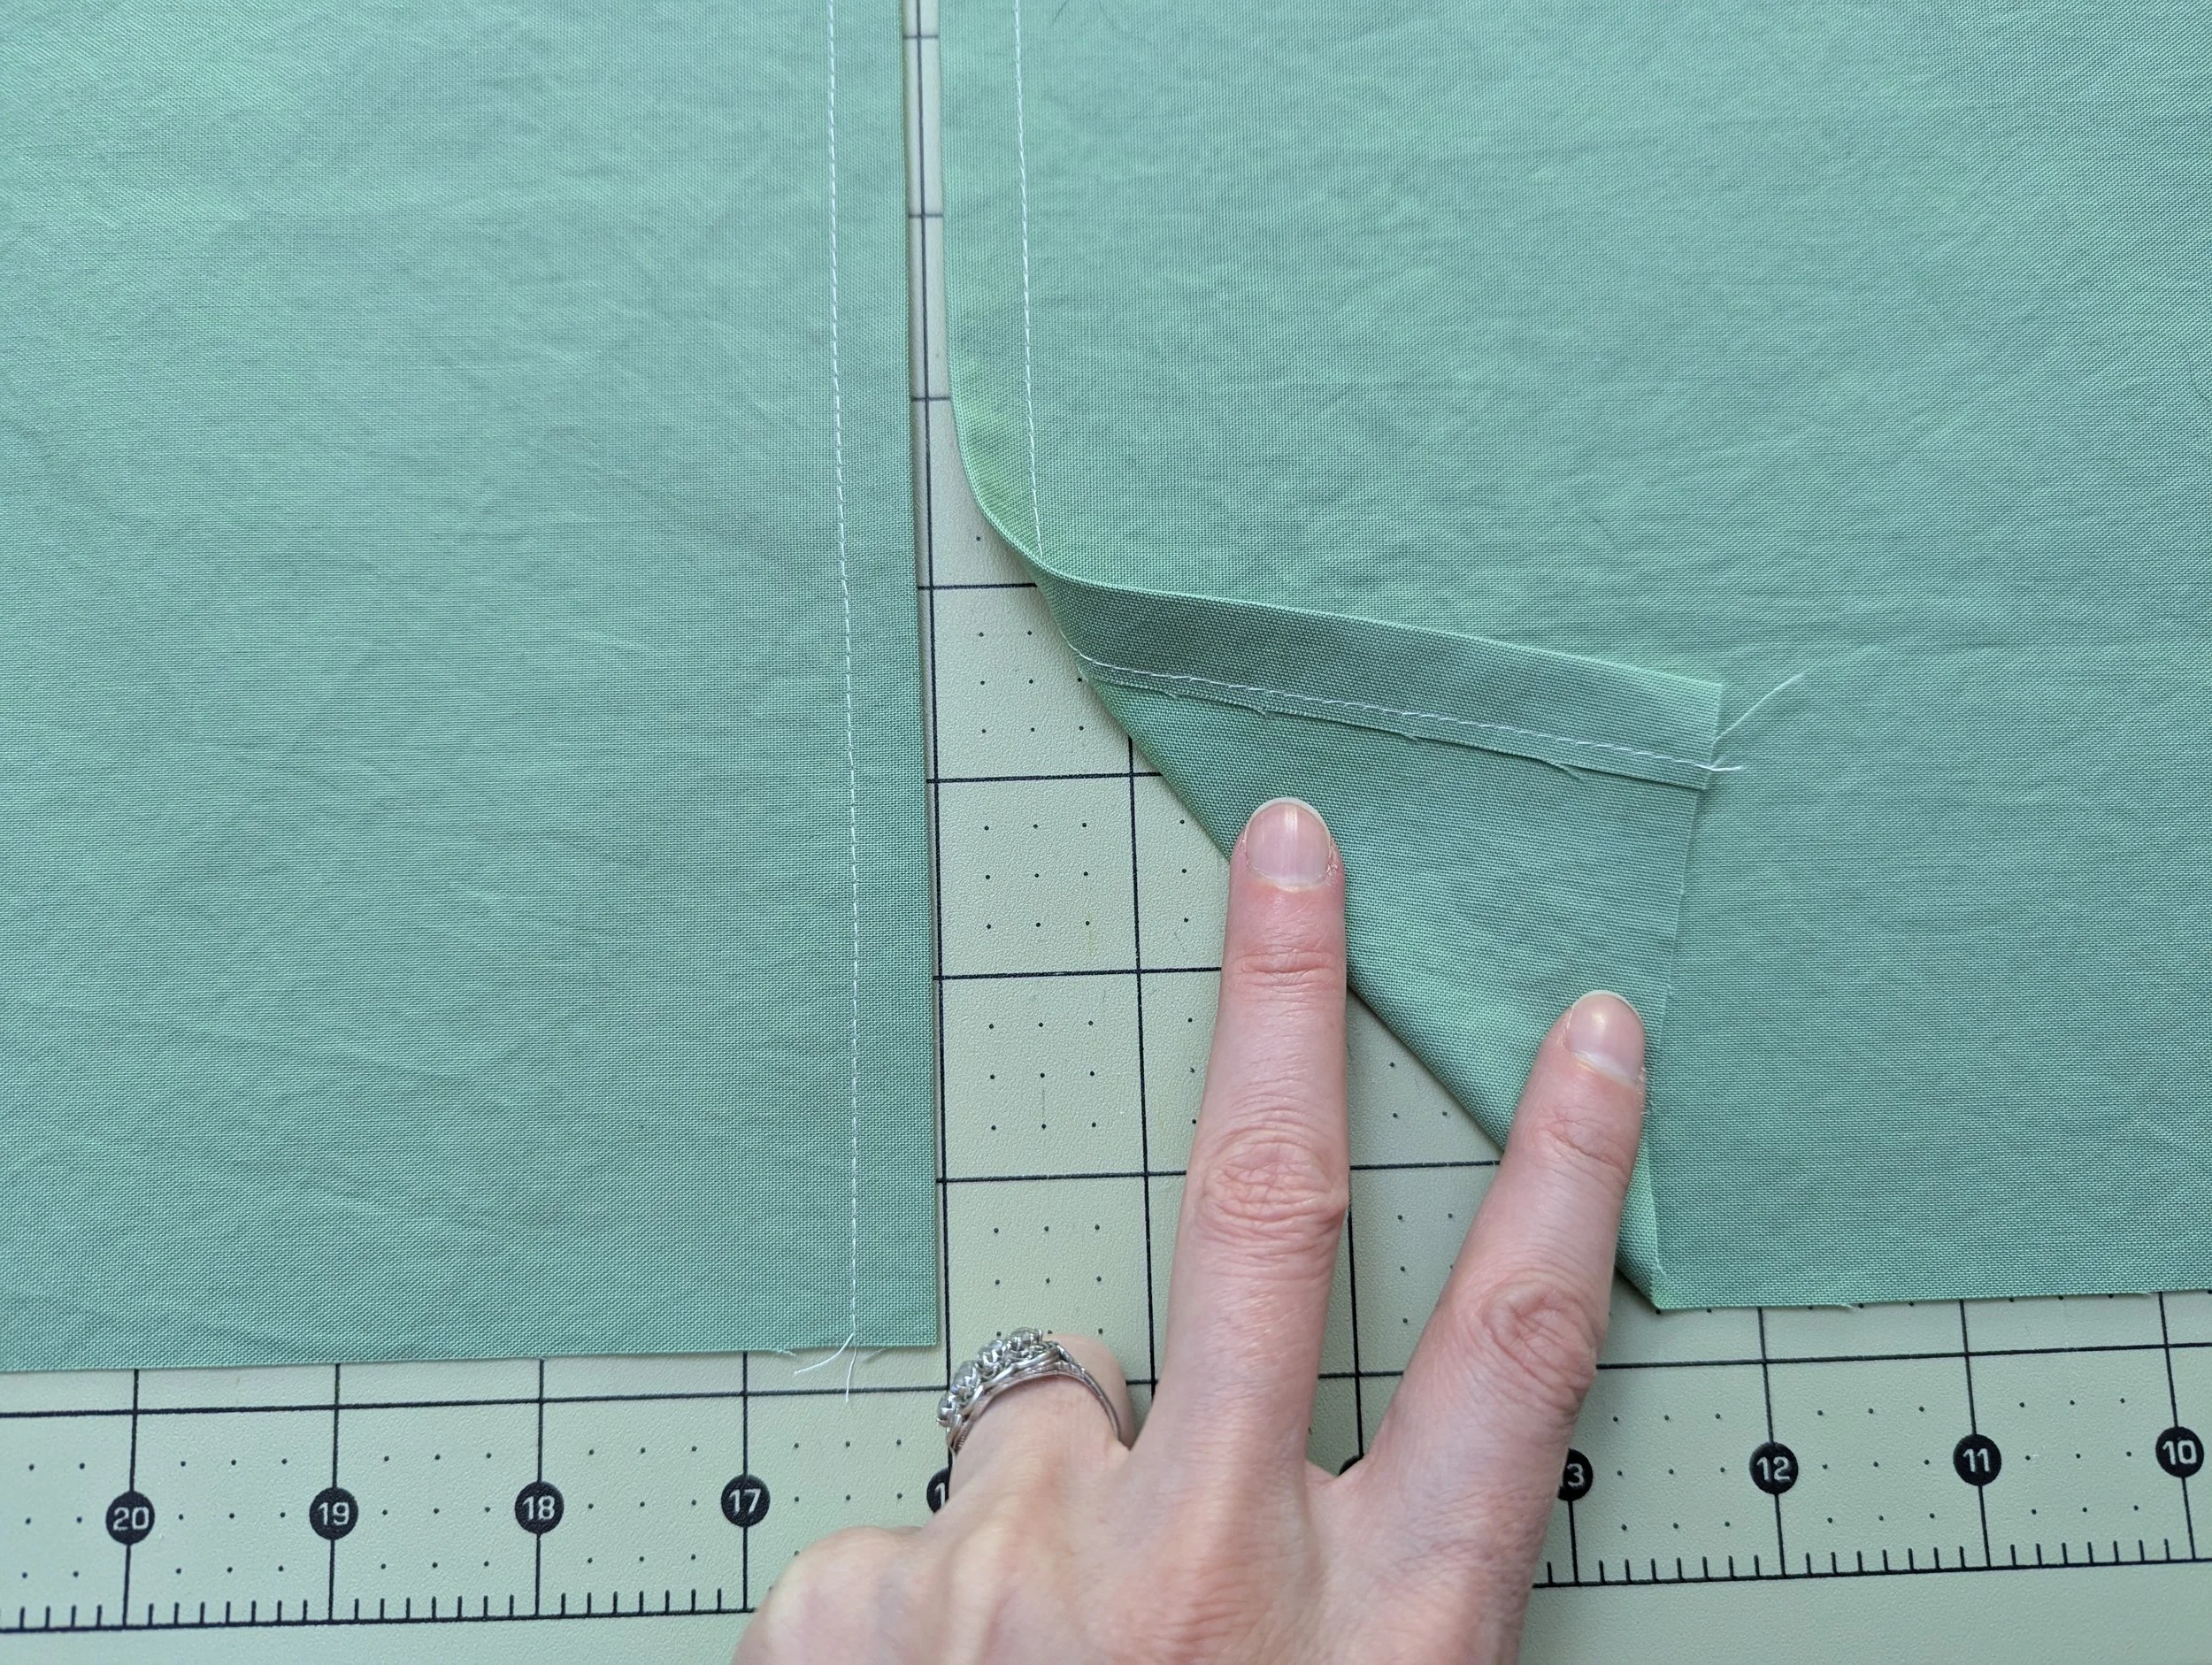
Edge stitching on the panels
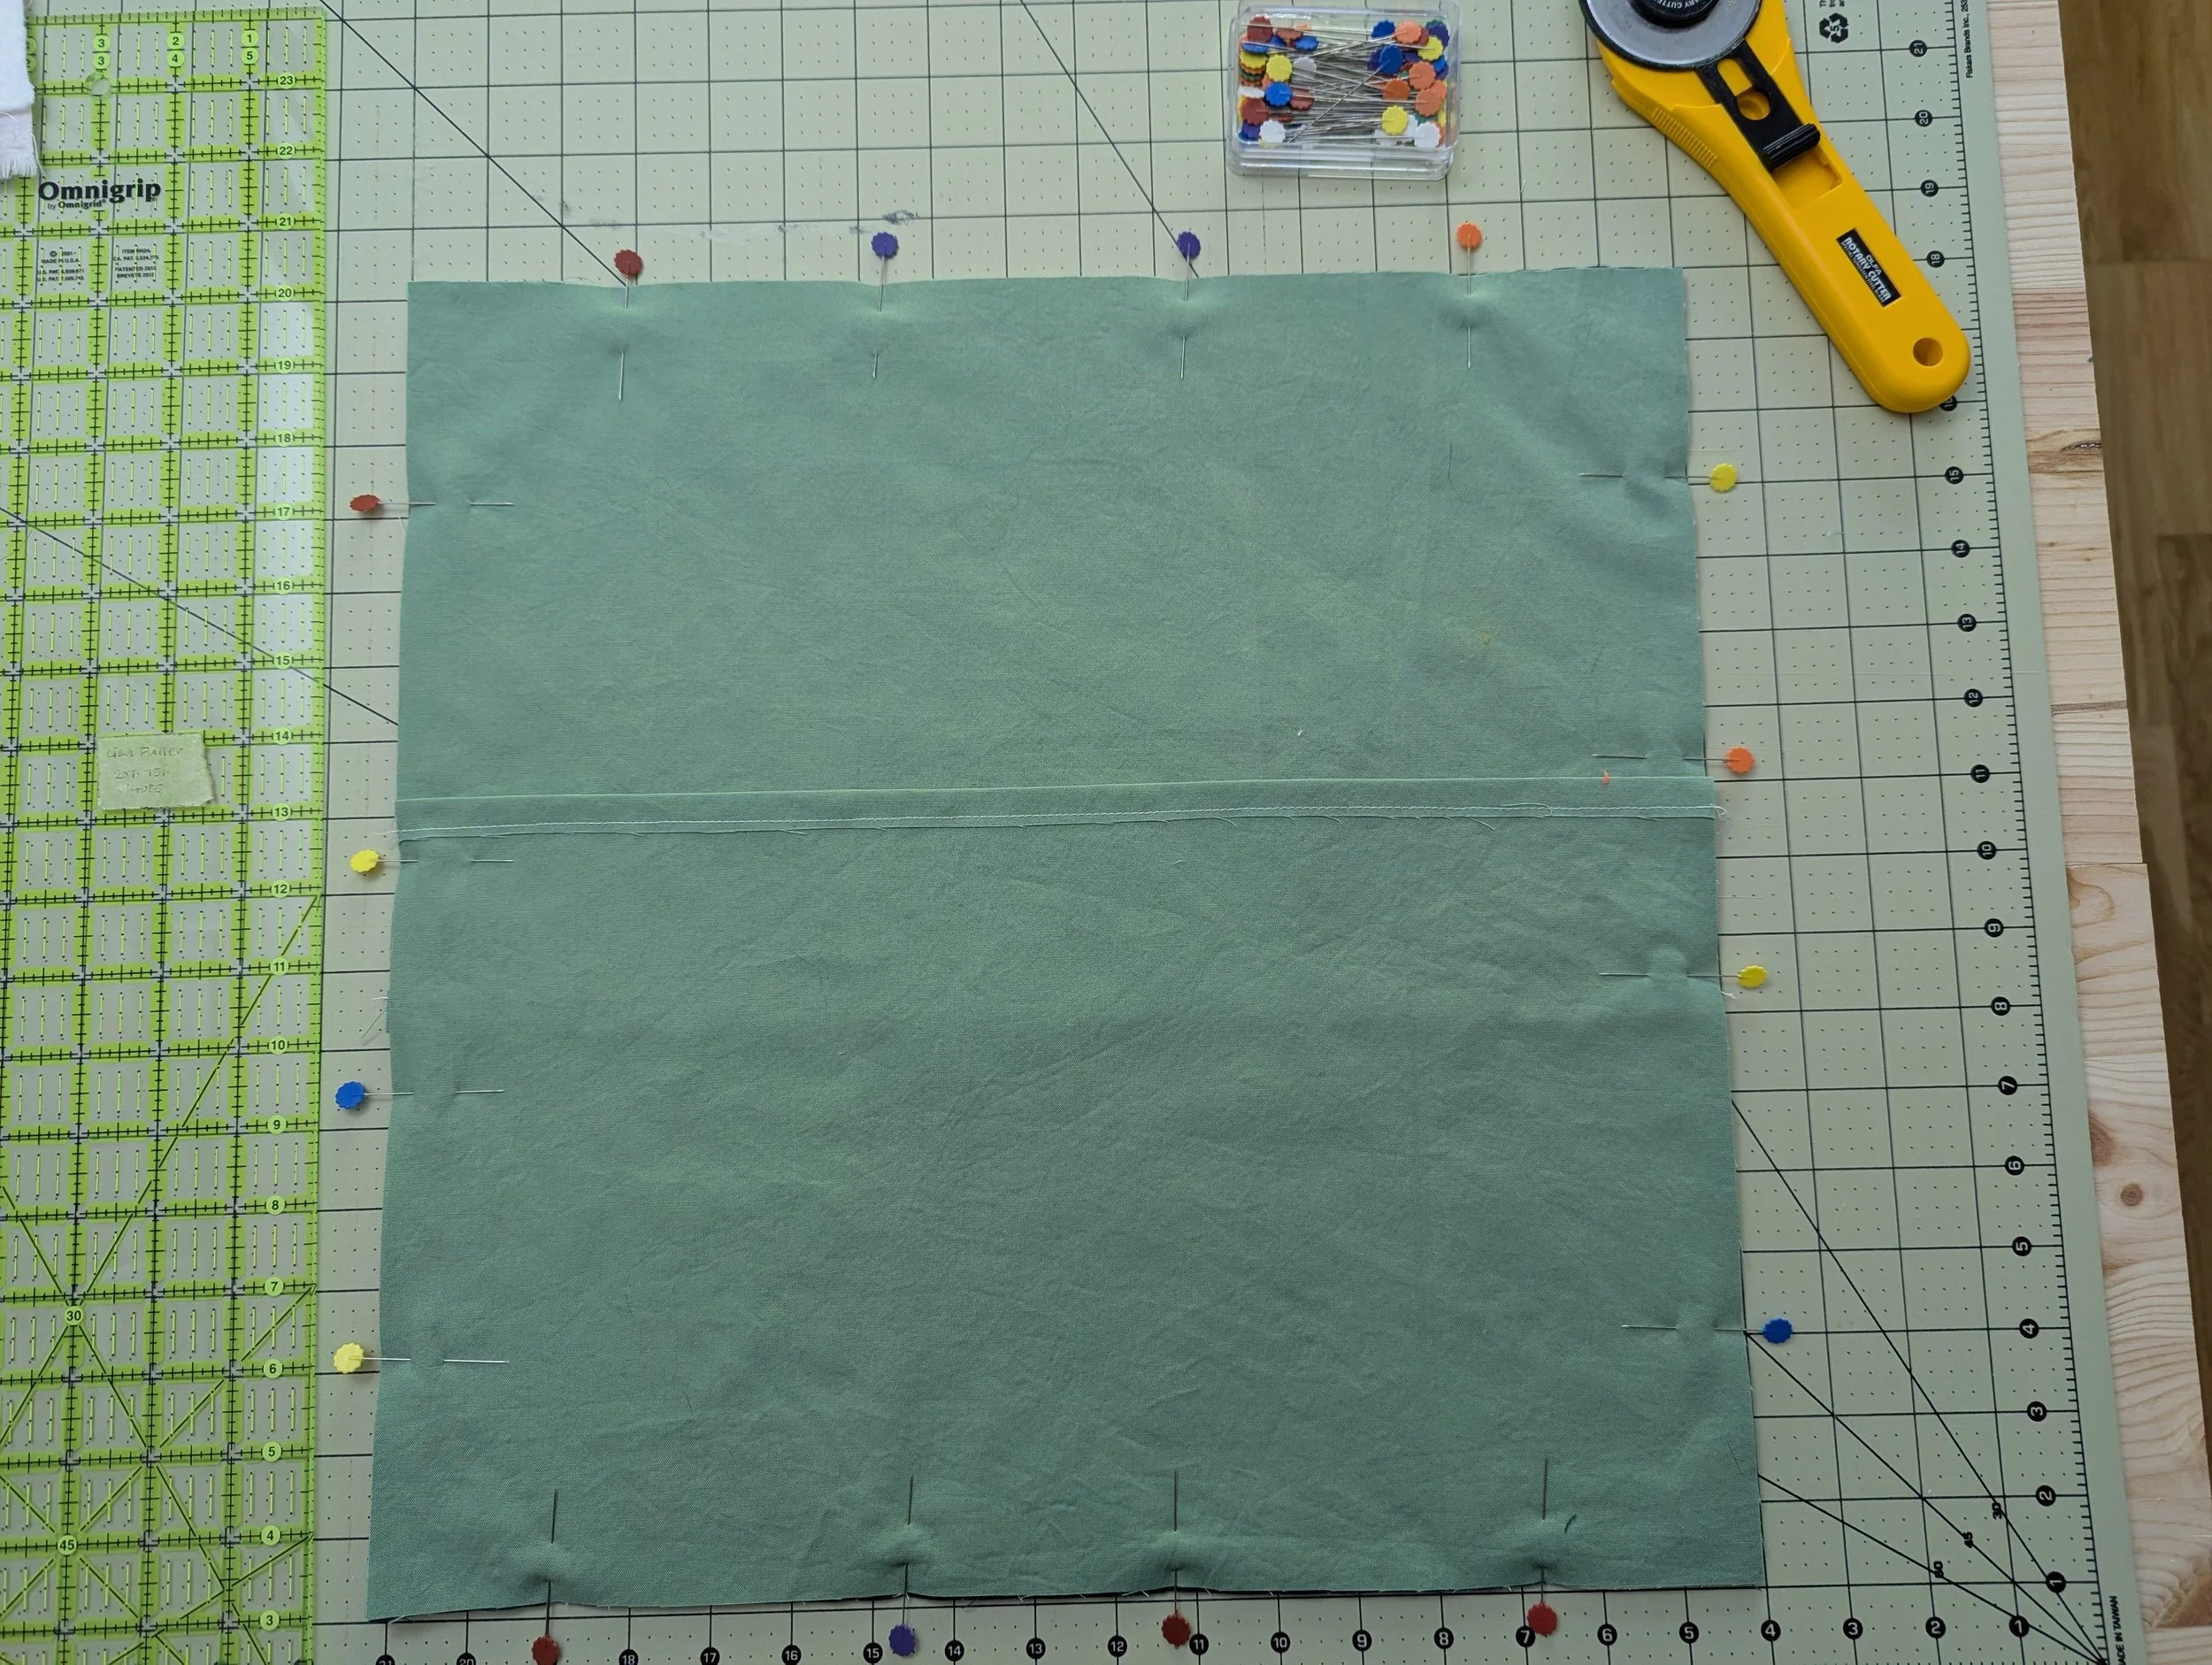
Lay your cushion top face up. RST, align your back panels with the cushion top. The back pieces (with the edge stitched seams) will overlap in the middle. (If there’s a certain way you want your back ‘seam’ to lay in relation to your pillow top, now is the time to decide this!)
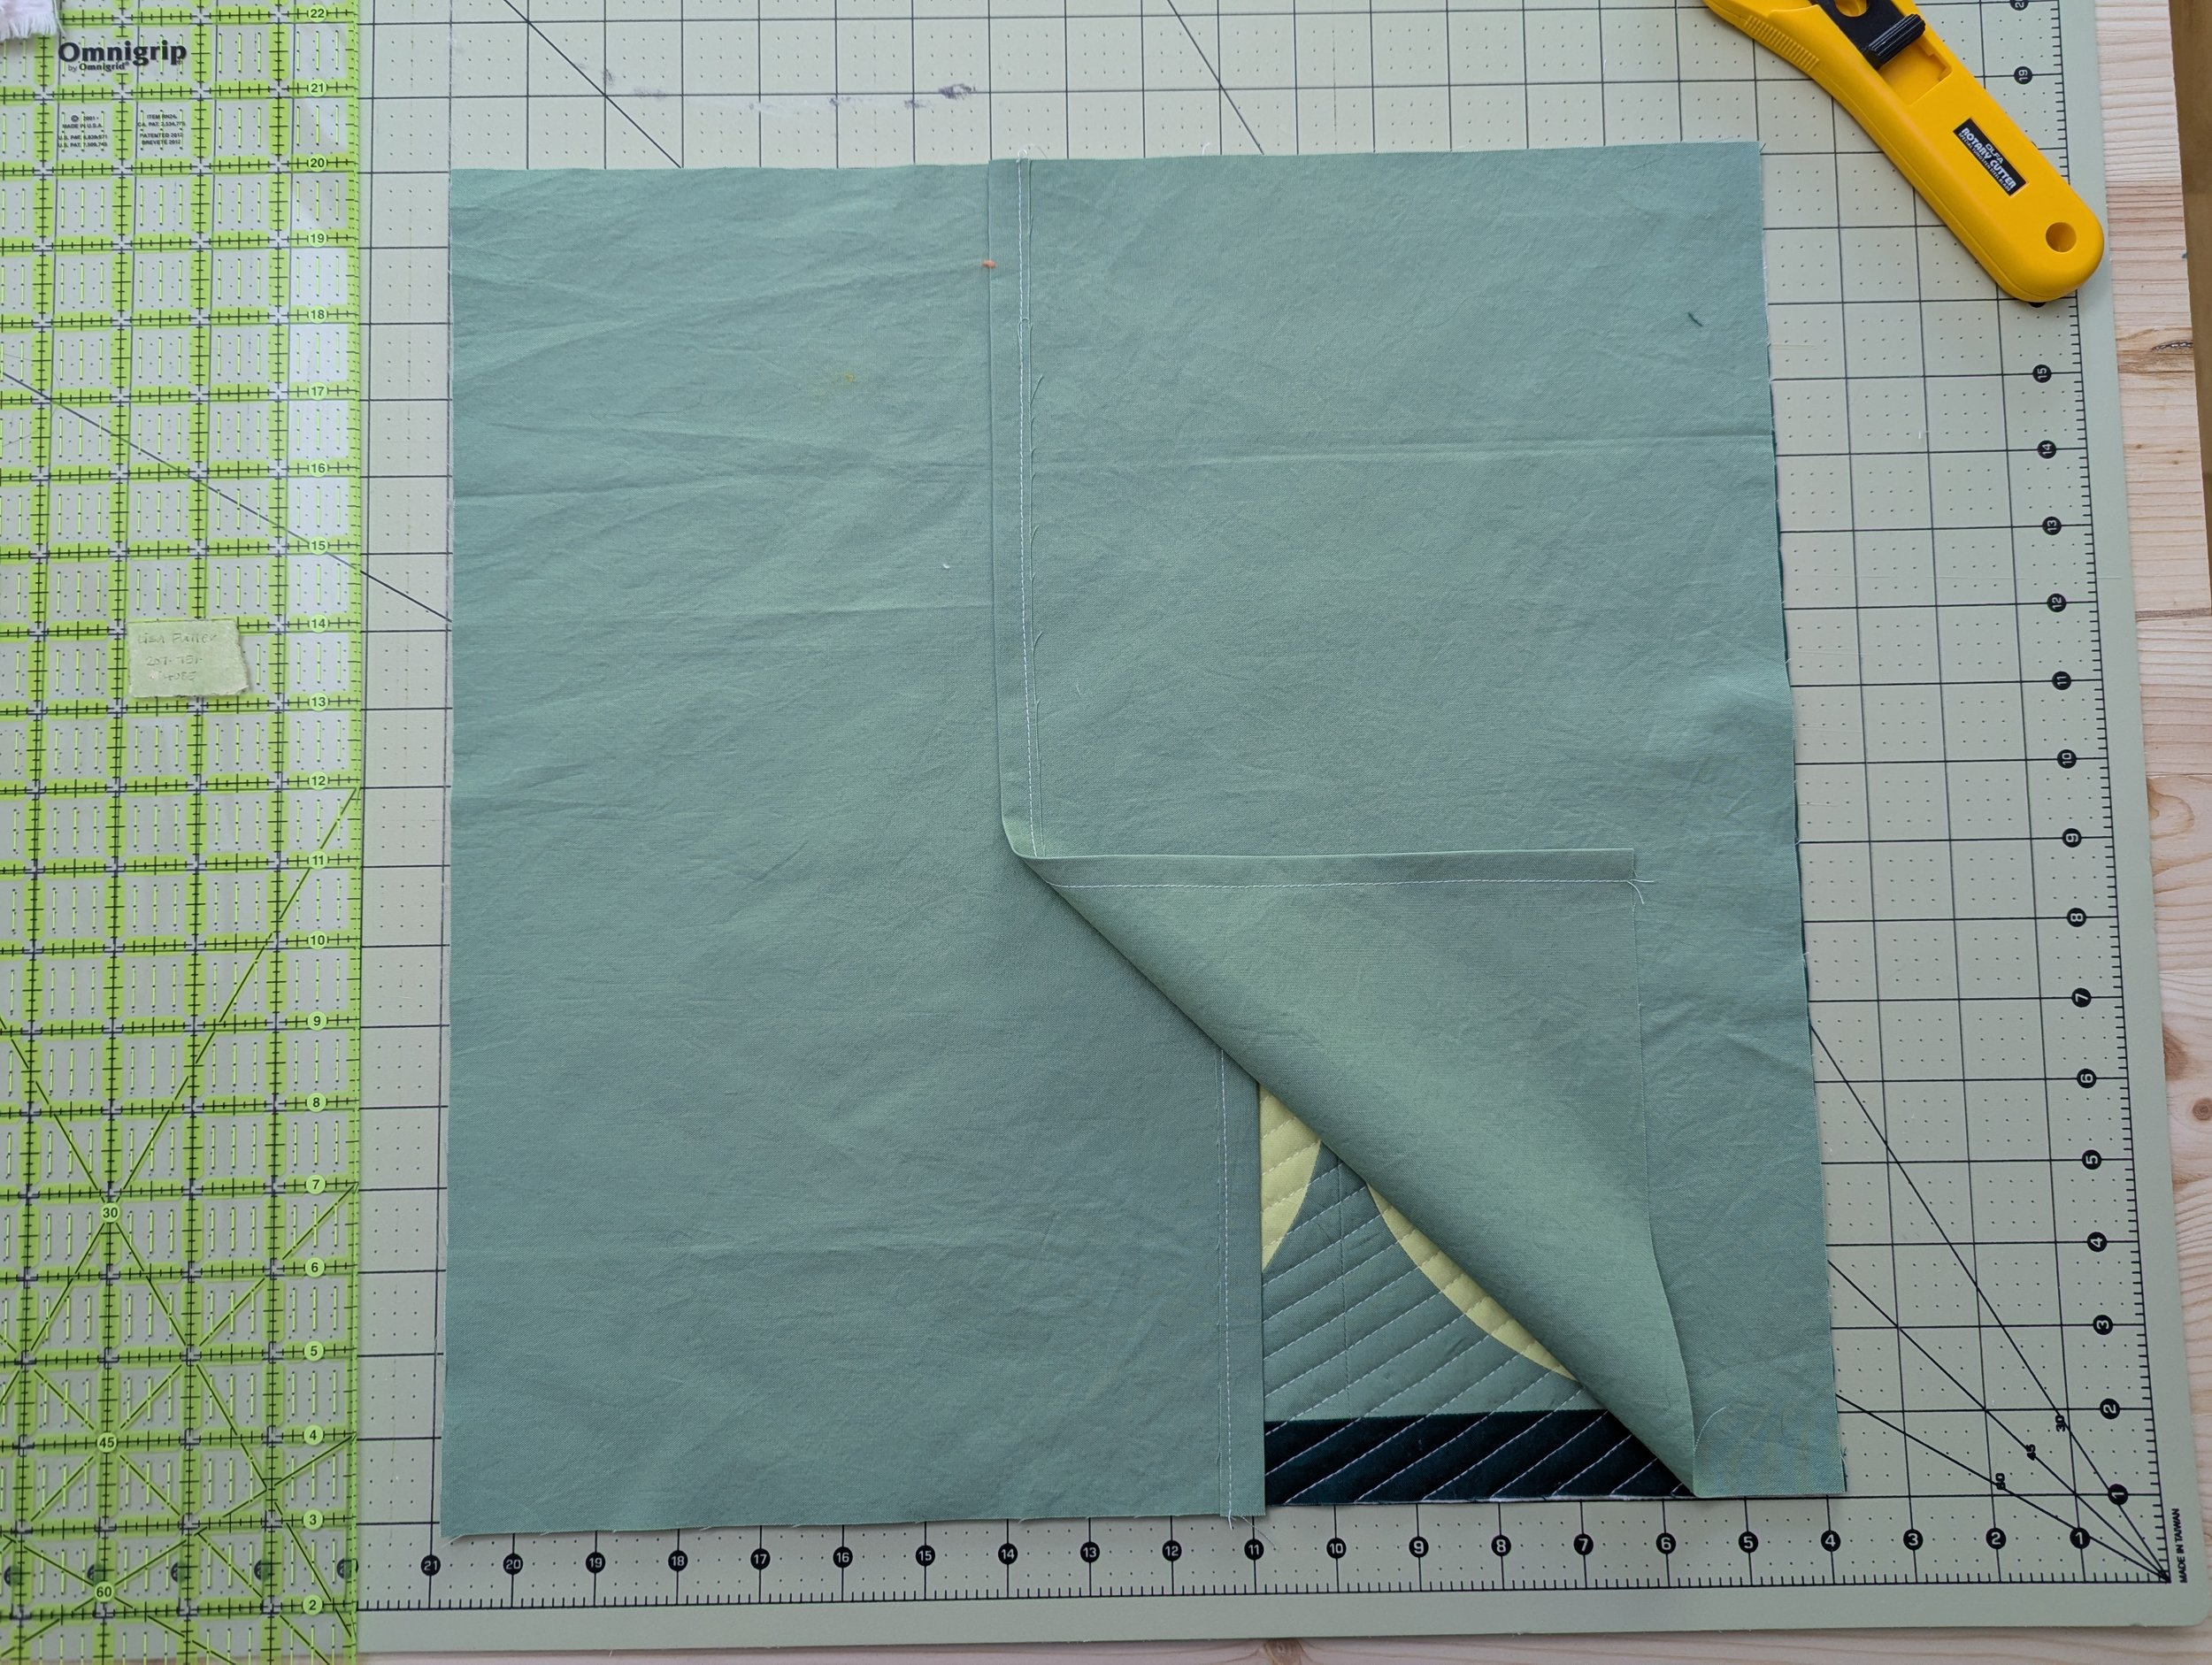
Place your panels on top of your cushion top, RST. You can see the panels will overlap in the middle.