
The 5759 Block - Improv Tutorial
From Millie & Bun Designs
This is a guide to help you create your Improv Orange Peel Units from The 5759 Block, part of the Modern Botanical Sampler.
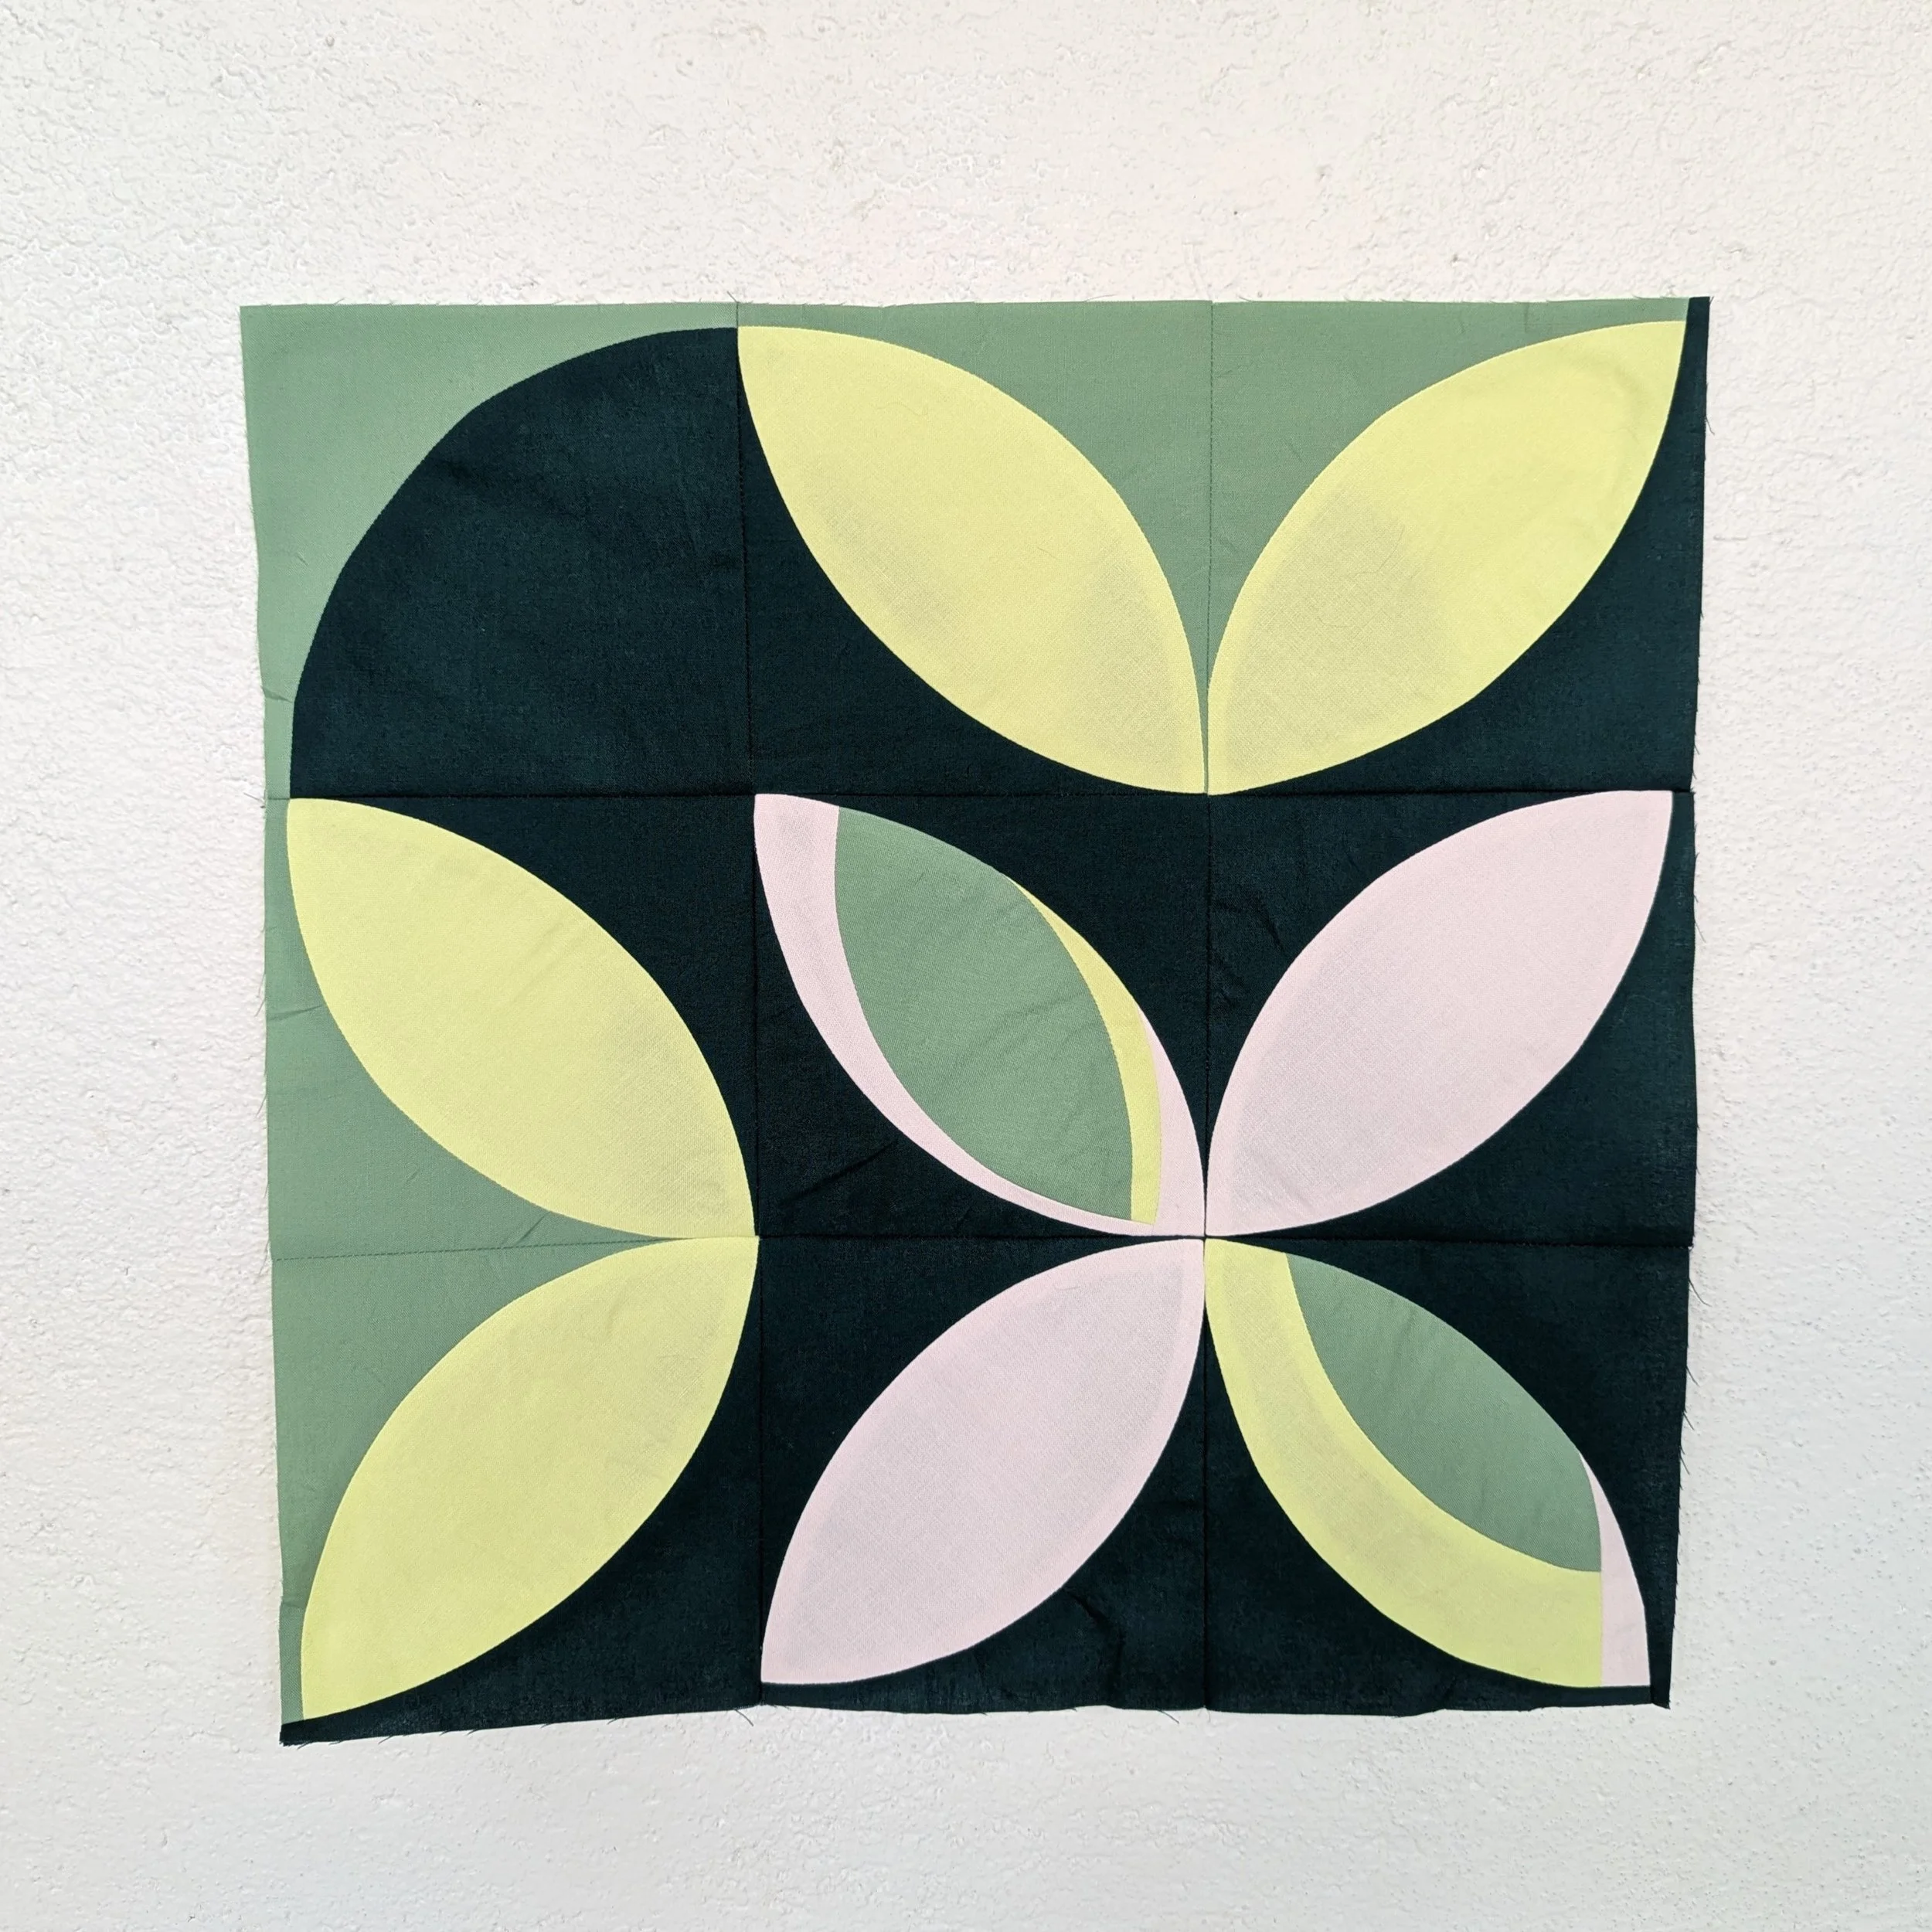
I was really excited to incorporate improv piecing into the block I designed for the Modern Botanical Sampler. It’s not a technique that has shown up in a Millie & Bun Designs pattern before, but I really love playing with shapes and colors without a firm plan in hand- it really can unlock your creativity and give you some surprising results!
I thought it would be helpful to give some quick improv tips that will help guide you while you're making your improv orange peels for The 5759 Block. In this tutorial, I’ll talk about:
What you need
Two methods of curved piecing
Straight line piecing
Cutting out your improv peels
Let’s get into it!
What You Need
Fabric leftovers from cutting out Fabrics 1, 3, and 4 of The 5759 Block
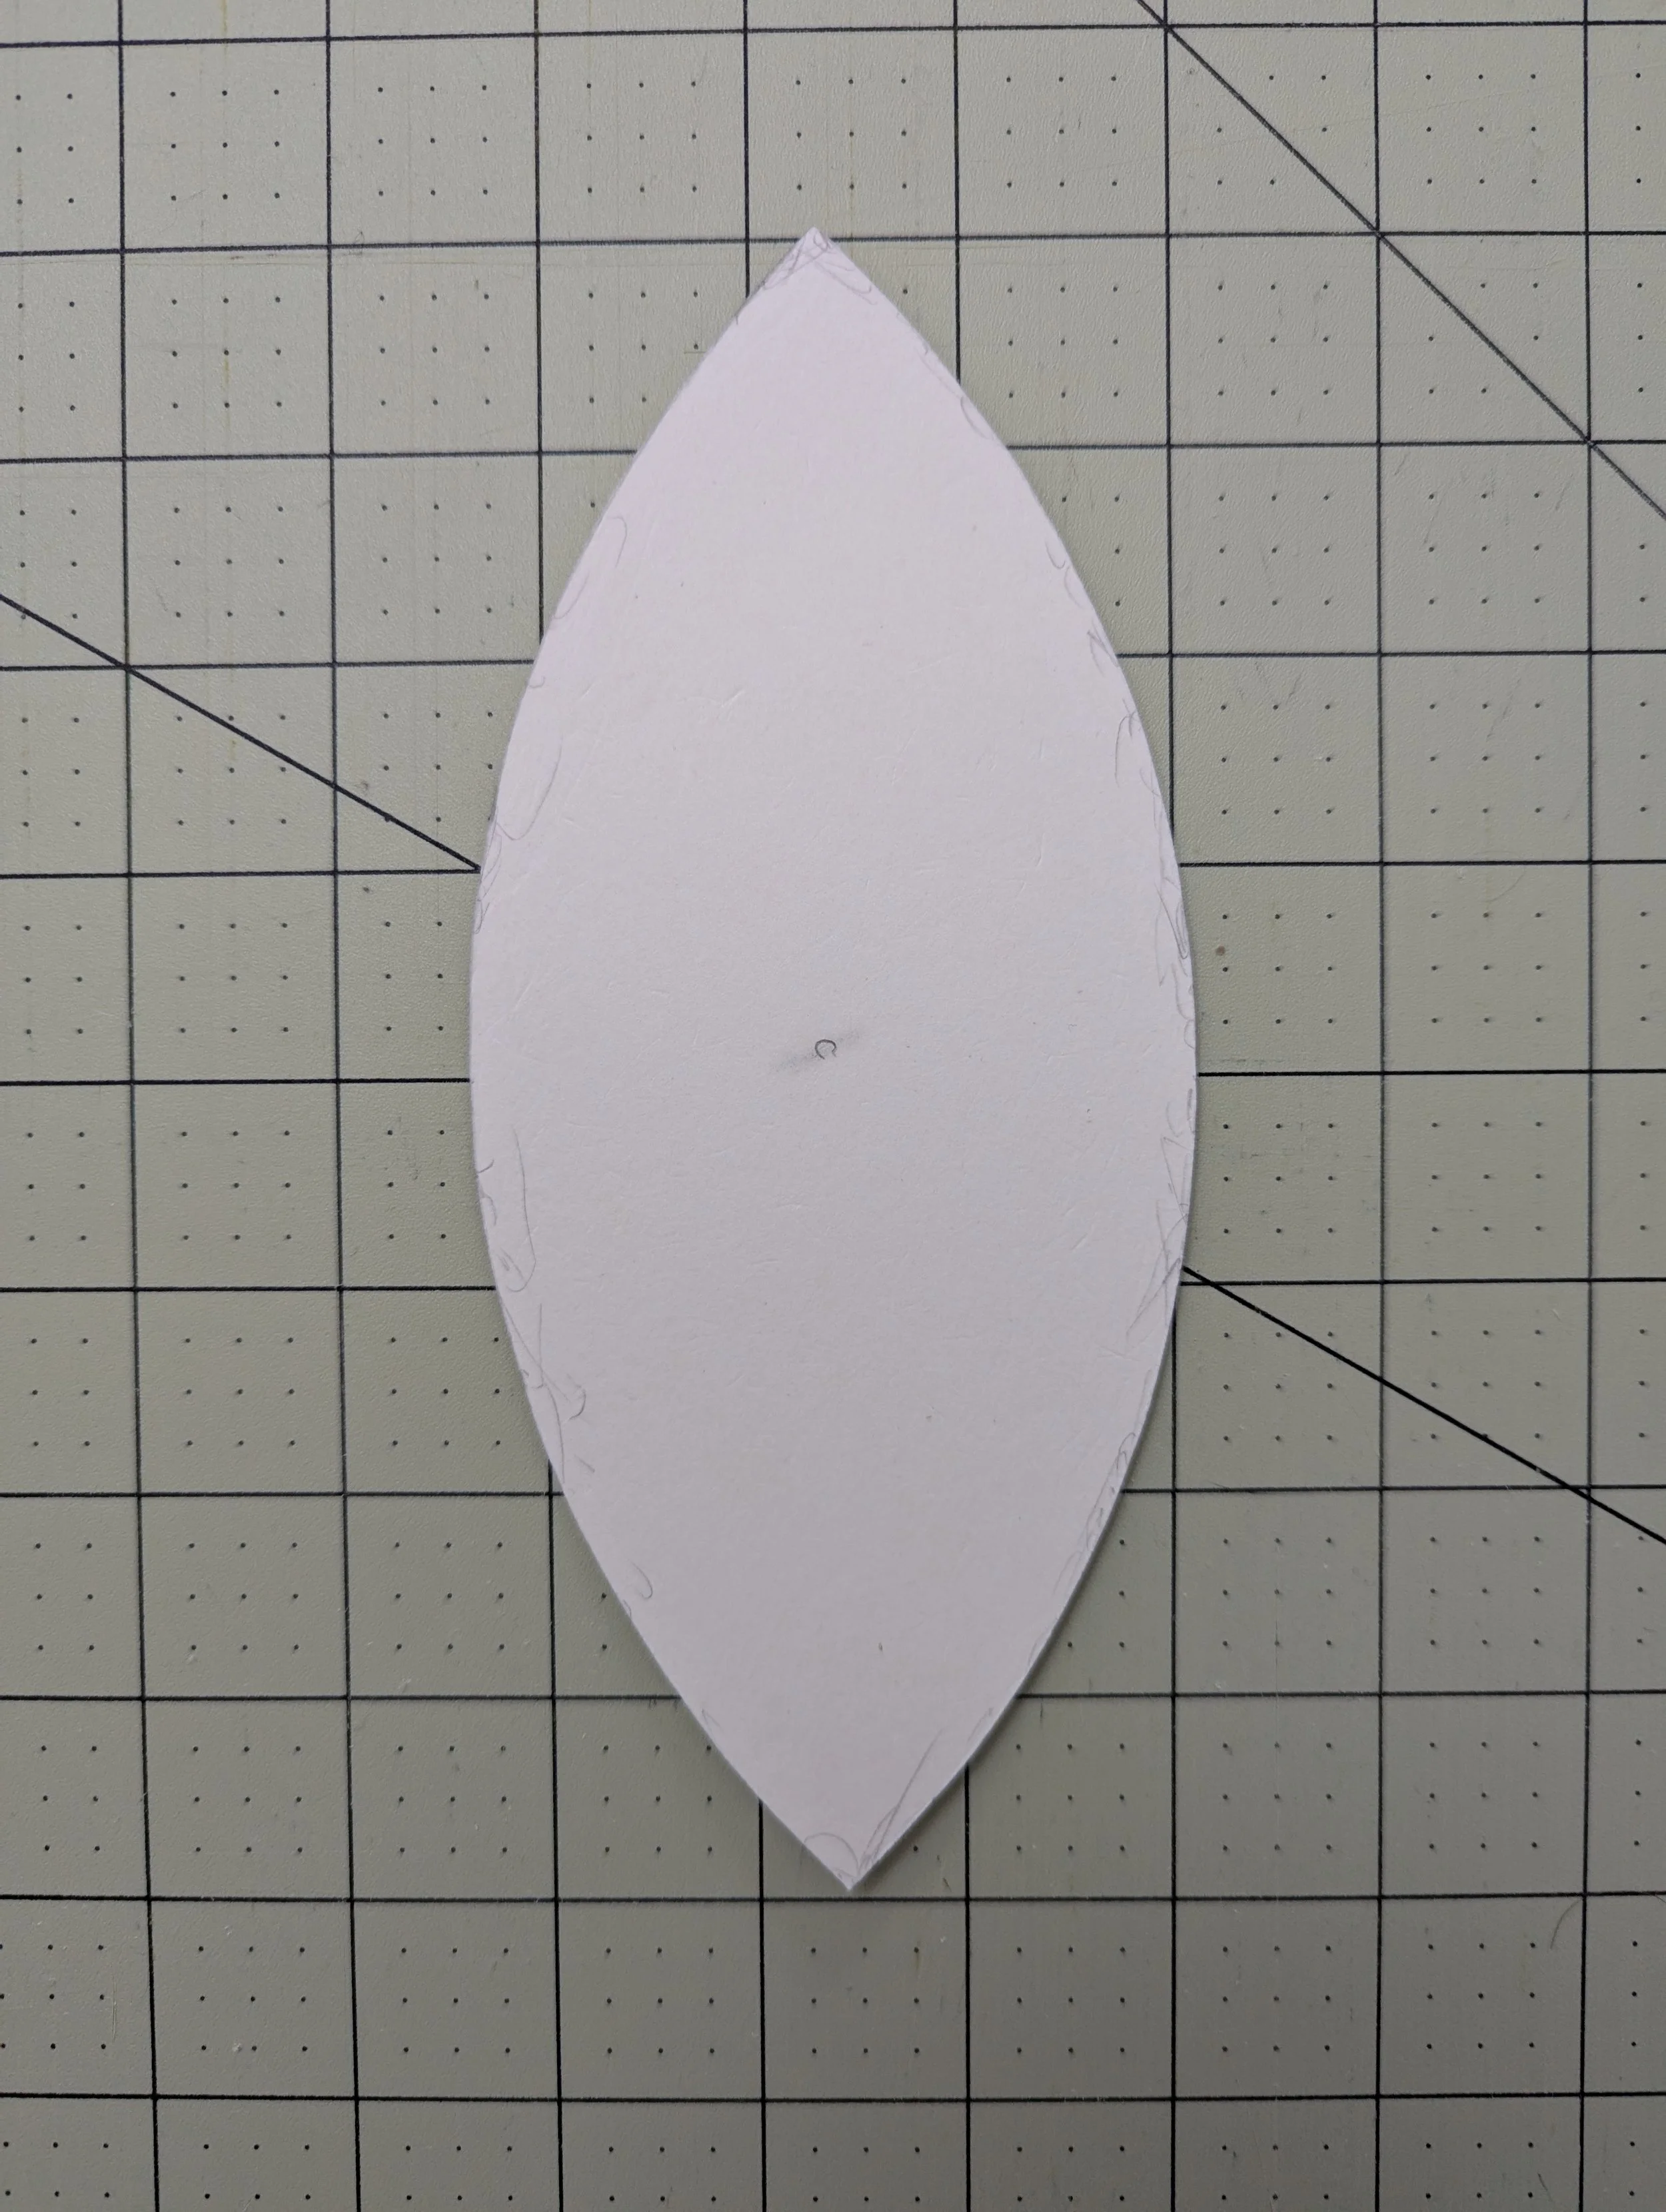
Template C from The 5759 Block pattern
Rotary cutter and/or fabric scissors
Pins
Ruler
Sewing machine
Thread
Iron
Curves
To sew a curve, you need two pieces: a convex piece and a concave piece.
Convex Piece
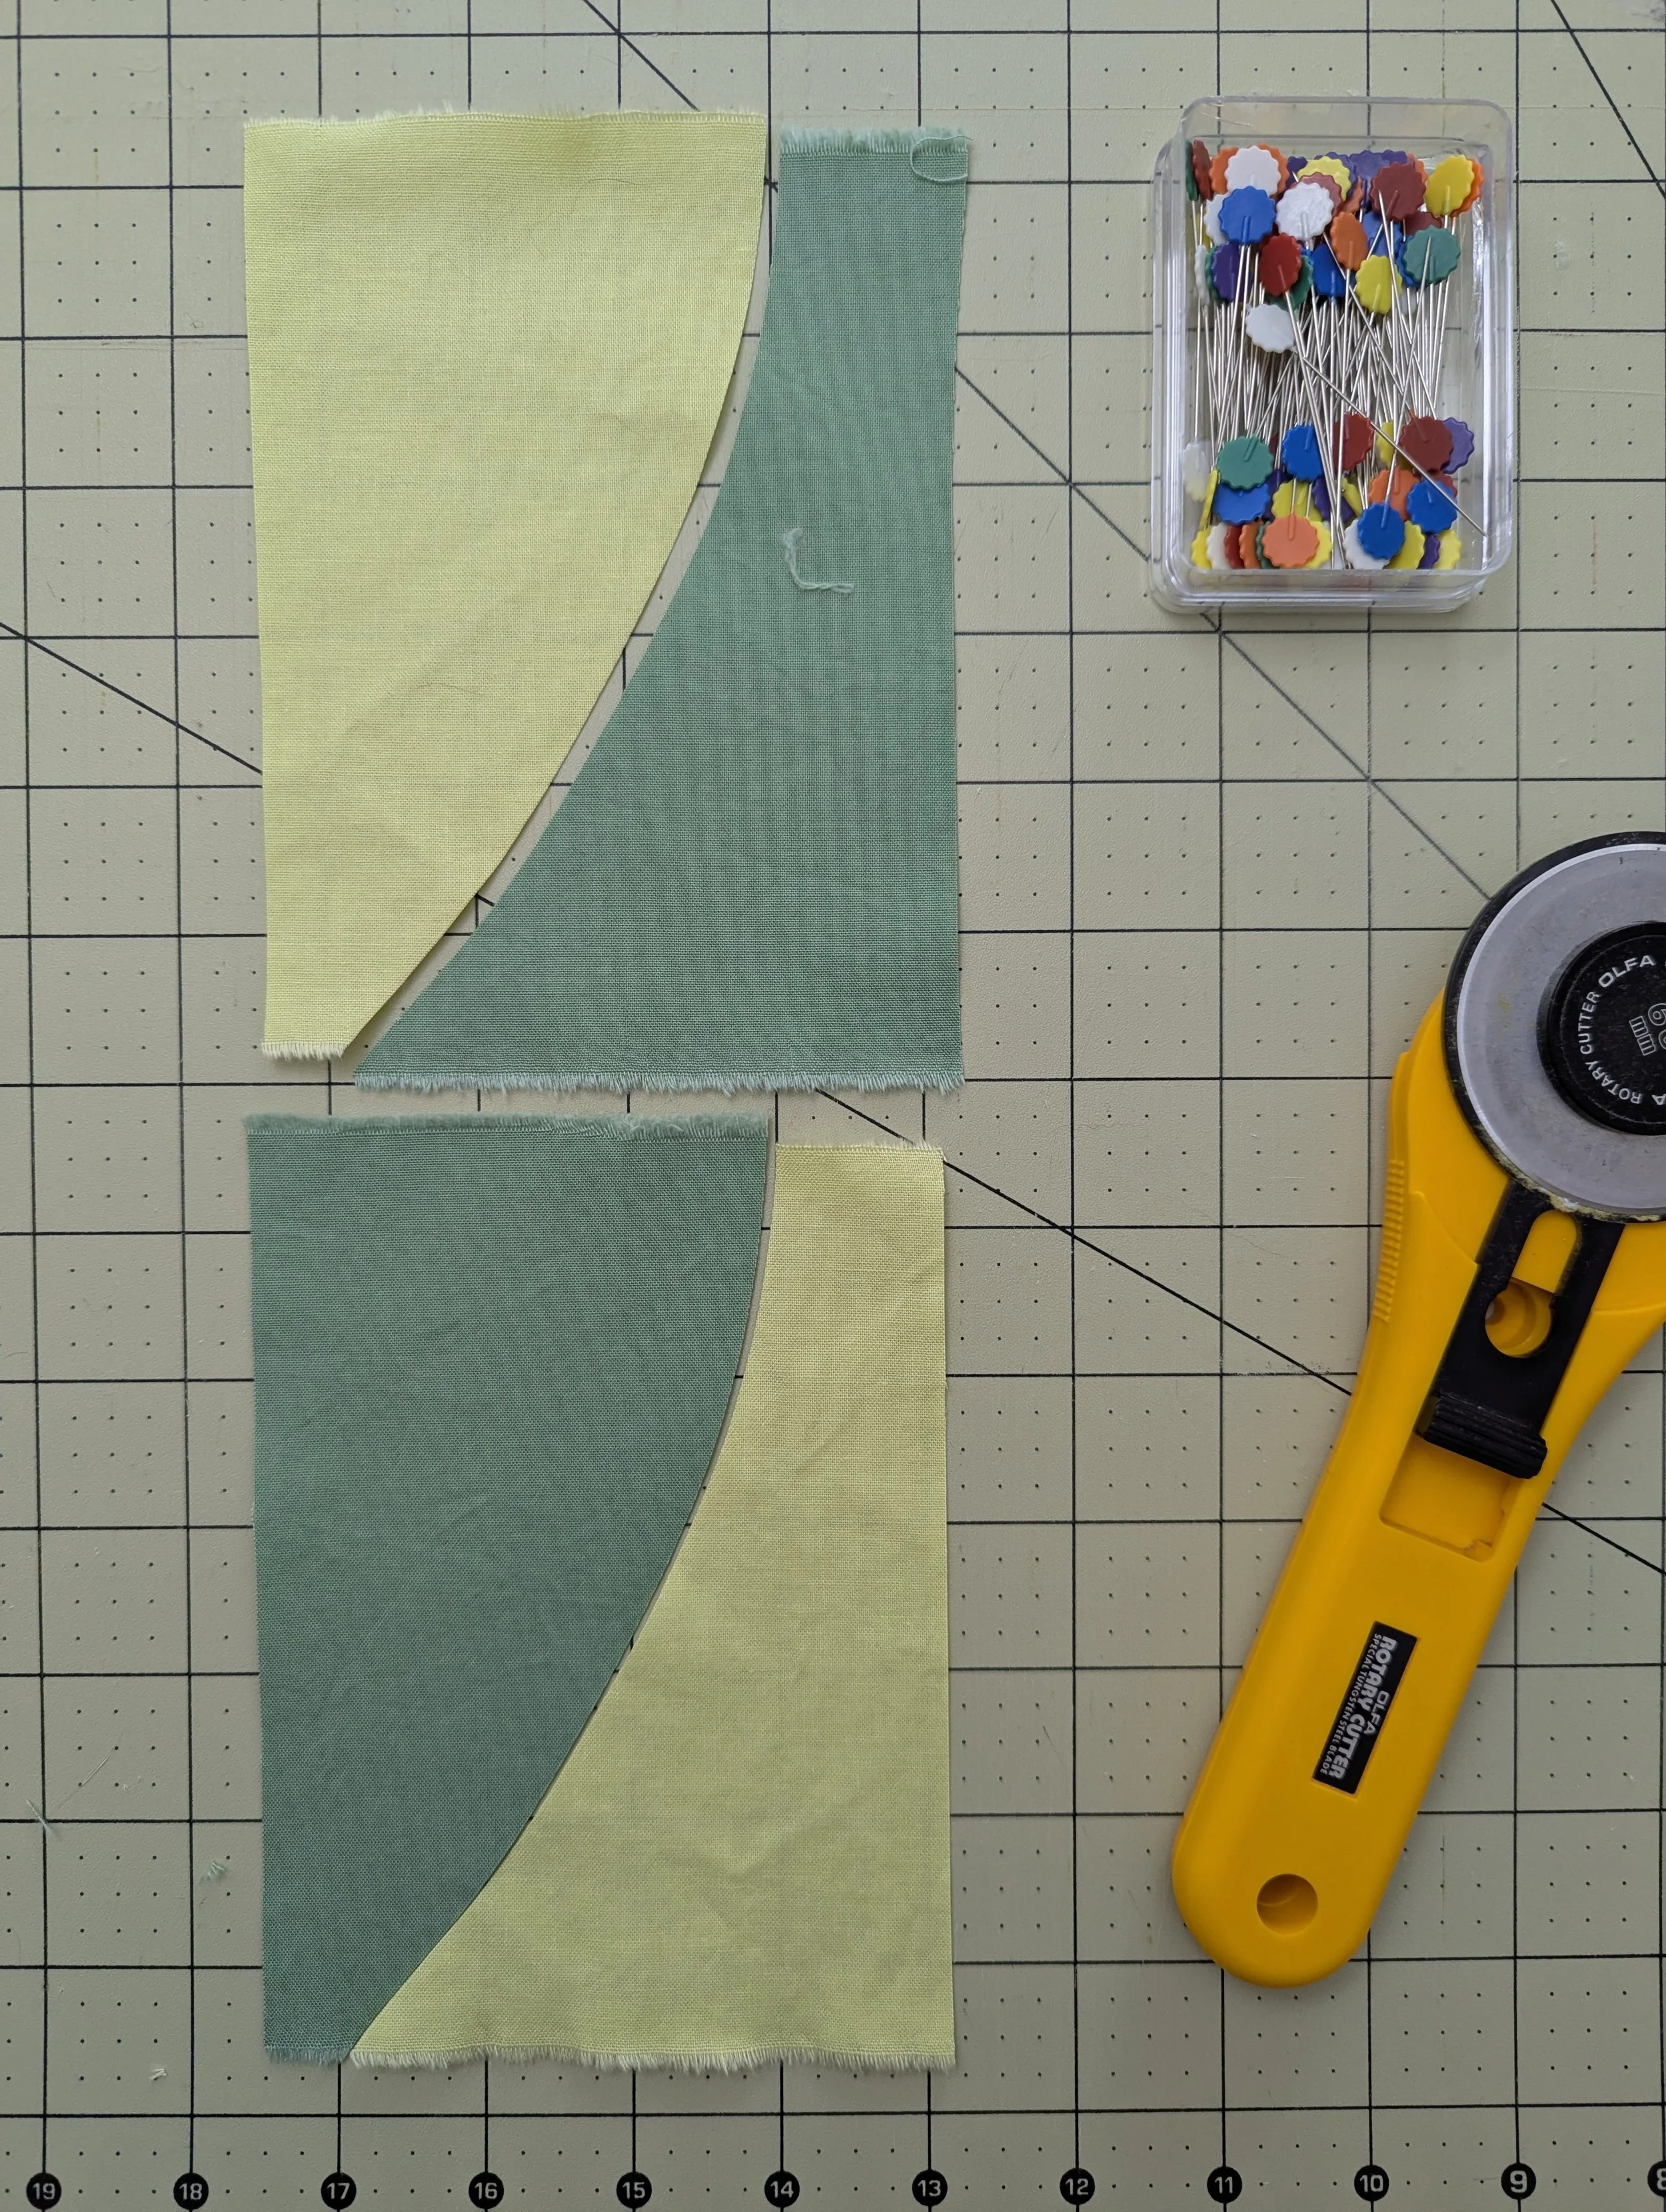
Swap your fabrics…
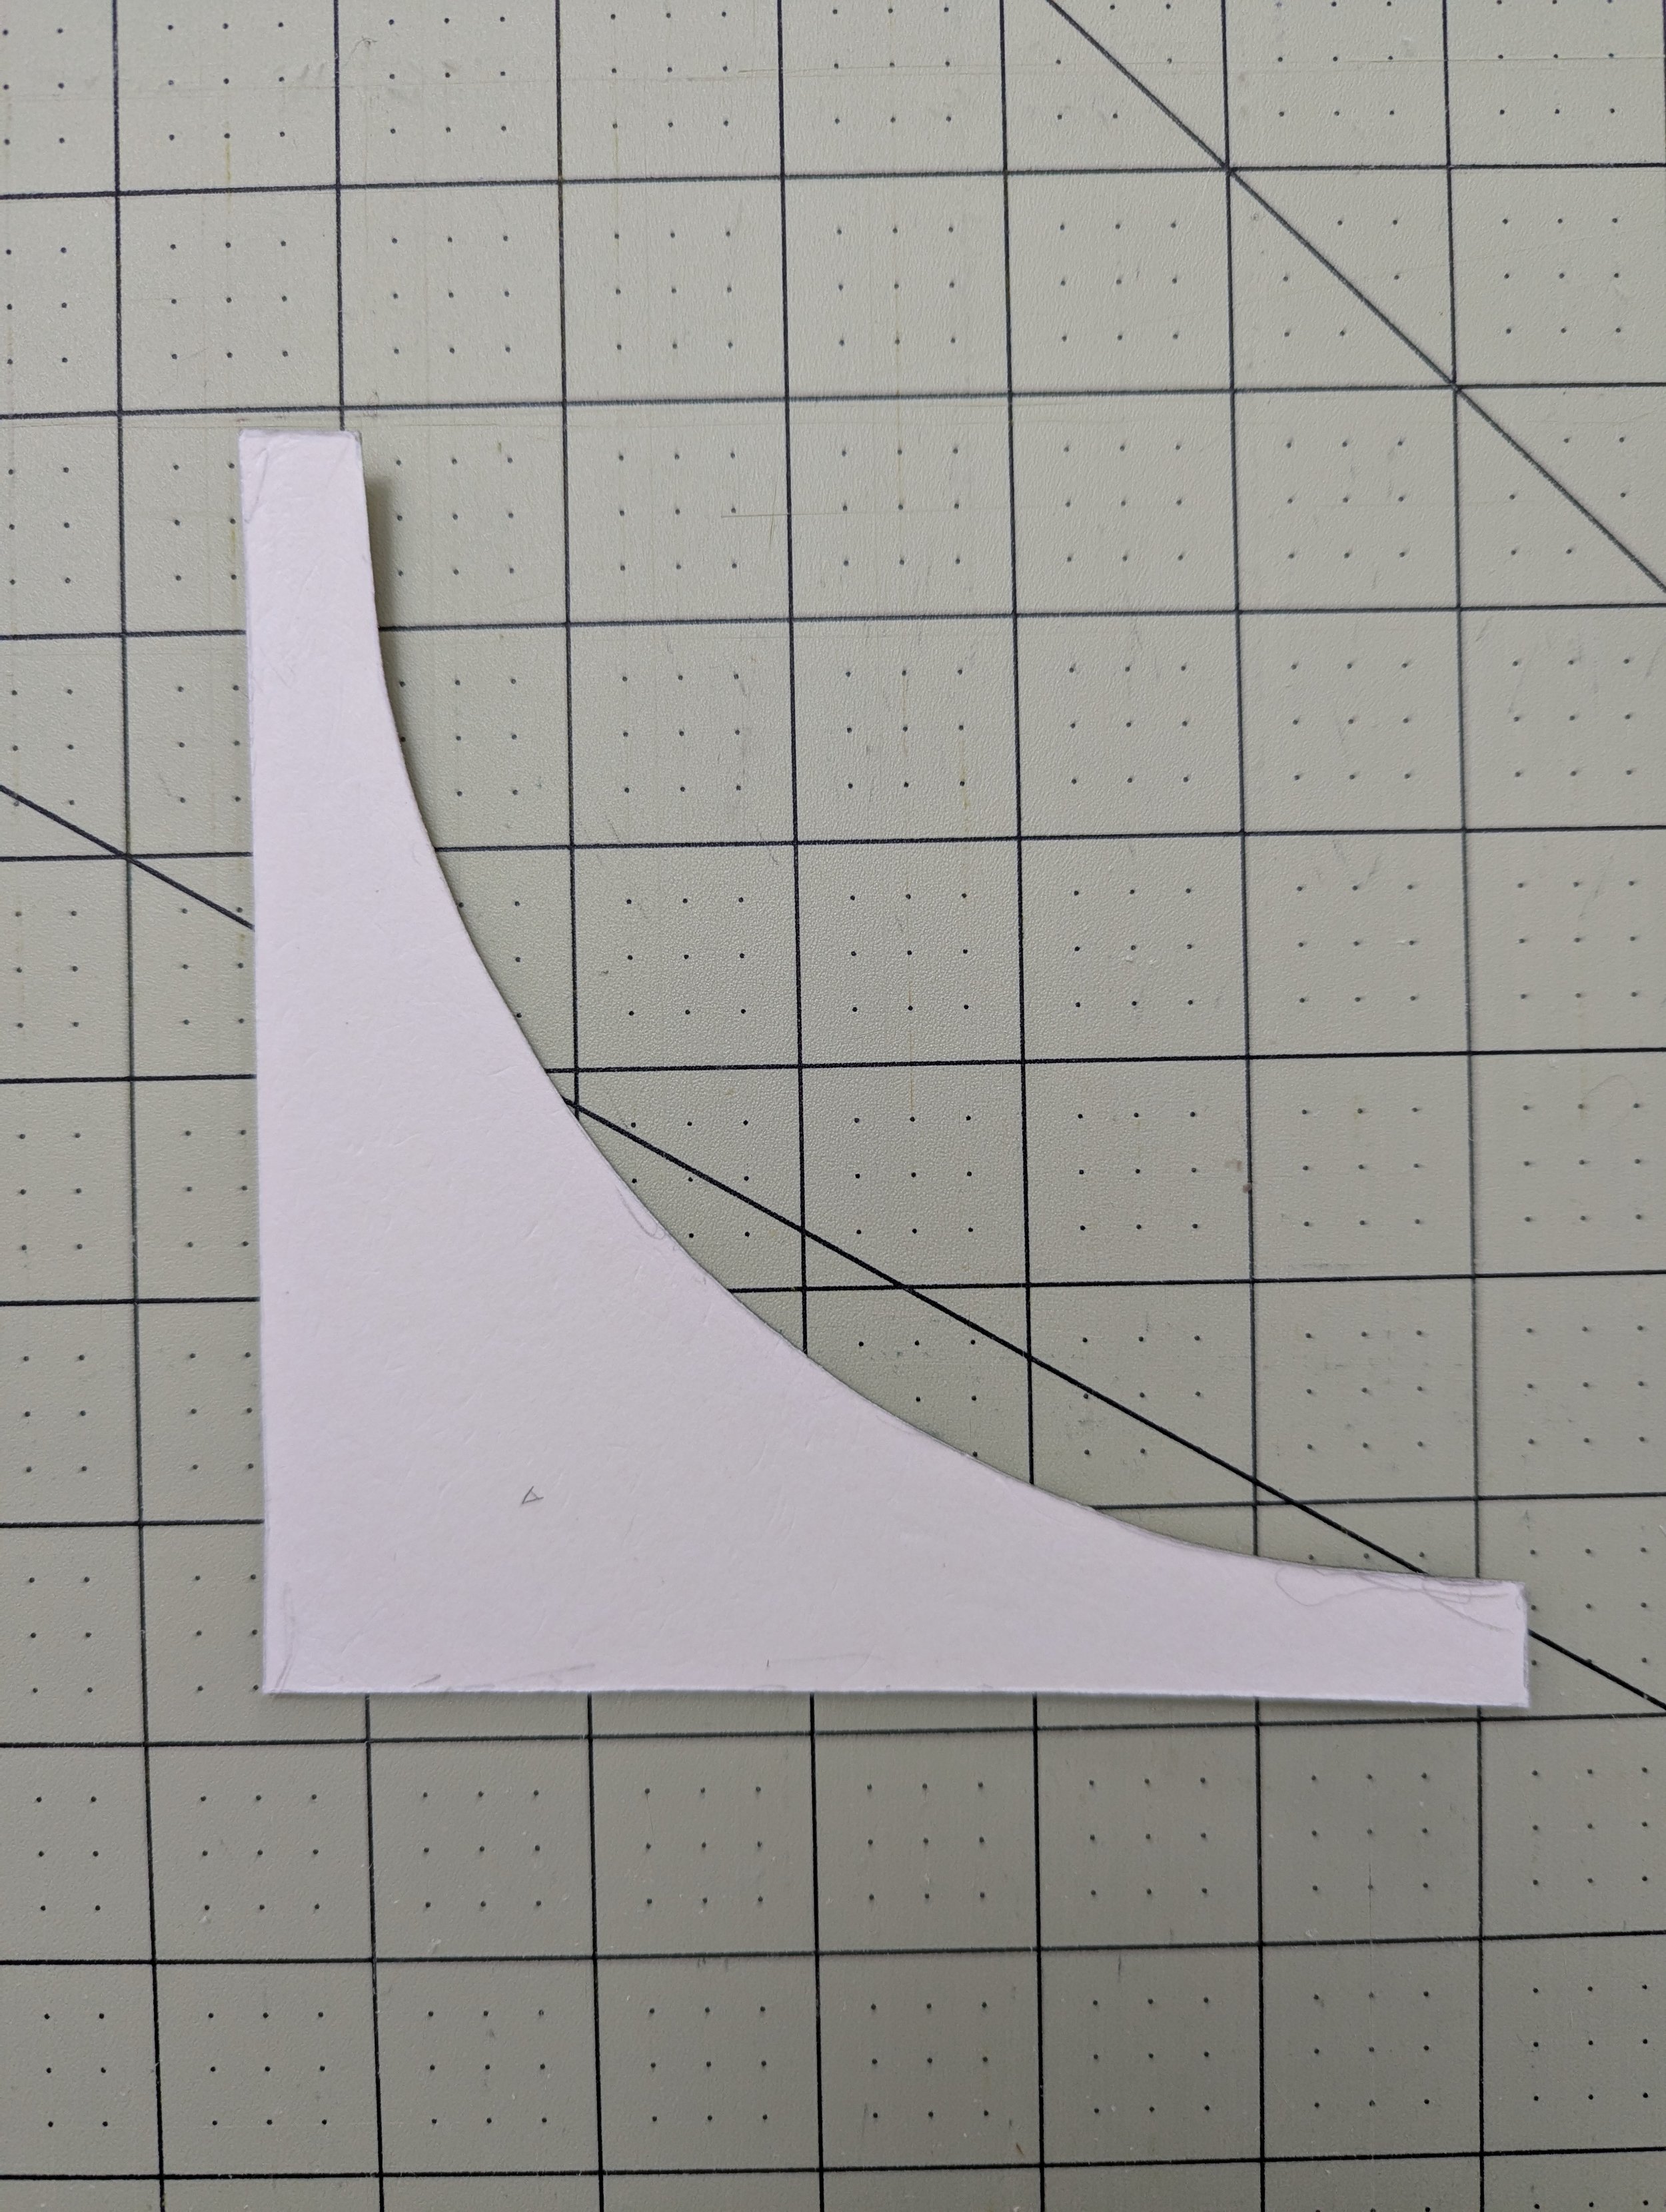
Concave Piece
While the orange peel units and the fan unit within The 5759 Block rely on very specific measurements to ensure the final piece measures correctly, things are a little less fussy when dealing with curved improv pieces. I think this is a great time to play with curves and to see what sort of shapes you can make! Curvy improv peels can feel a bit more organic, and I think they nicely offset the precision you see in the rest of The 5759 Block.
I’ll show you how to make curved pieces in two ways: by using an already existing scrap of fabric, and by stacking fabric to make opposing pairs. You may want to practice on some scrap fabric to get a feel for making these different curved pieces.
Curves - Using An Existing Shape
Here I have a leftover piece of Fabric 1 (convex, in green) and a bit of Fabric 3 (which I will cut to make the concave piece, in yellow). I’m going to place the green piece on top of the yellow, and cut the yellow fabric following the curve of the green piece.
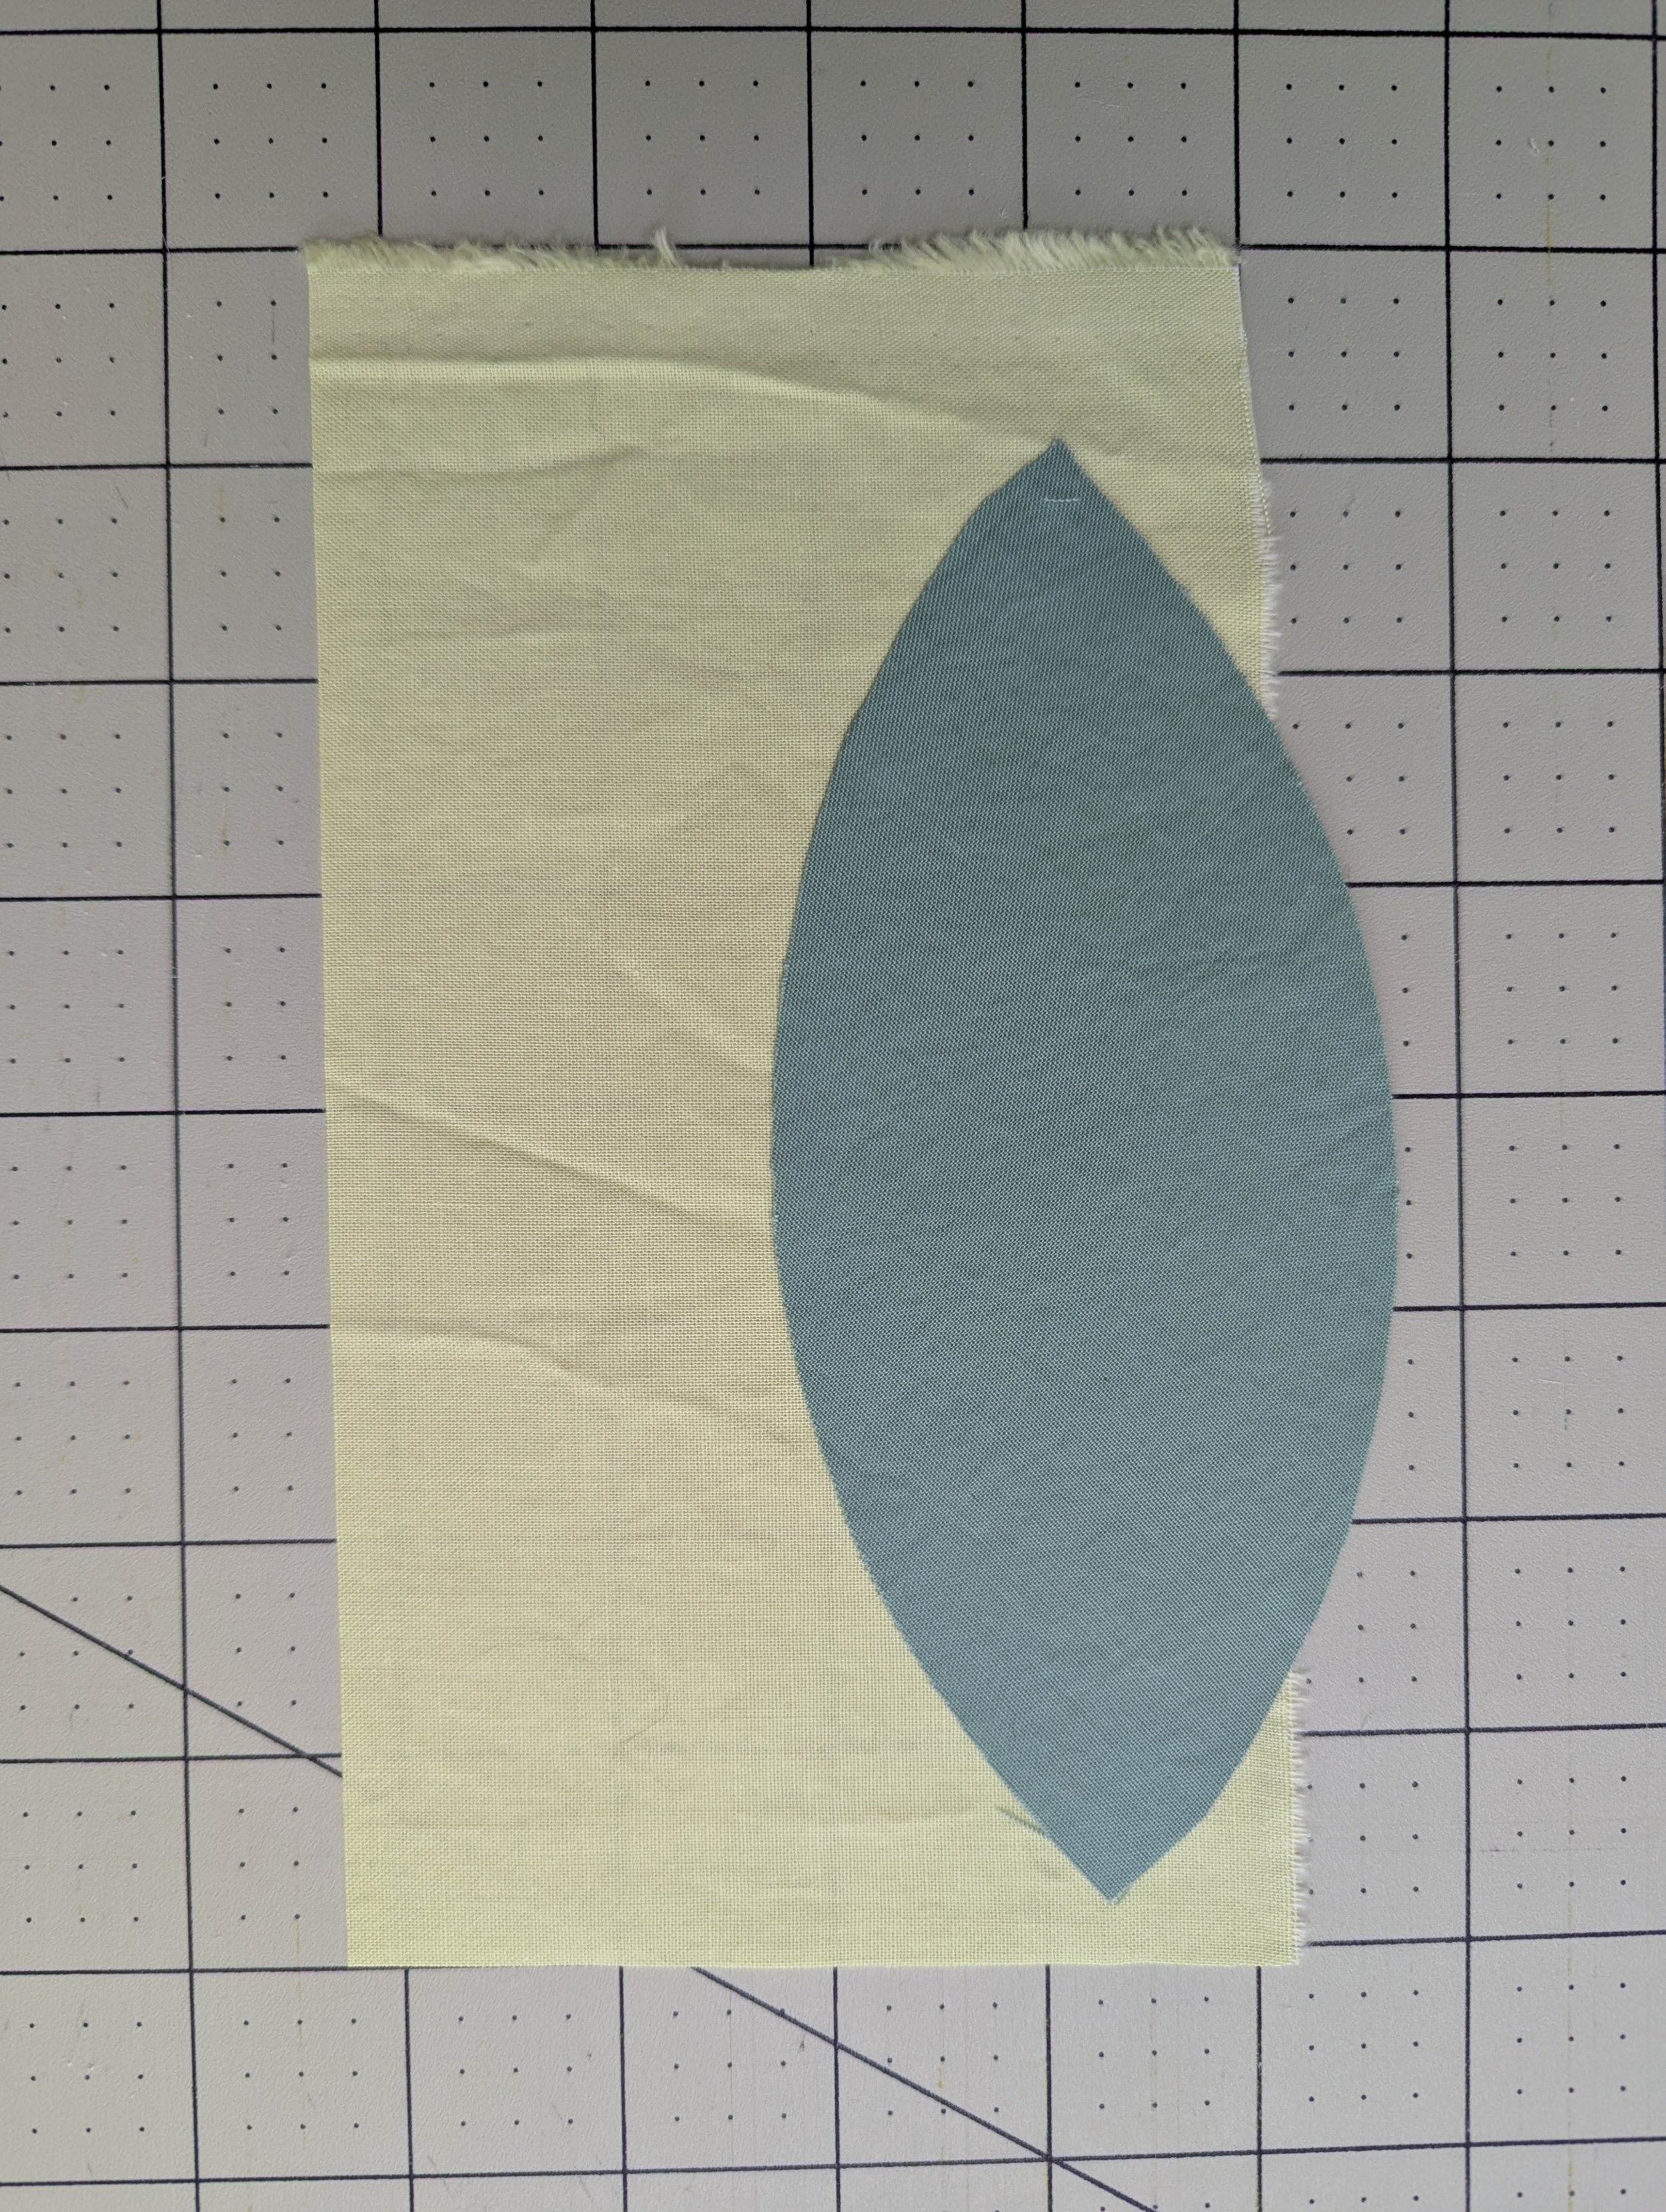
Laying out the pieces…
Swap the fabrics, then pin, sew, and press.
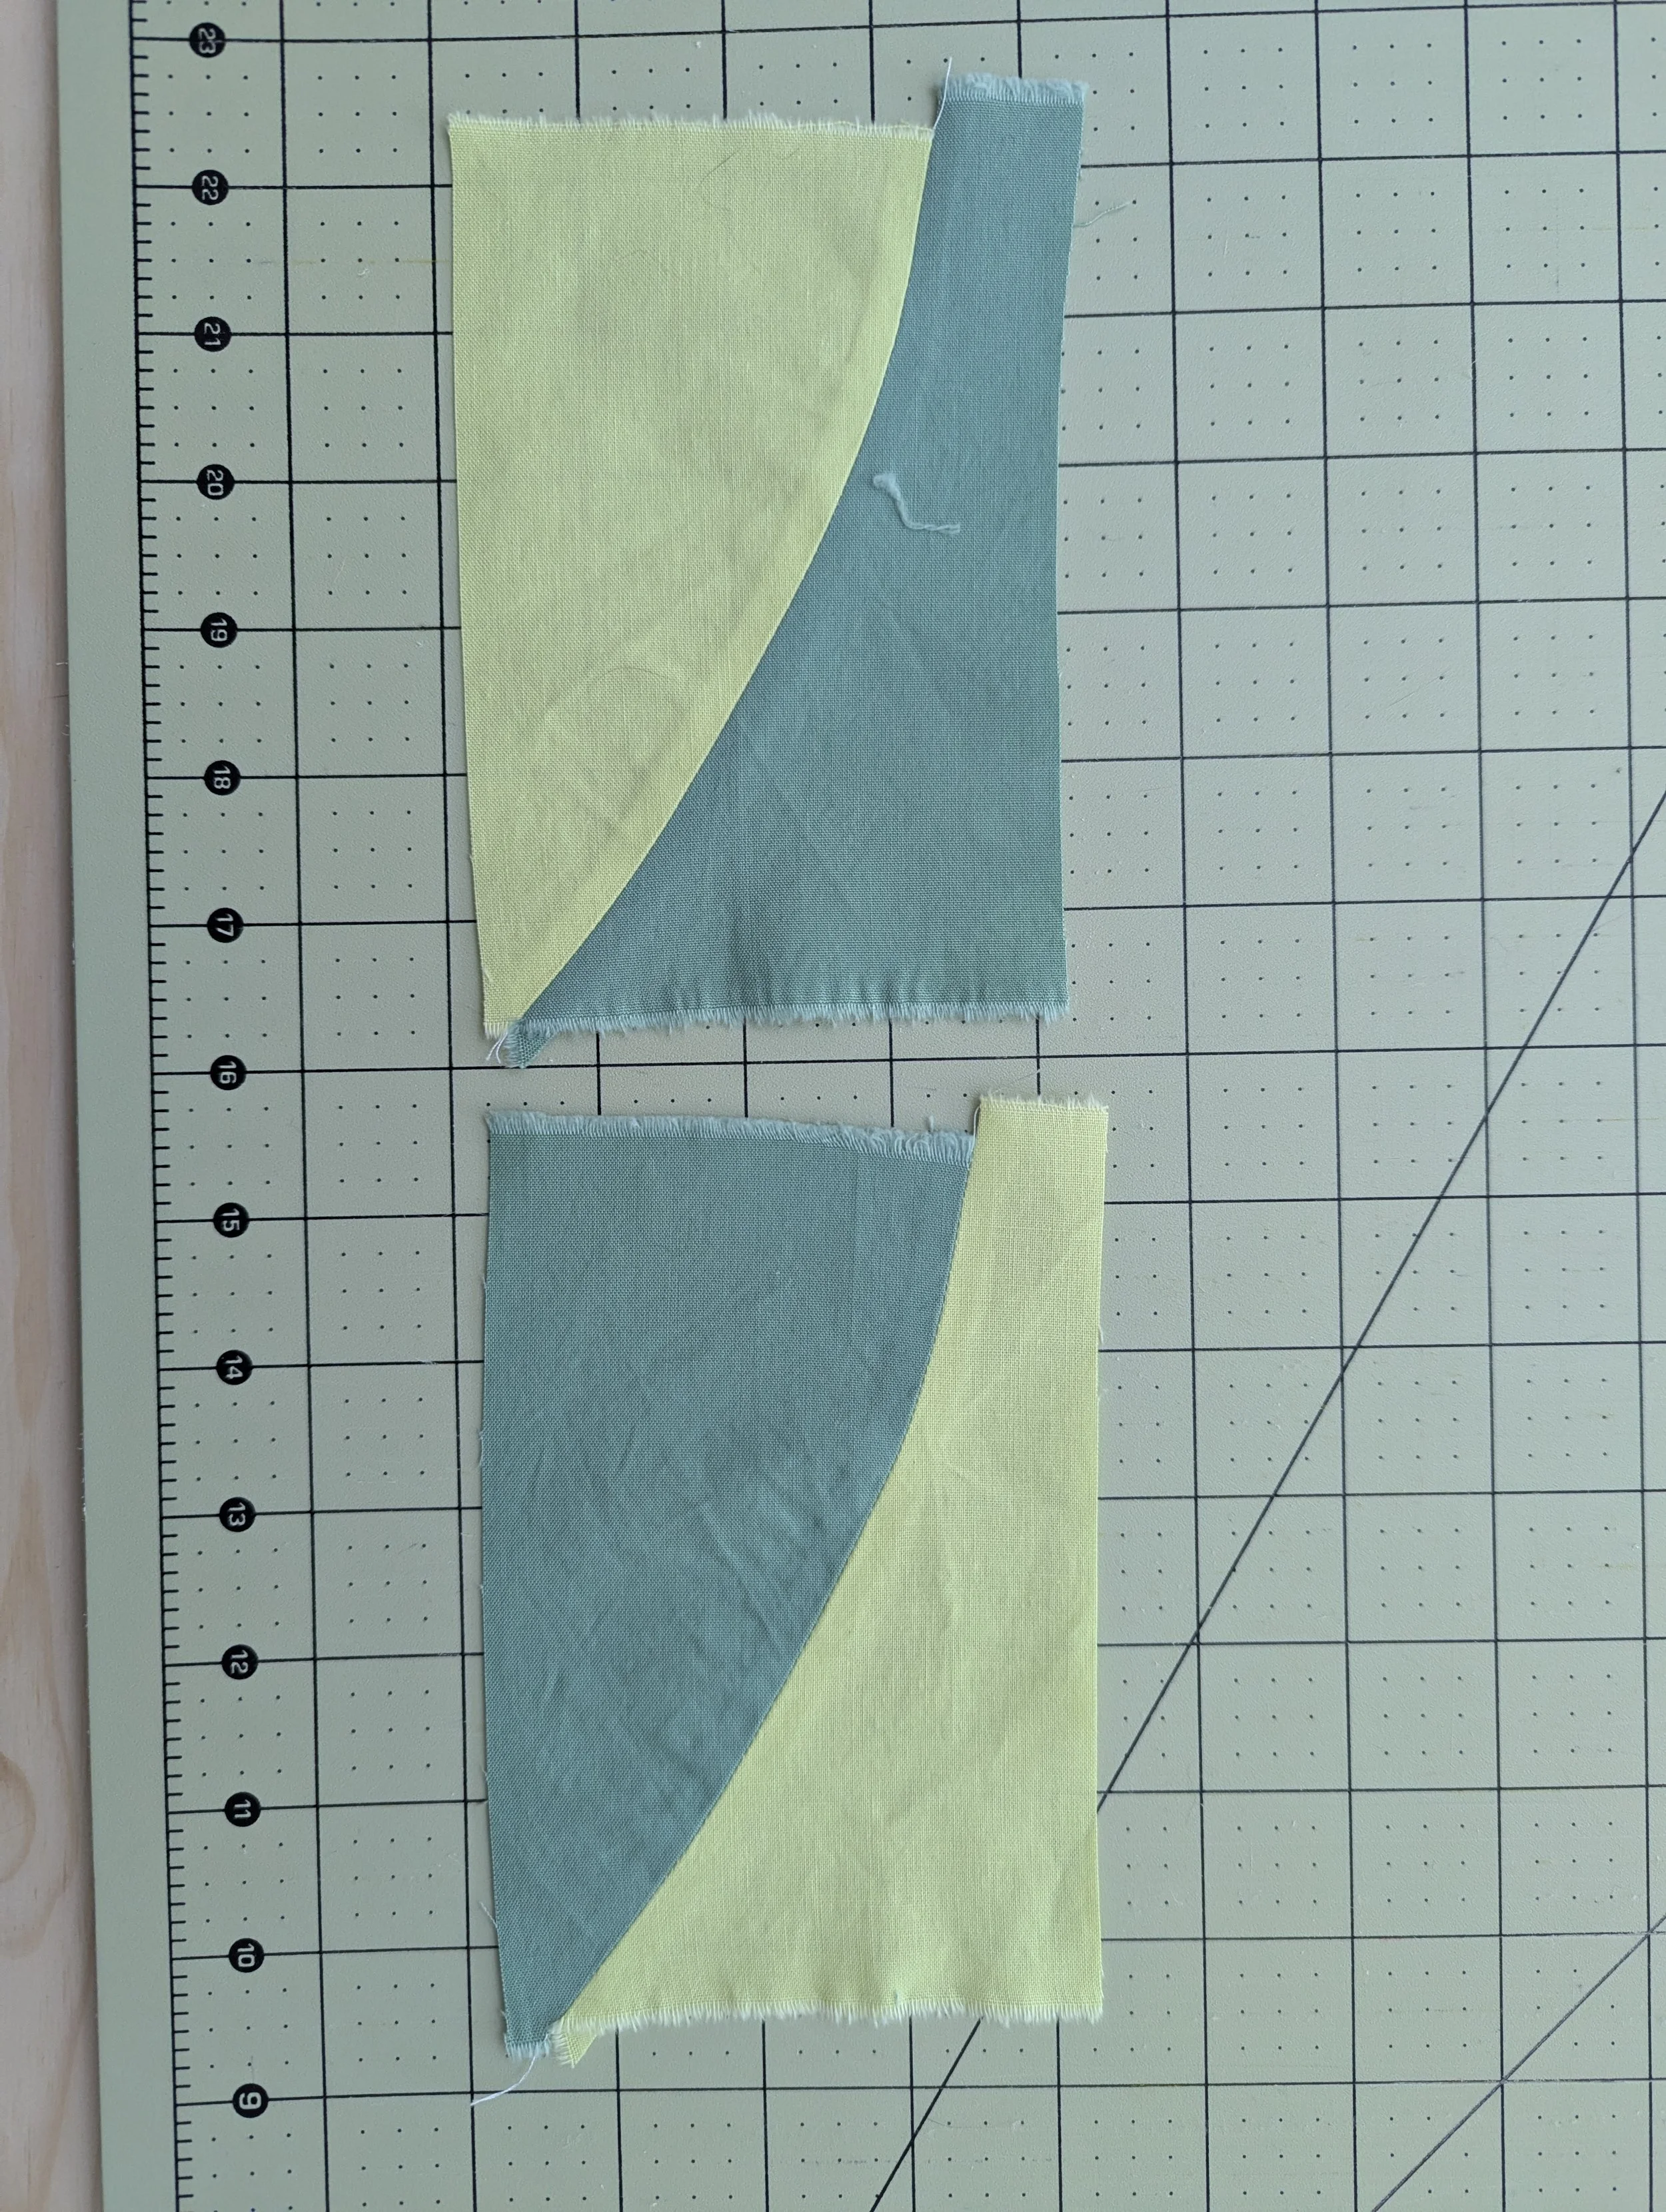
…now you have two curved pieces!
Straight Line Piecing
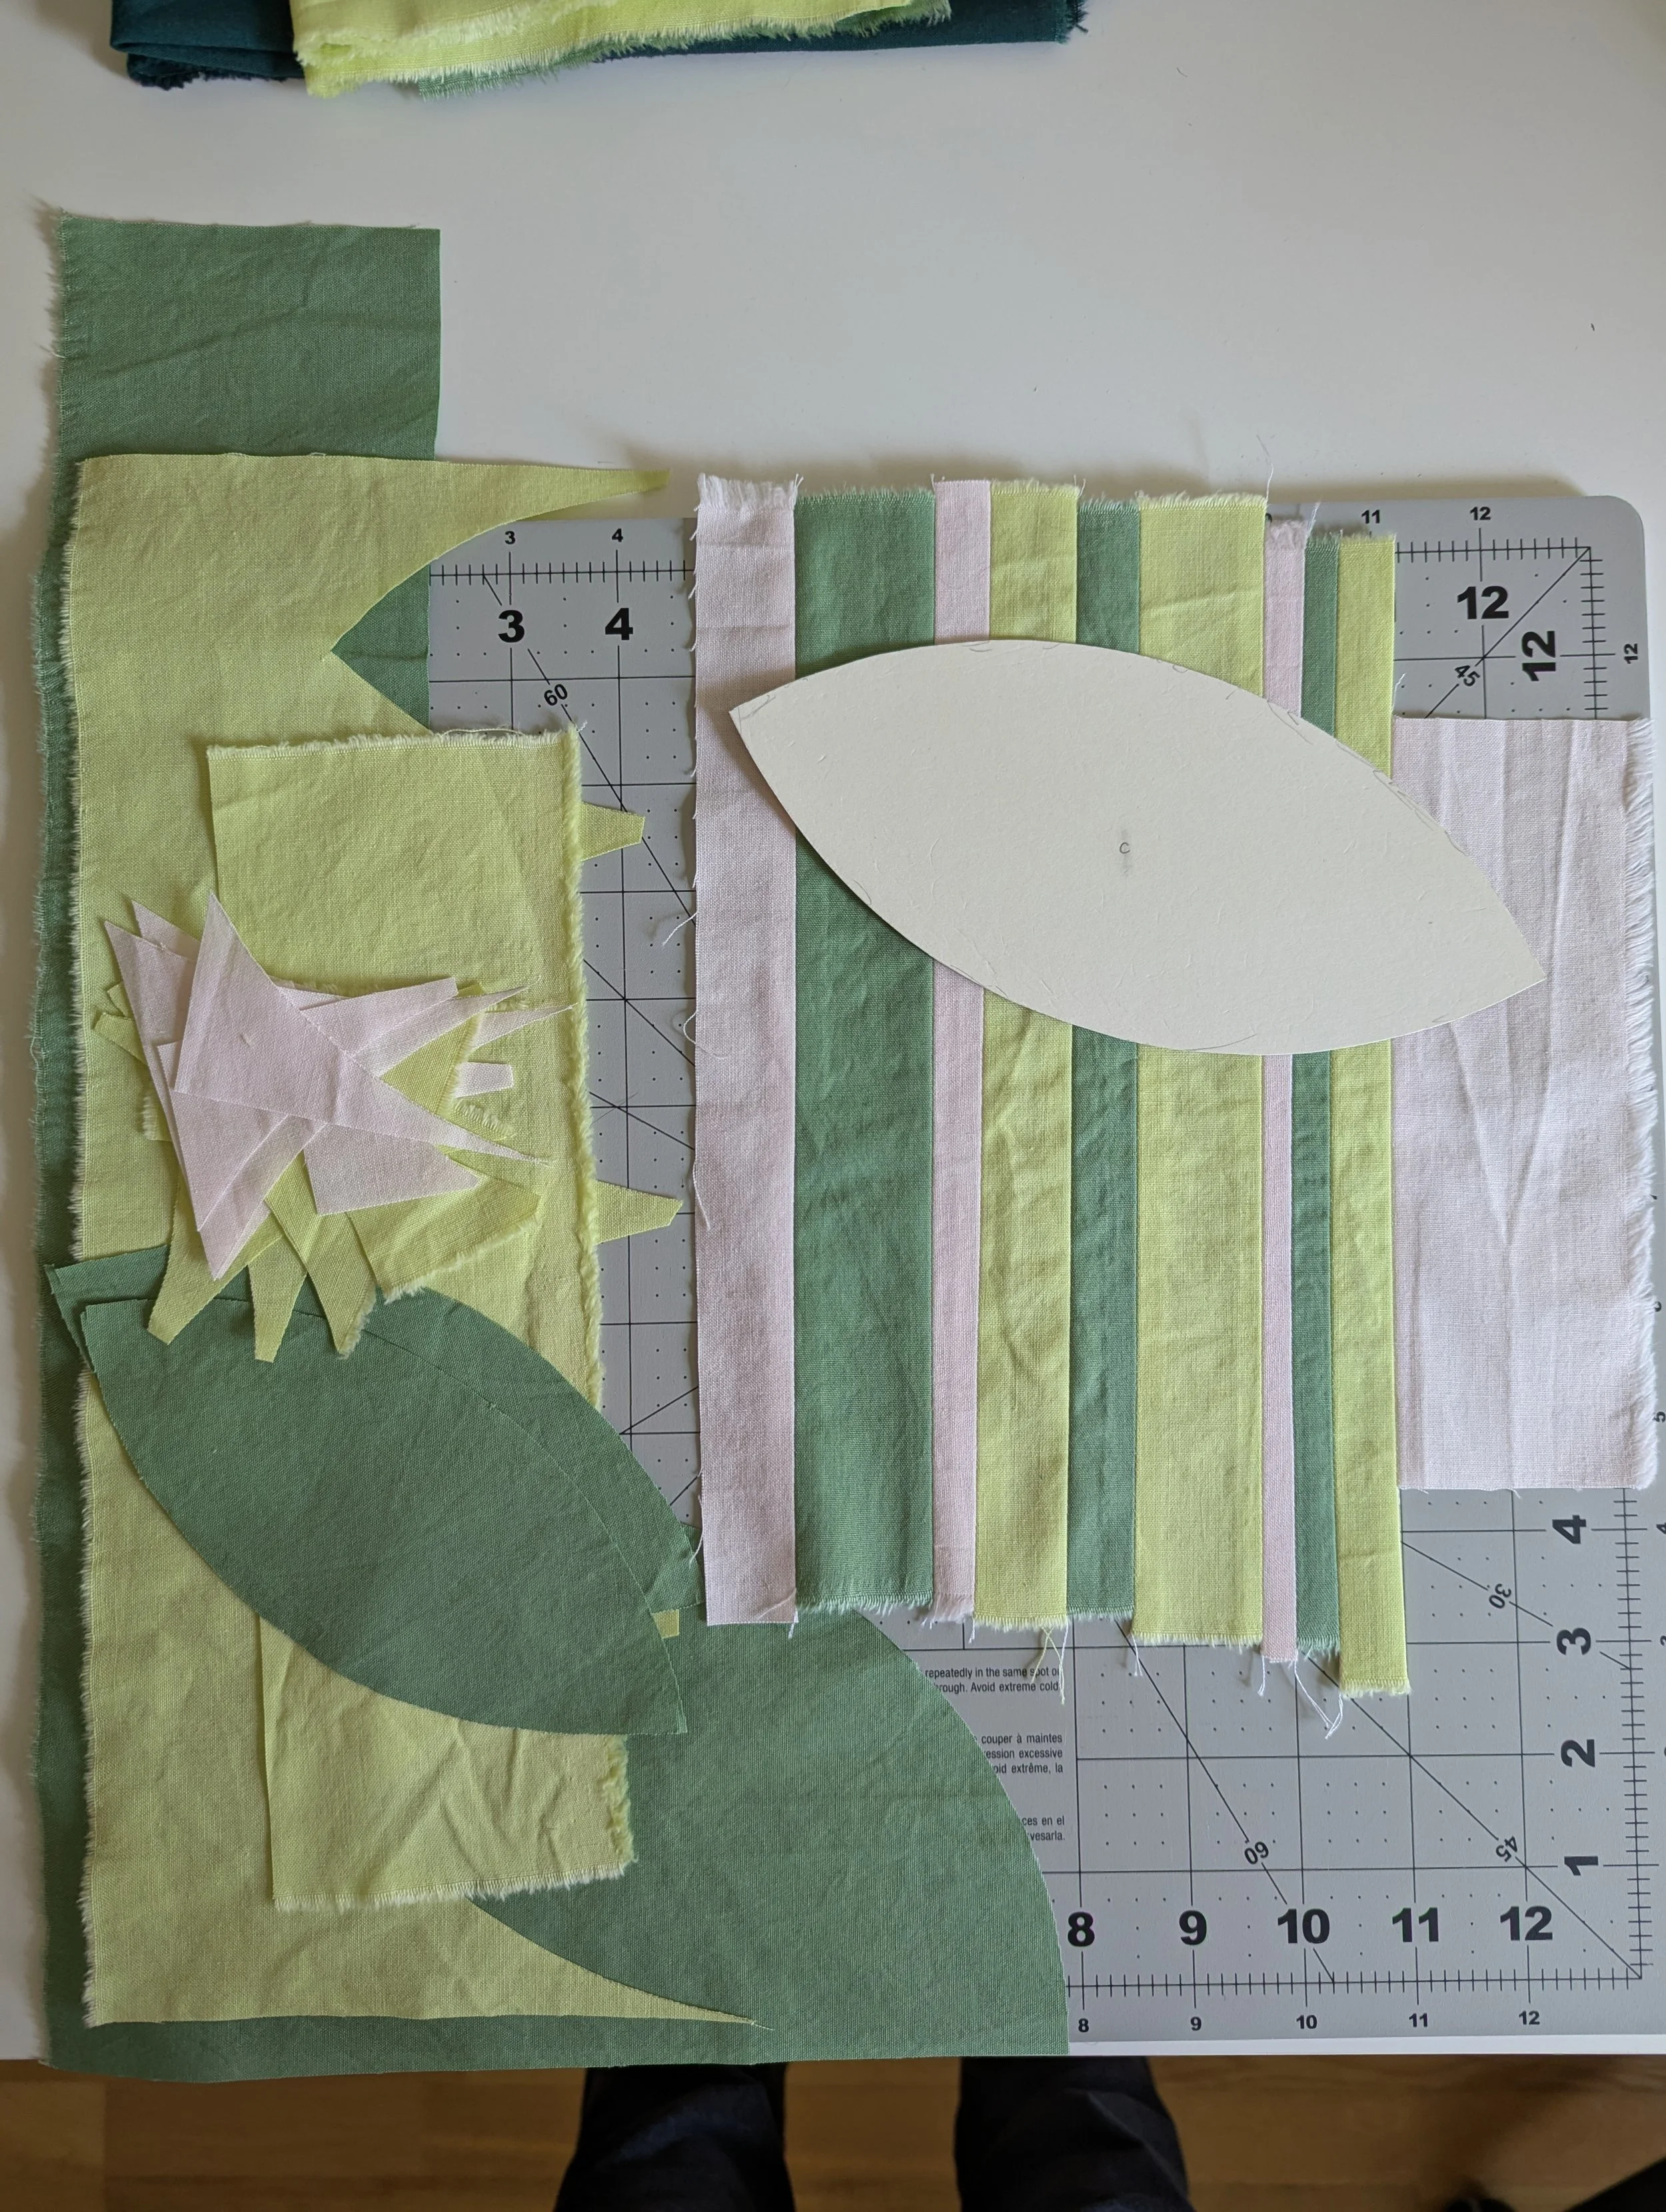
Some tips for straight line piecing:
I use a ruler to trim my edges, but I don’t measure anything.
Before you sew, pair pieces together and see if you like how they interact.
If you don’t like the way a piece looks after sewing, try cutting it up to create a different shape.
Prep multiple pieces and chain piece to save time.
Cutting Out Your Improv Peels
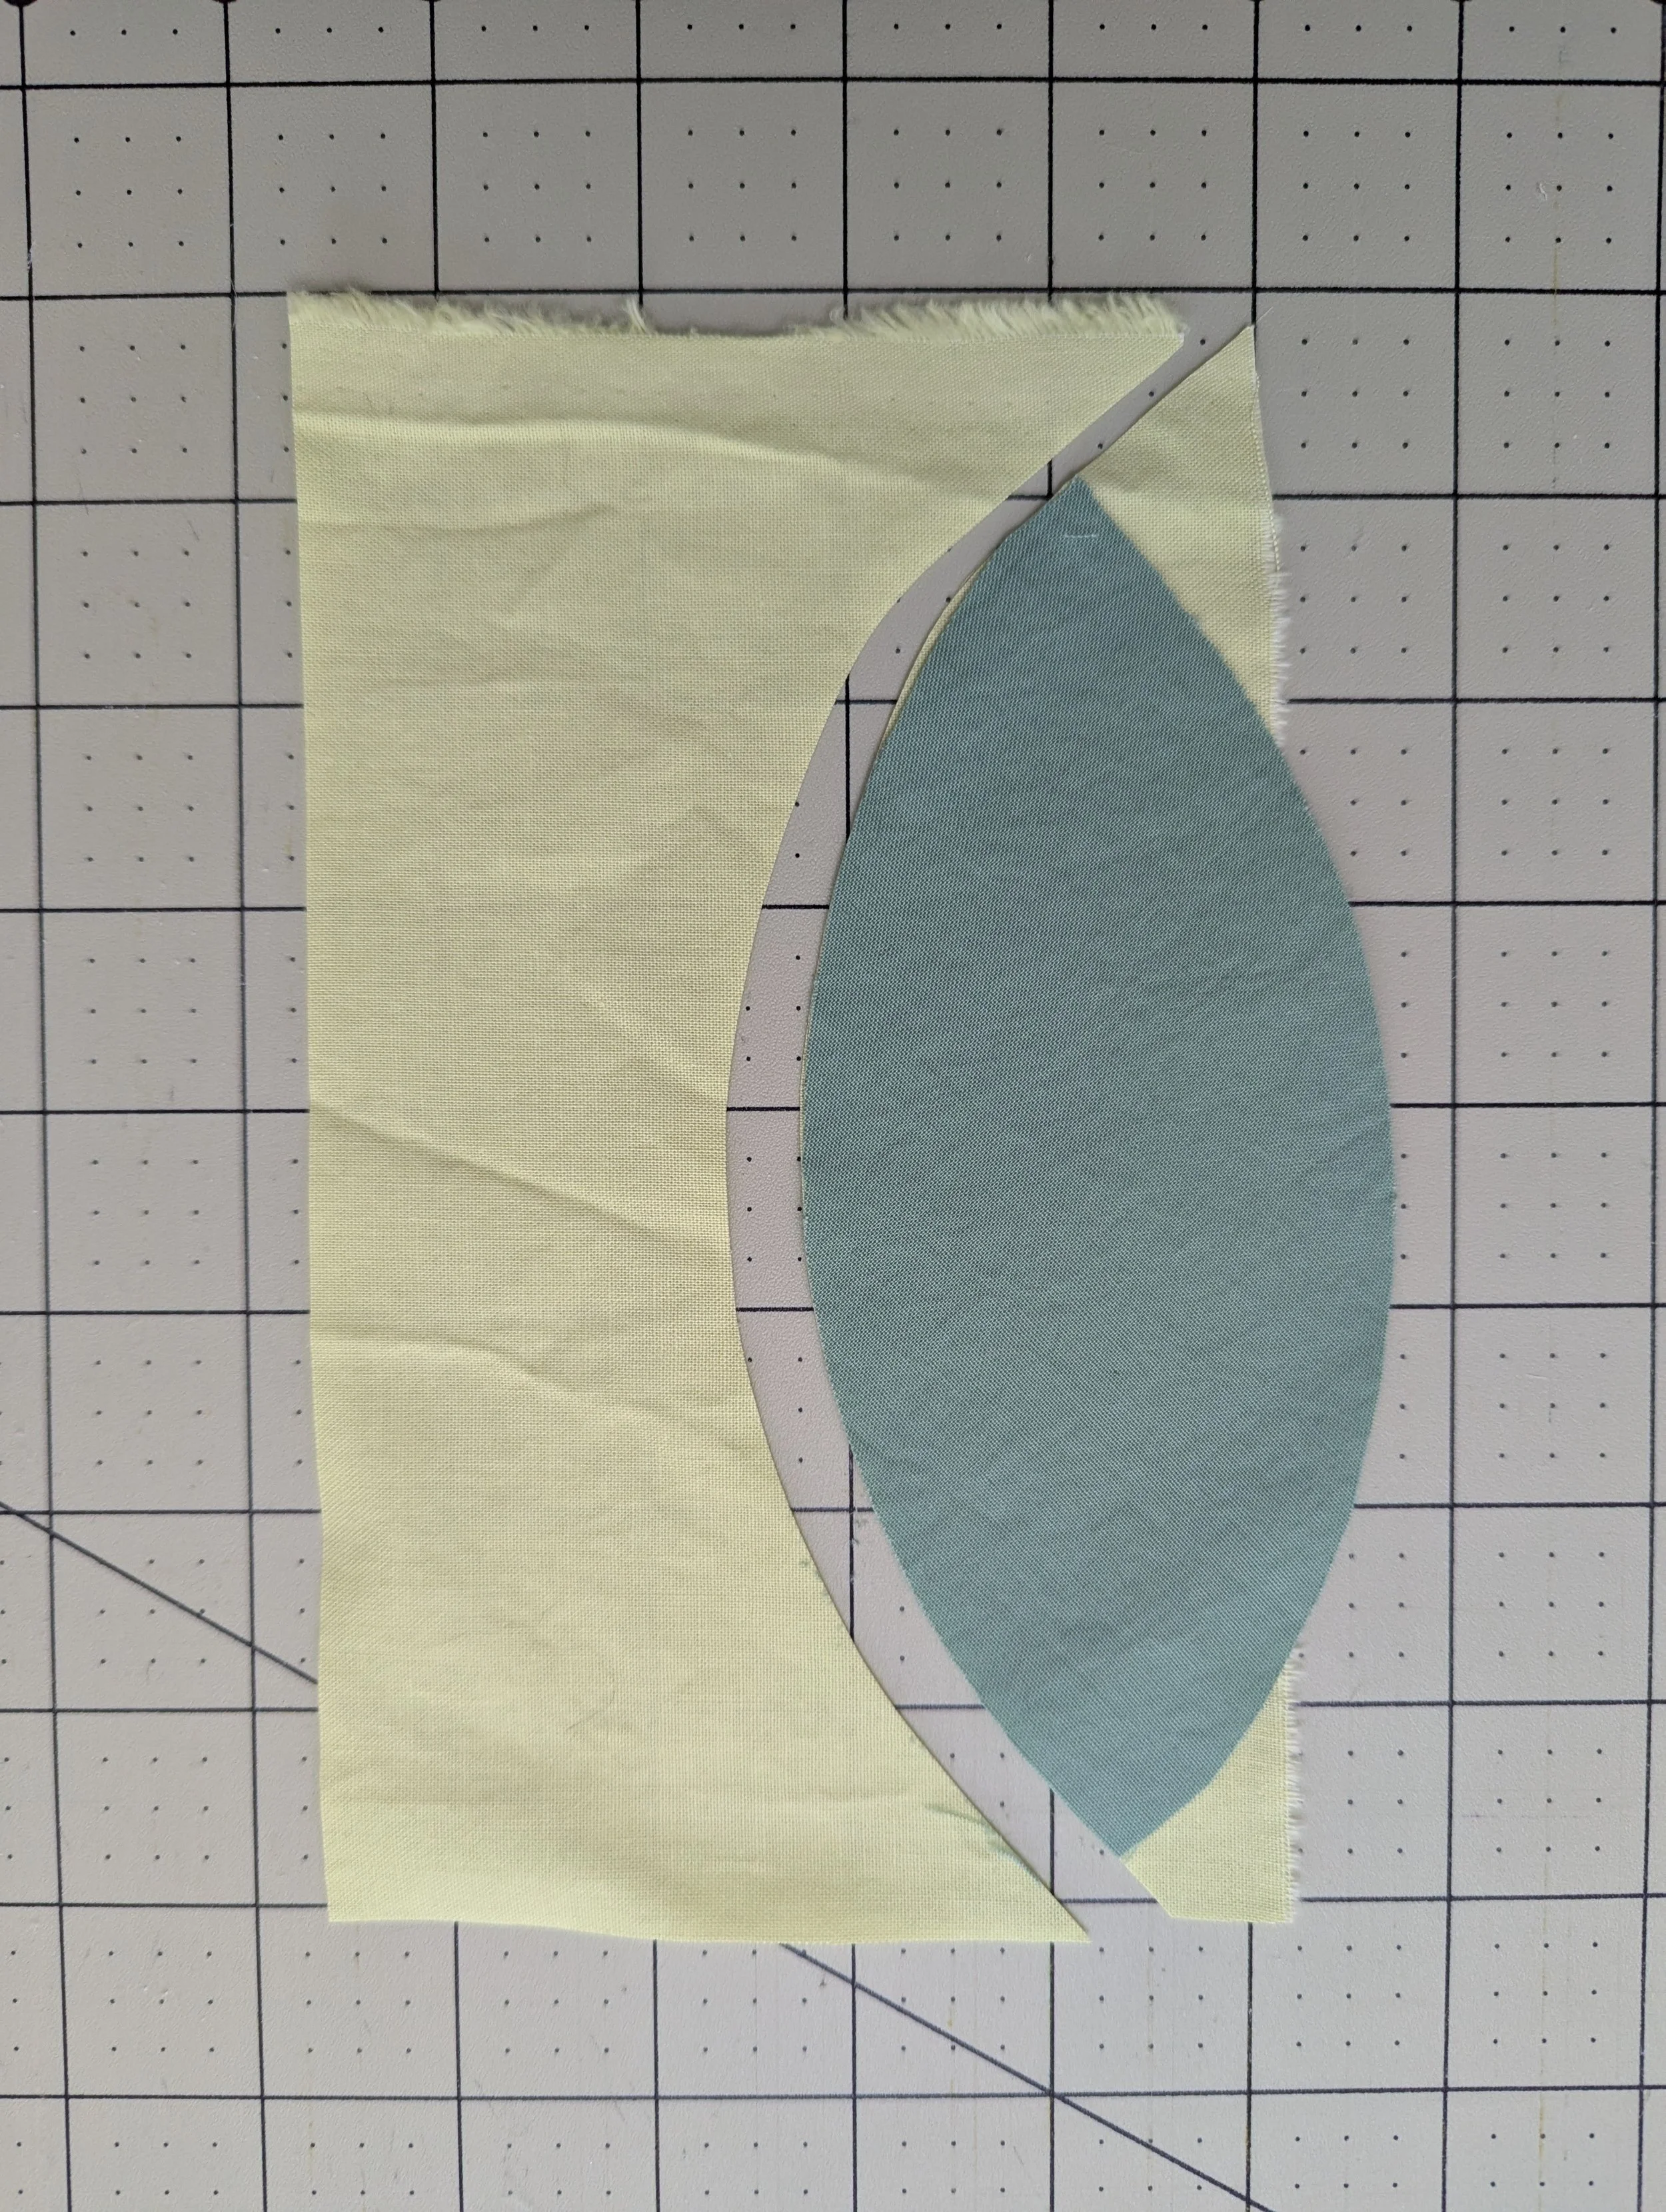
… then cutting out to get convex and concave shapes
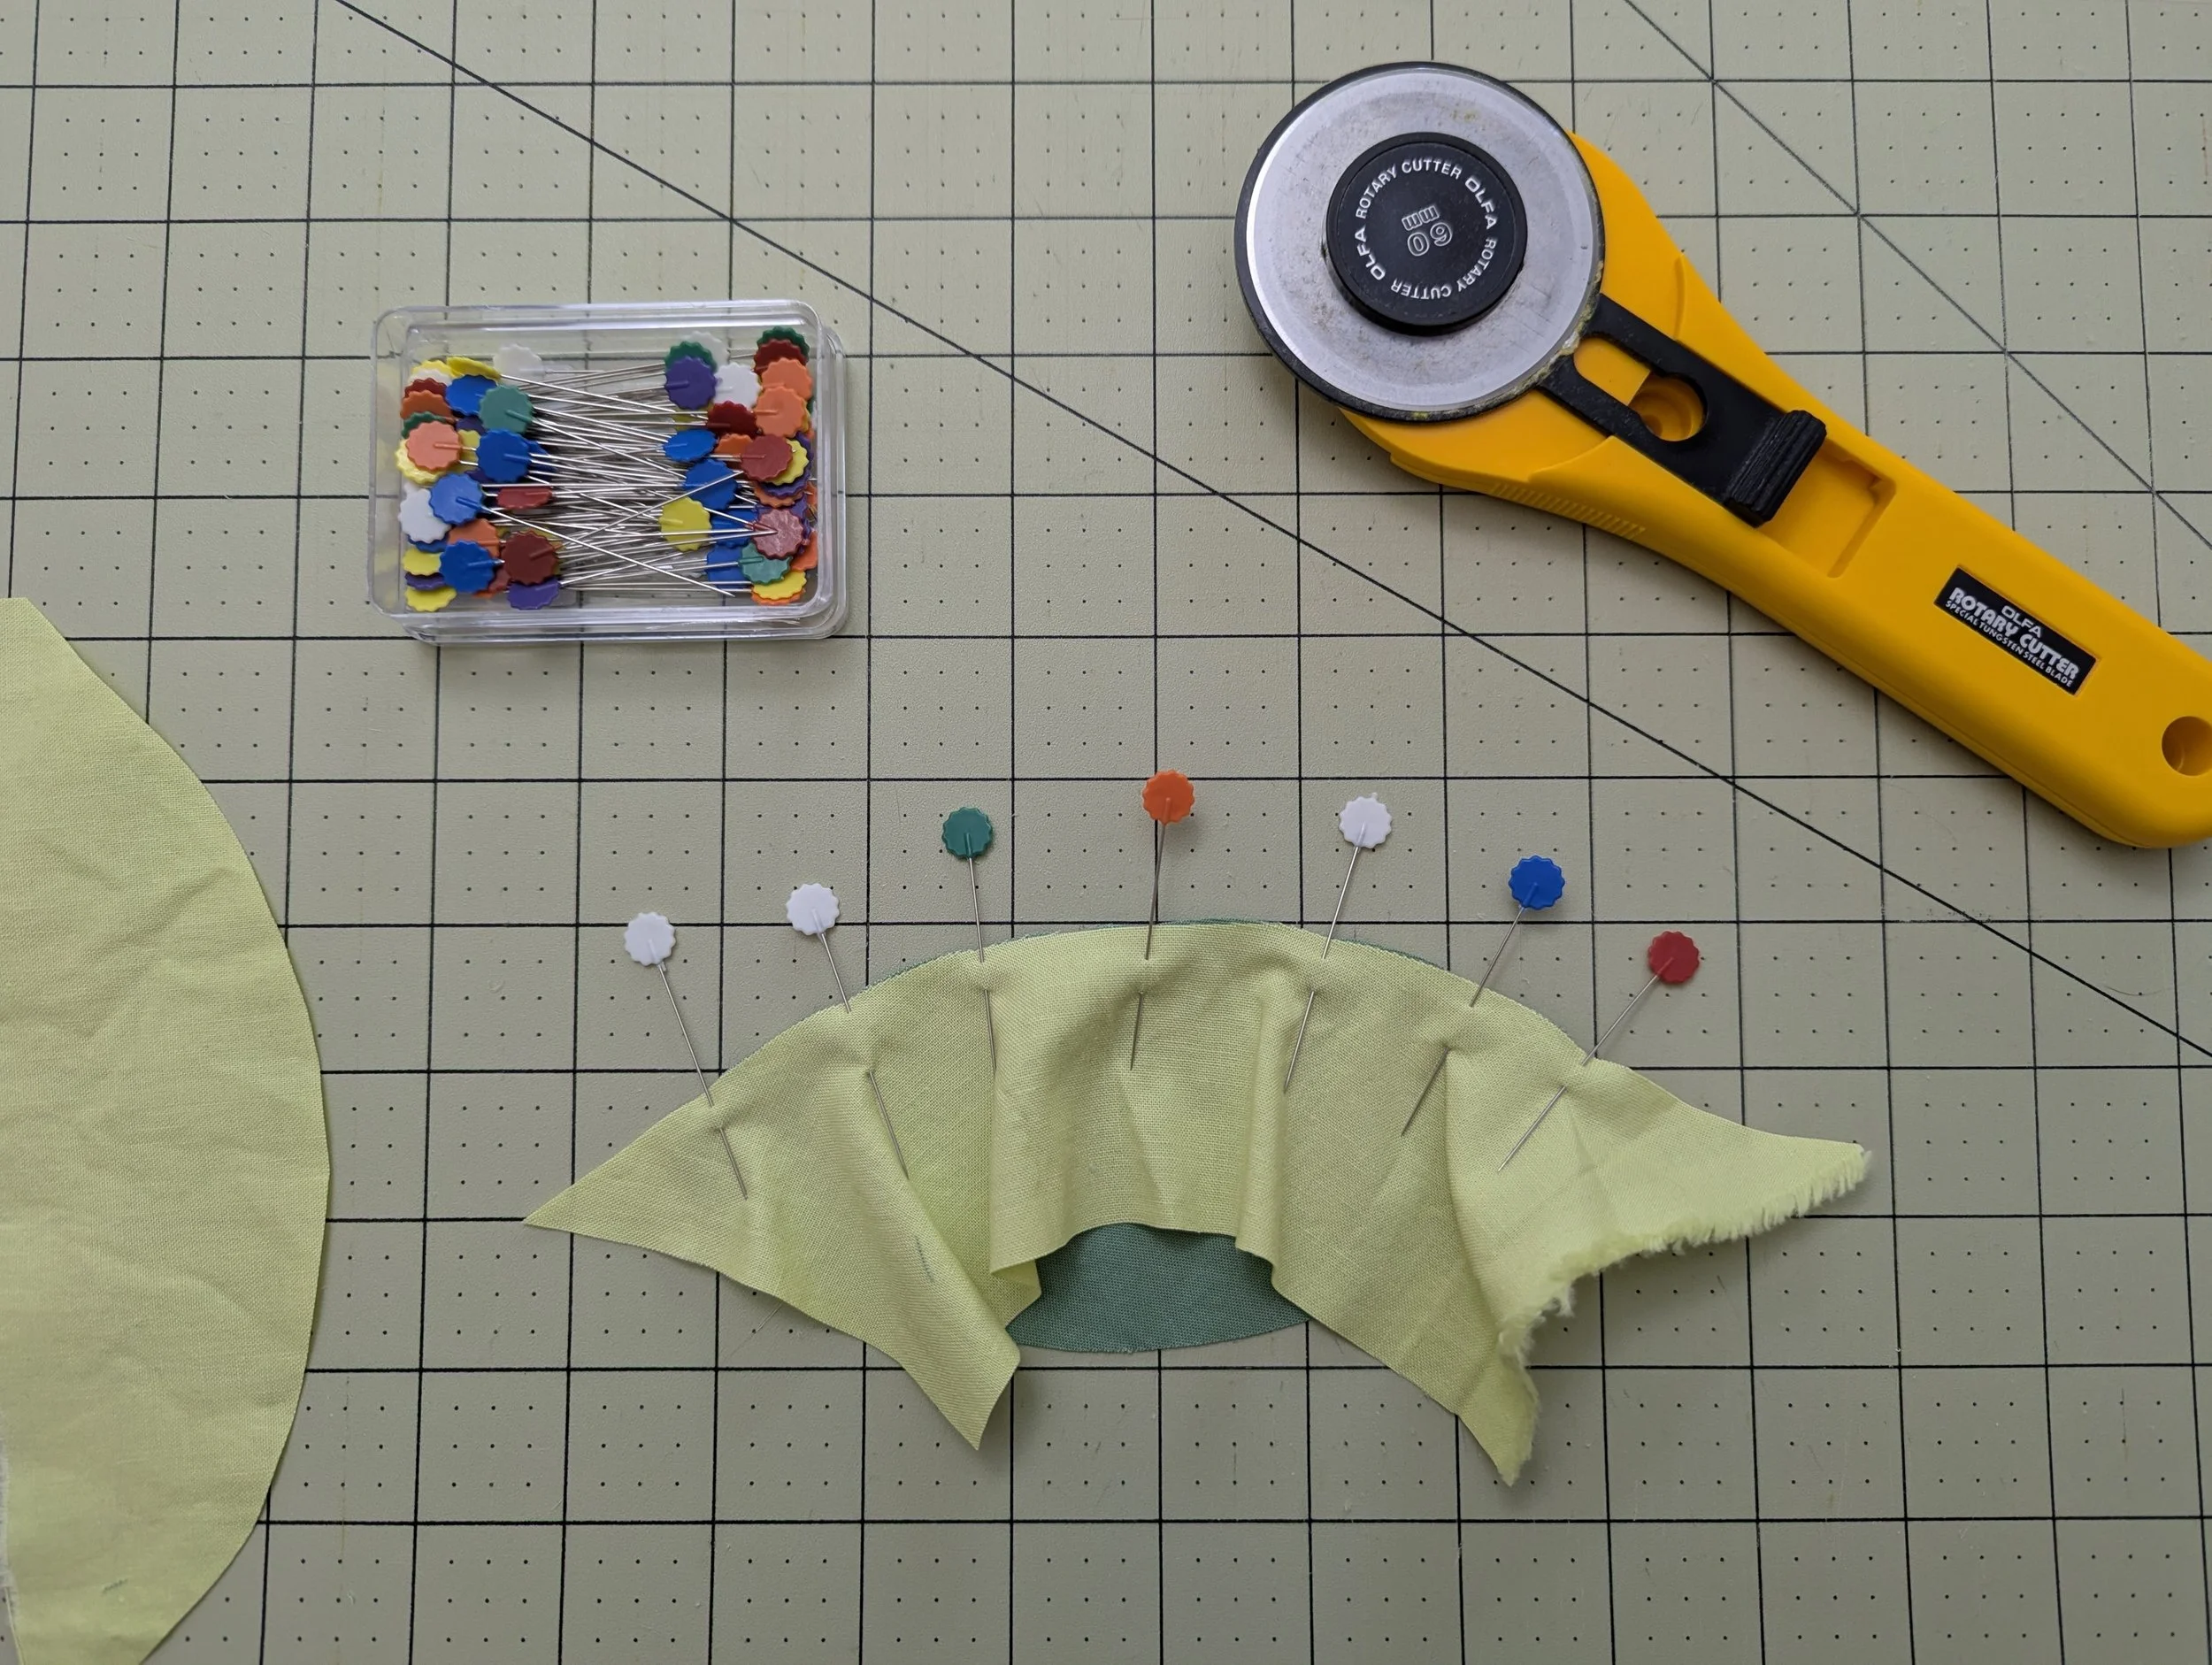
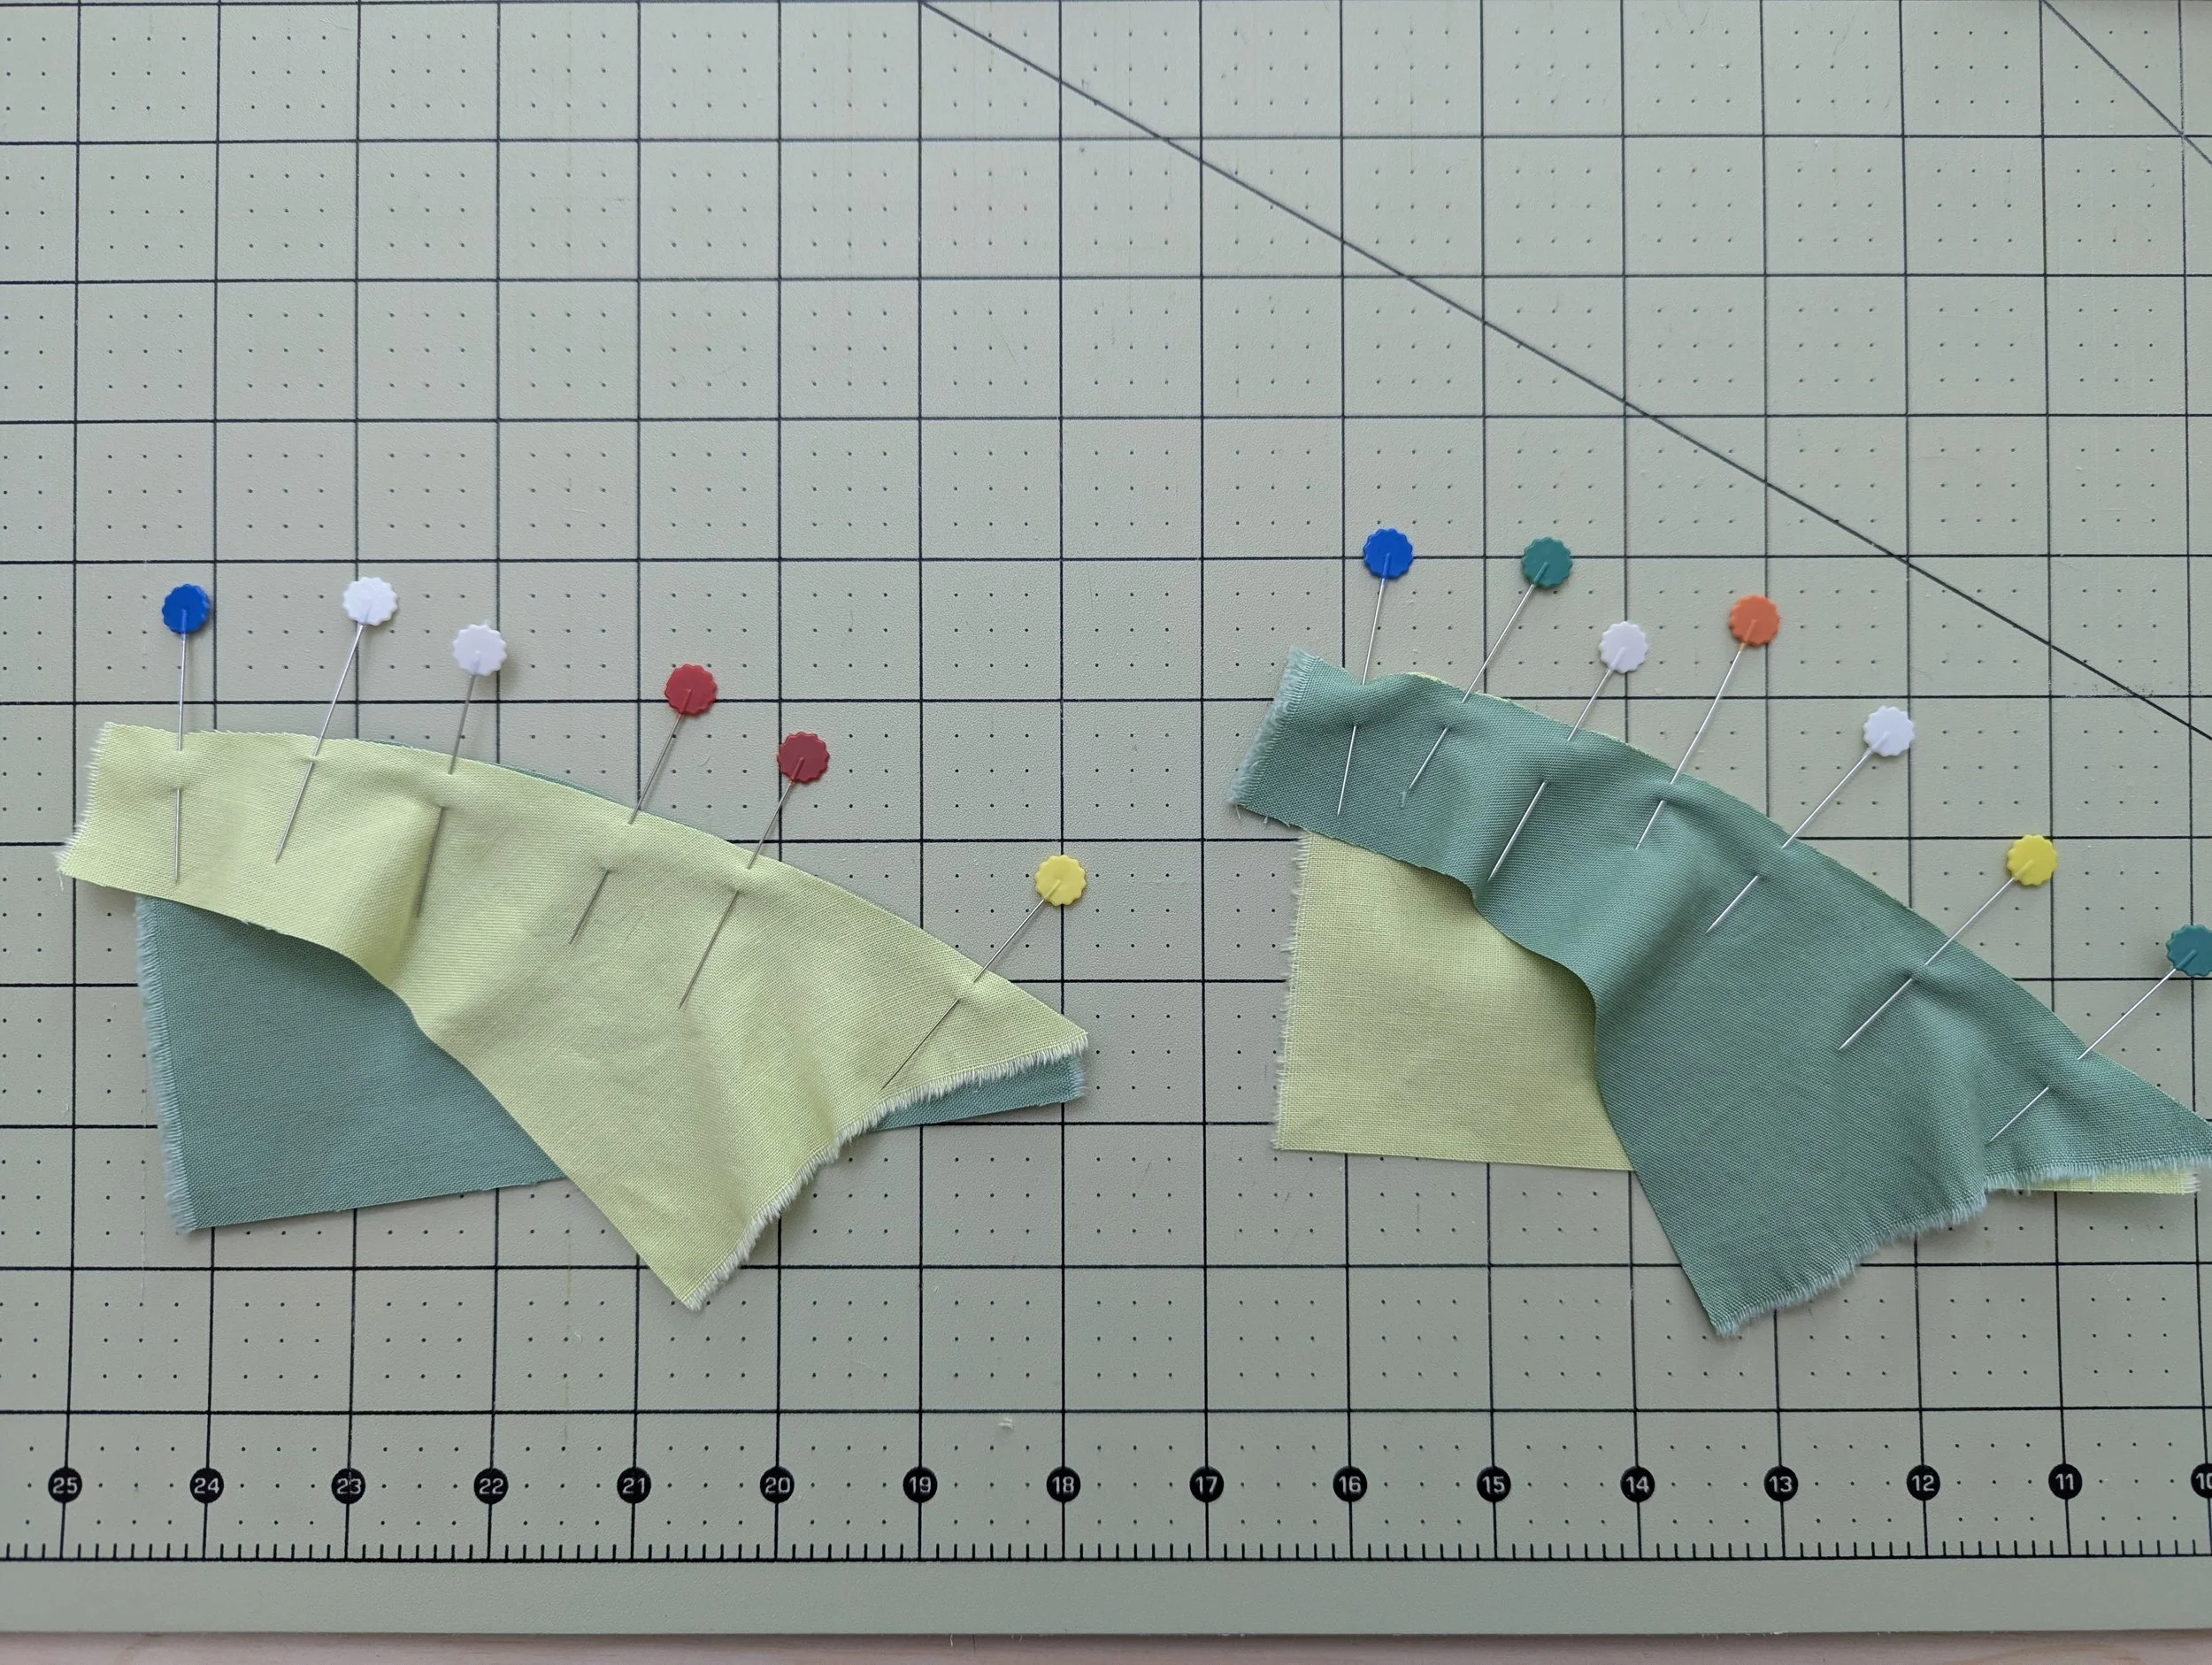
Flip the concave piece RST onto the convex piece and pin about in the middle. Since you don’t have an exact middle, you could make a small mark on your two pieces and line those up when you flip them.
Since nothing is measured, you won’t be able to match and pin the two ends of your fabric- that’s okay! Once you pin in roughly the center, you’ll just ease your fabric around the curve and pin as you go. I prefer to keep the convex piece (green) on bottom and the concave piece (yellow) on top, but do whatever feels right to you!
All pinned and ready to sew
Sew then press, as instructed in the pattern.
Curves - Stacking Your Fabrics
You can also create opposite pairs of curved pieces by stacking two similar sized fabrics. Stack your two fabrics, then cut a gentle curve.
Stack your fabrics…
You can make a small mark on both fabrics in order to match them when you flip them RST.
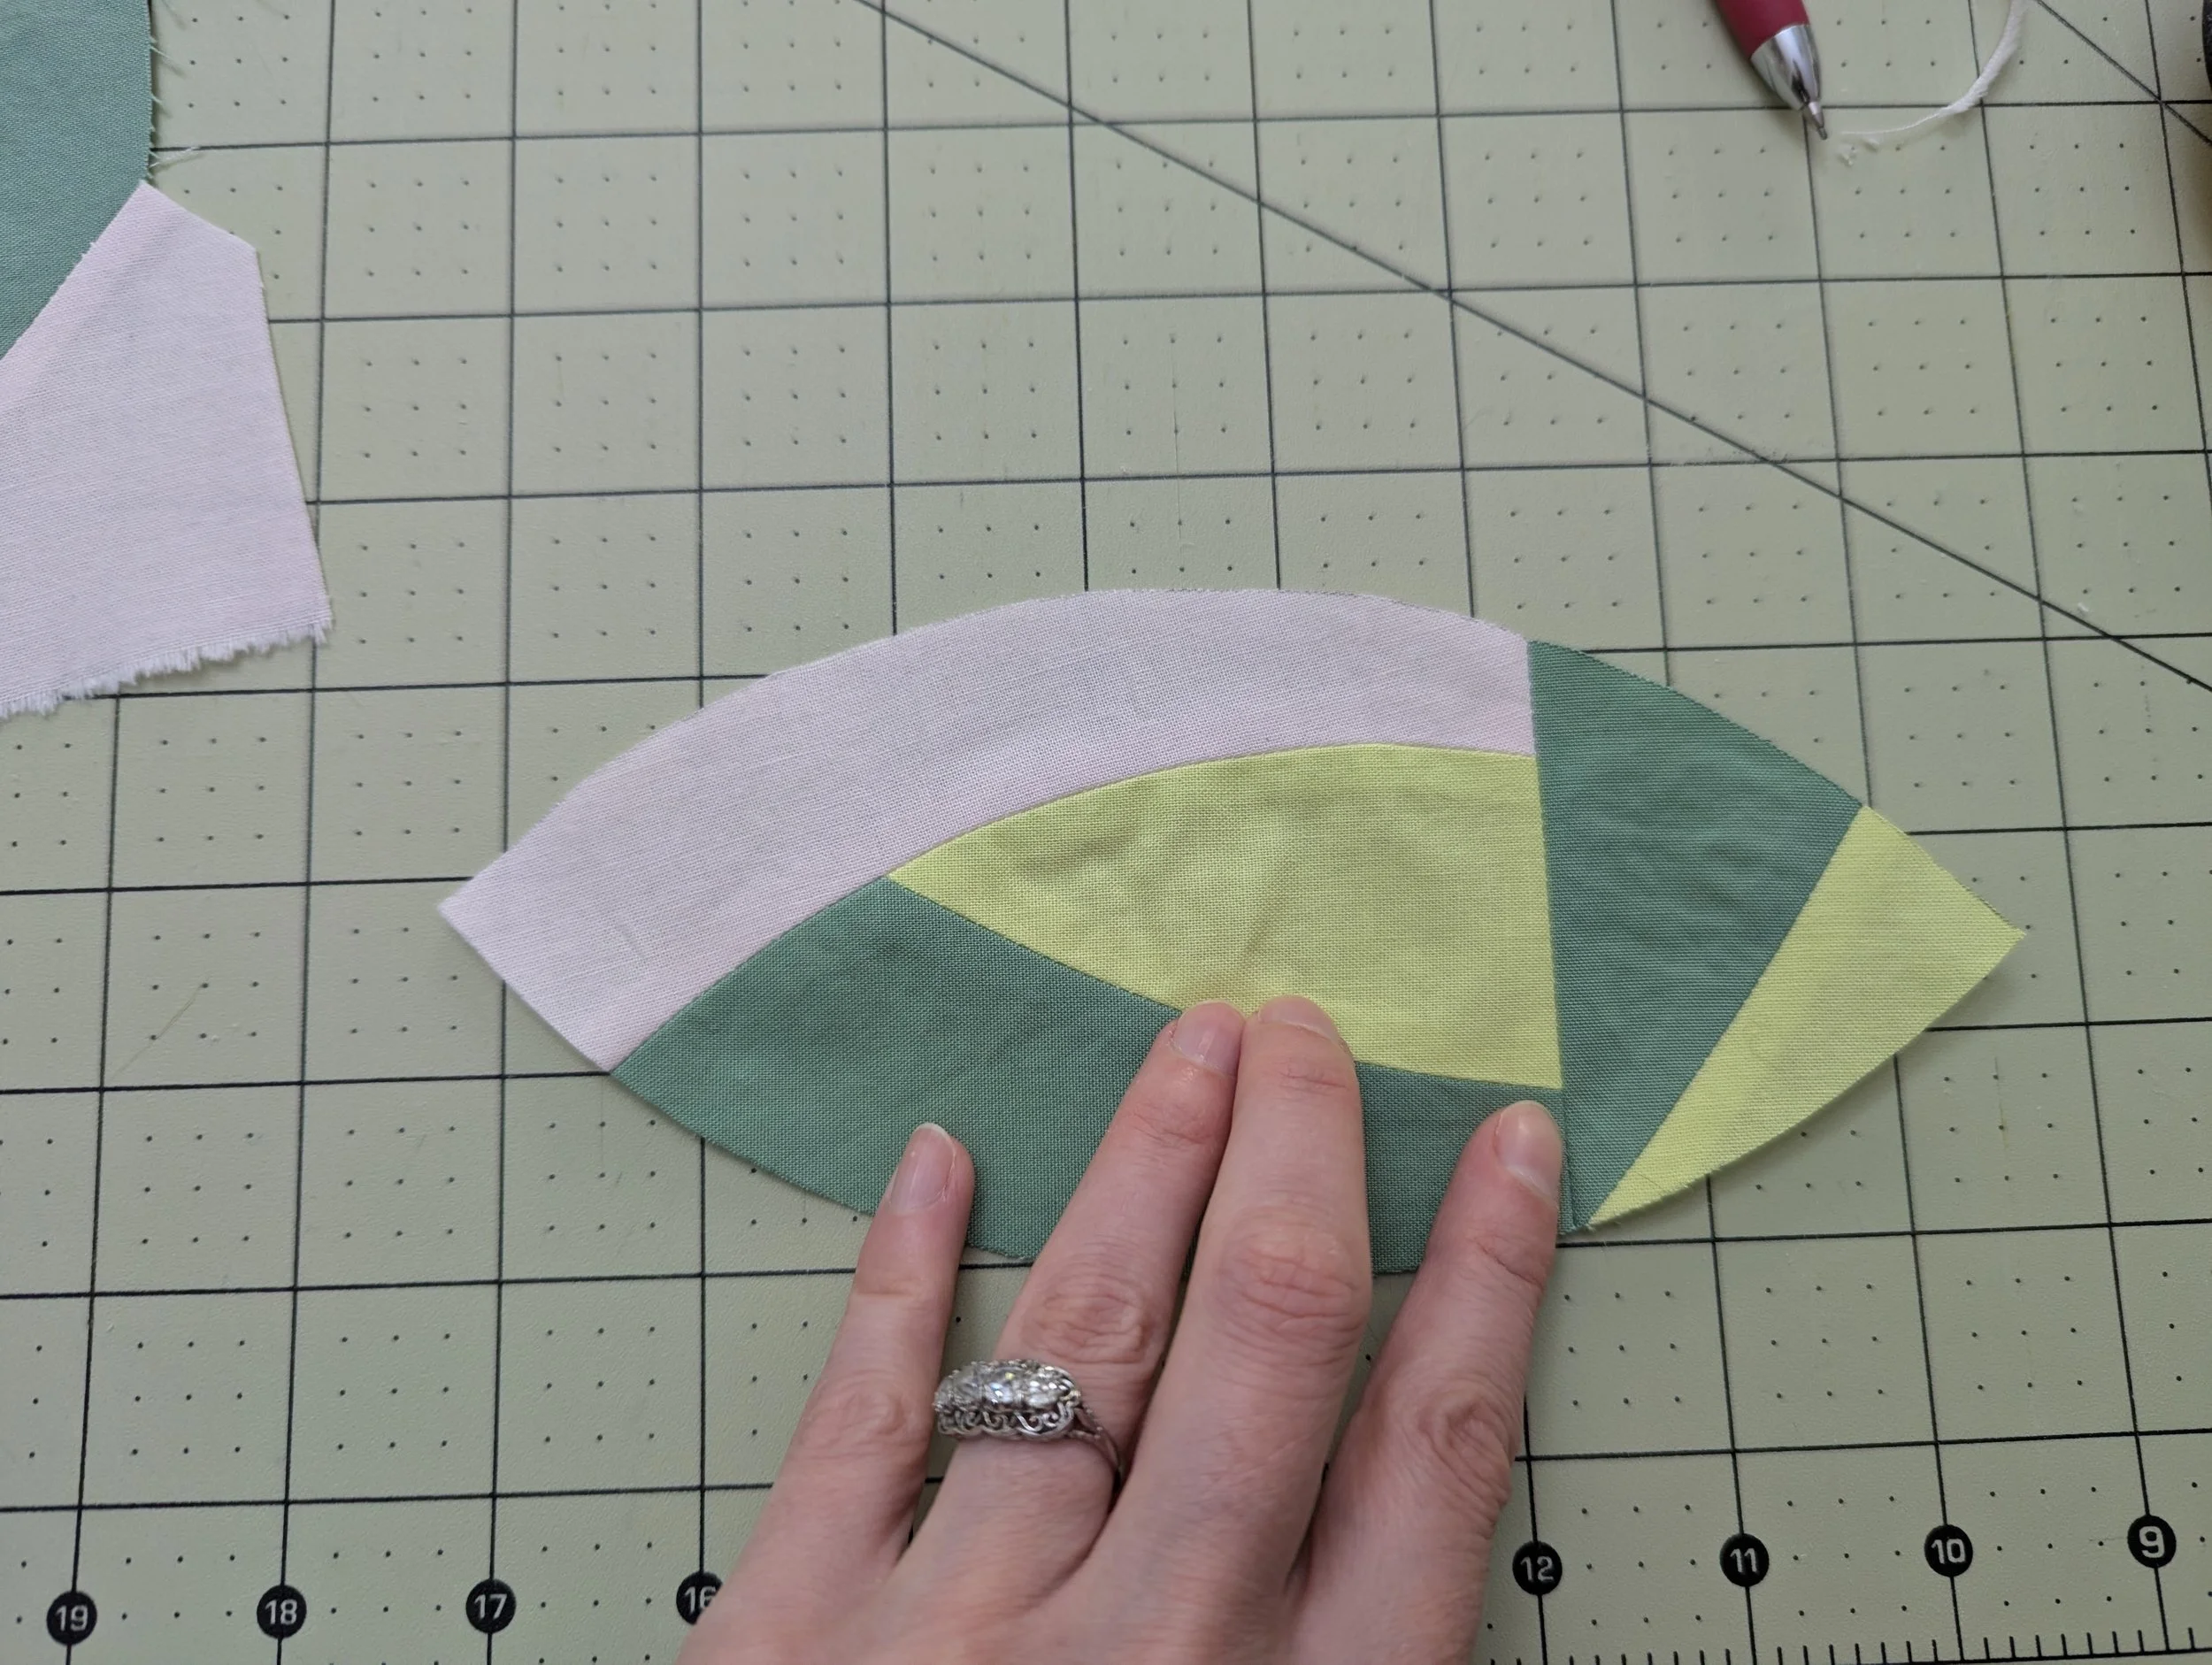
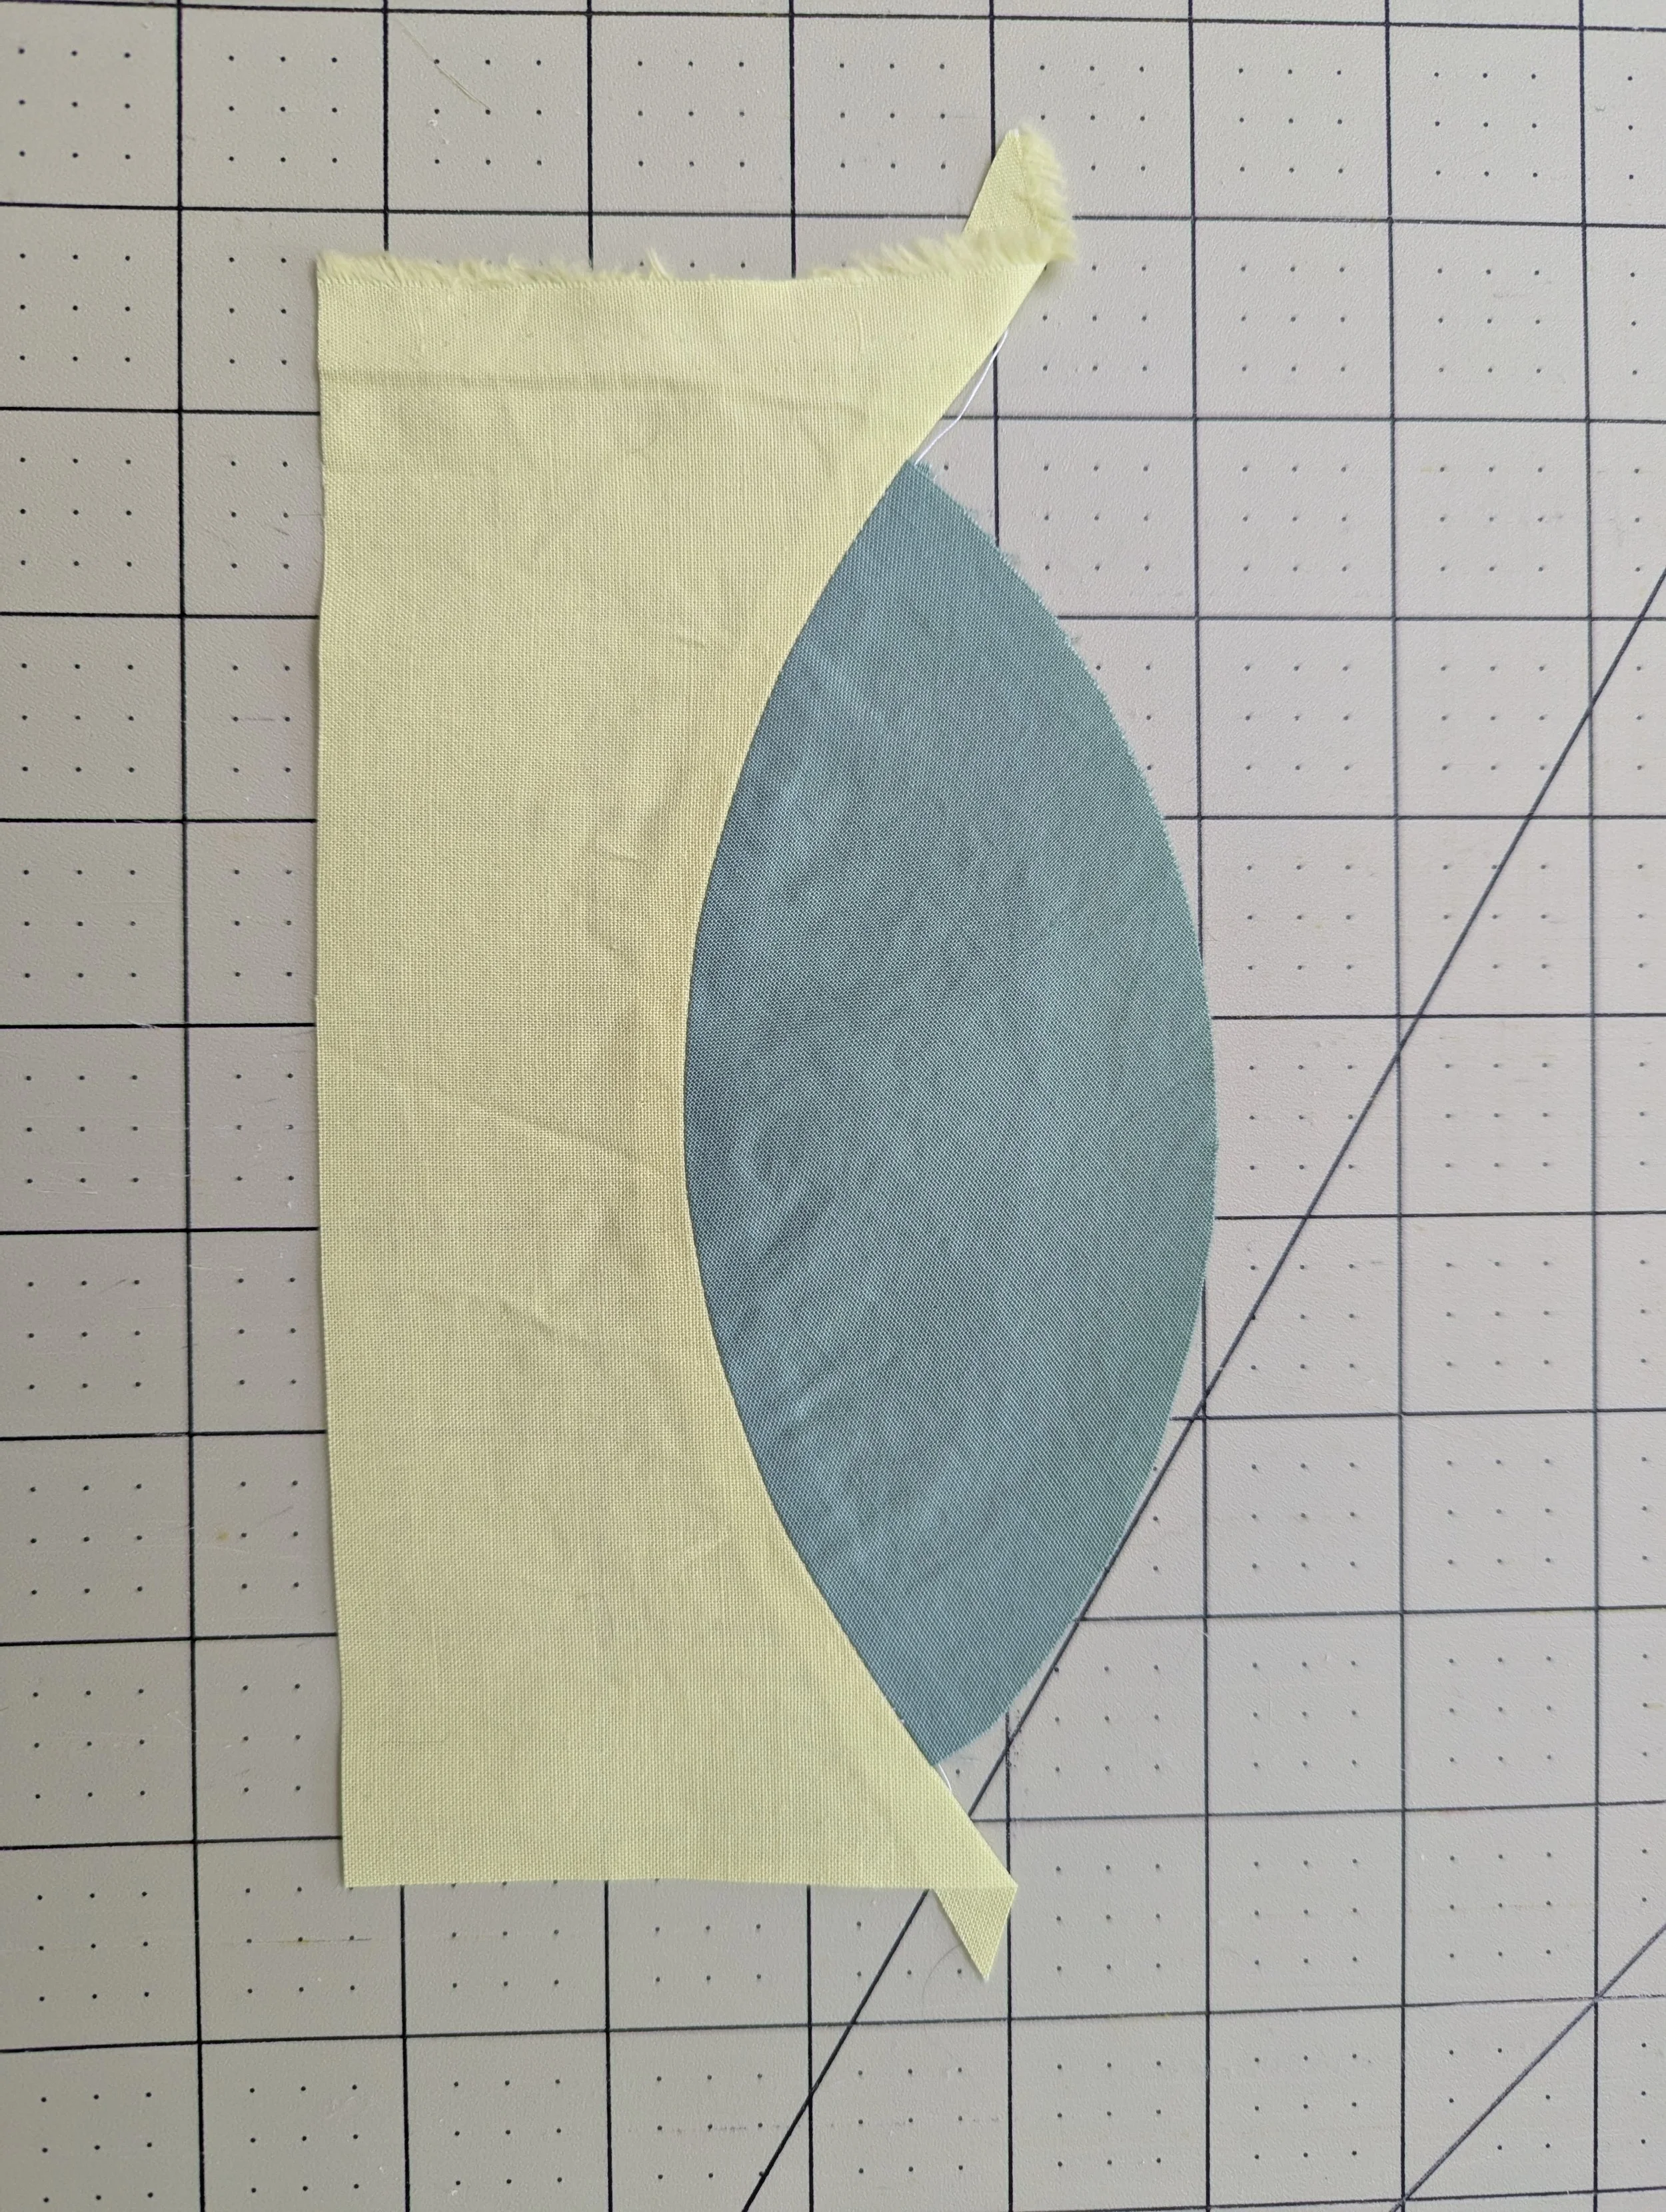
I did not like the straight line at the end of this peel…
Your curved improv piece!
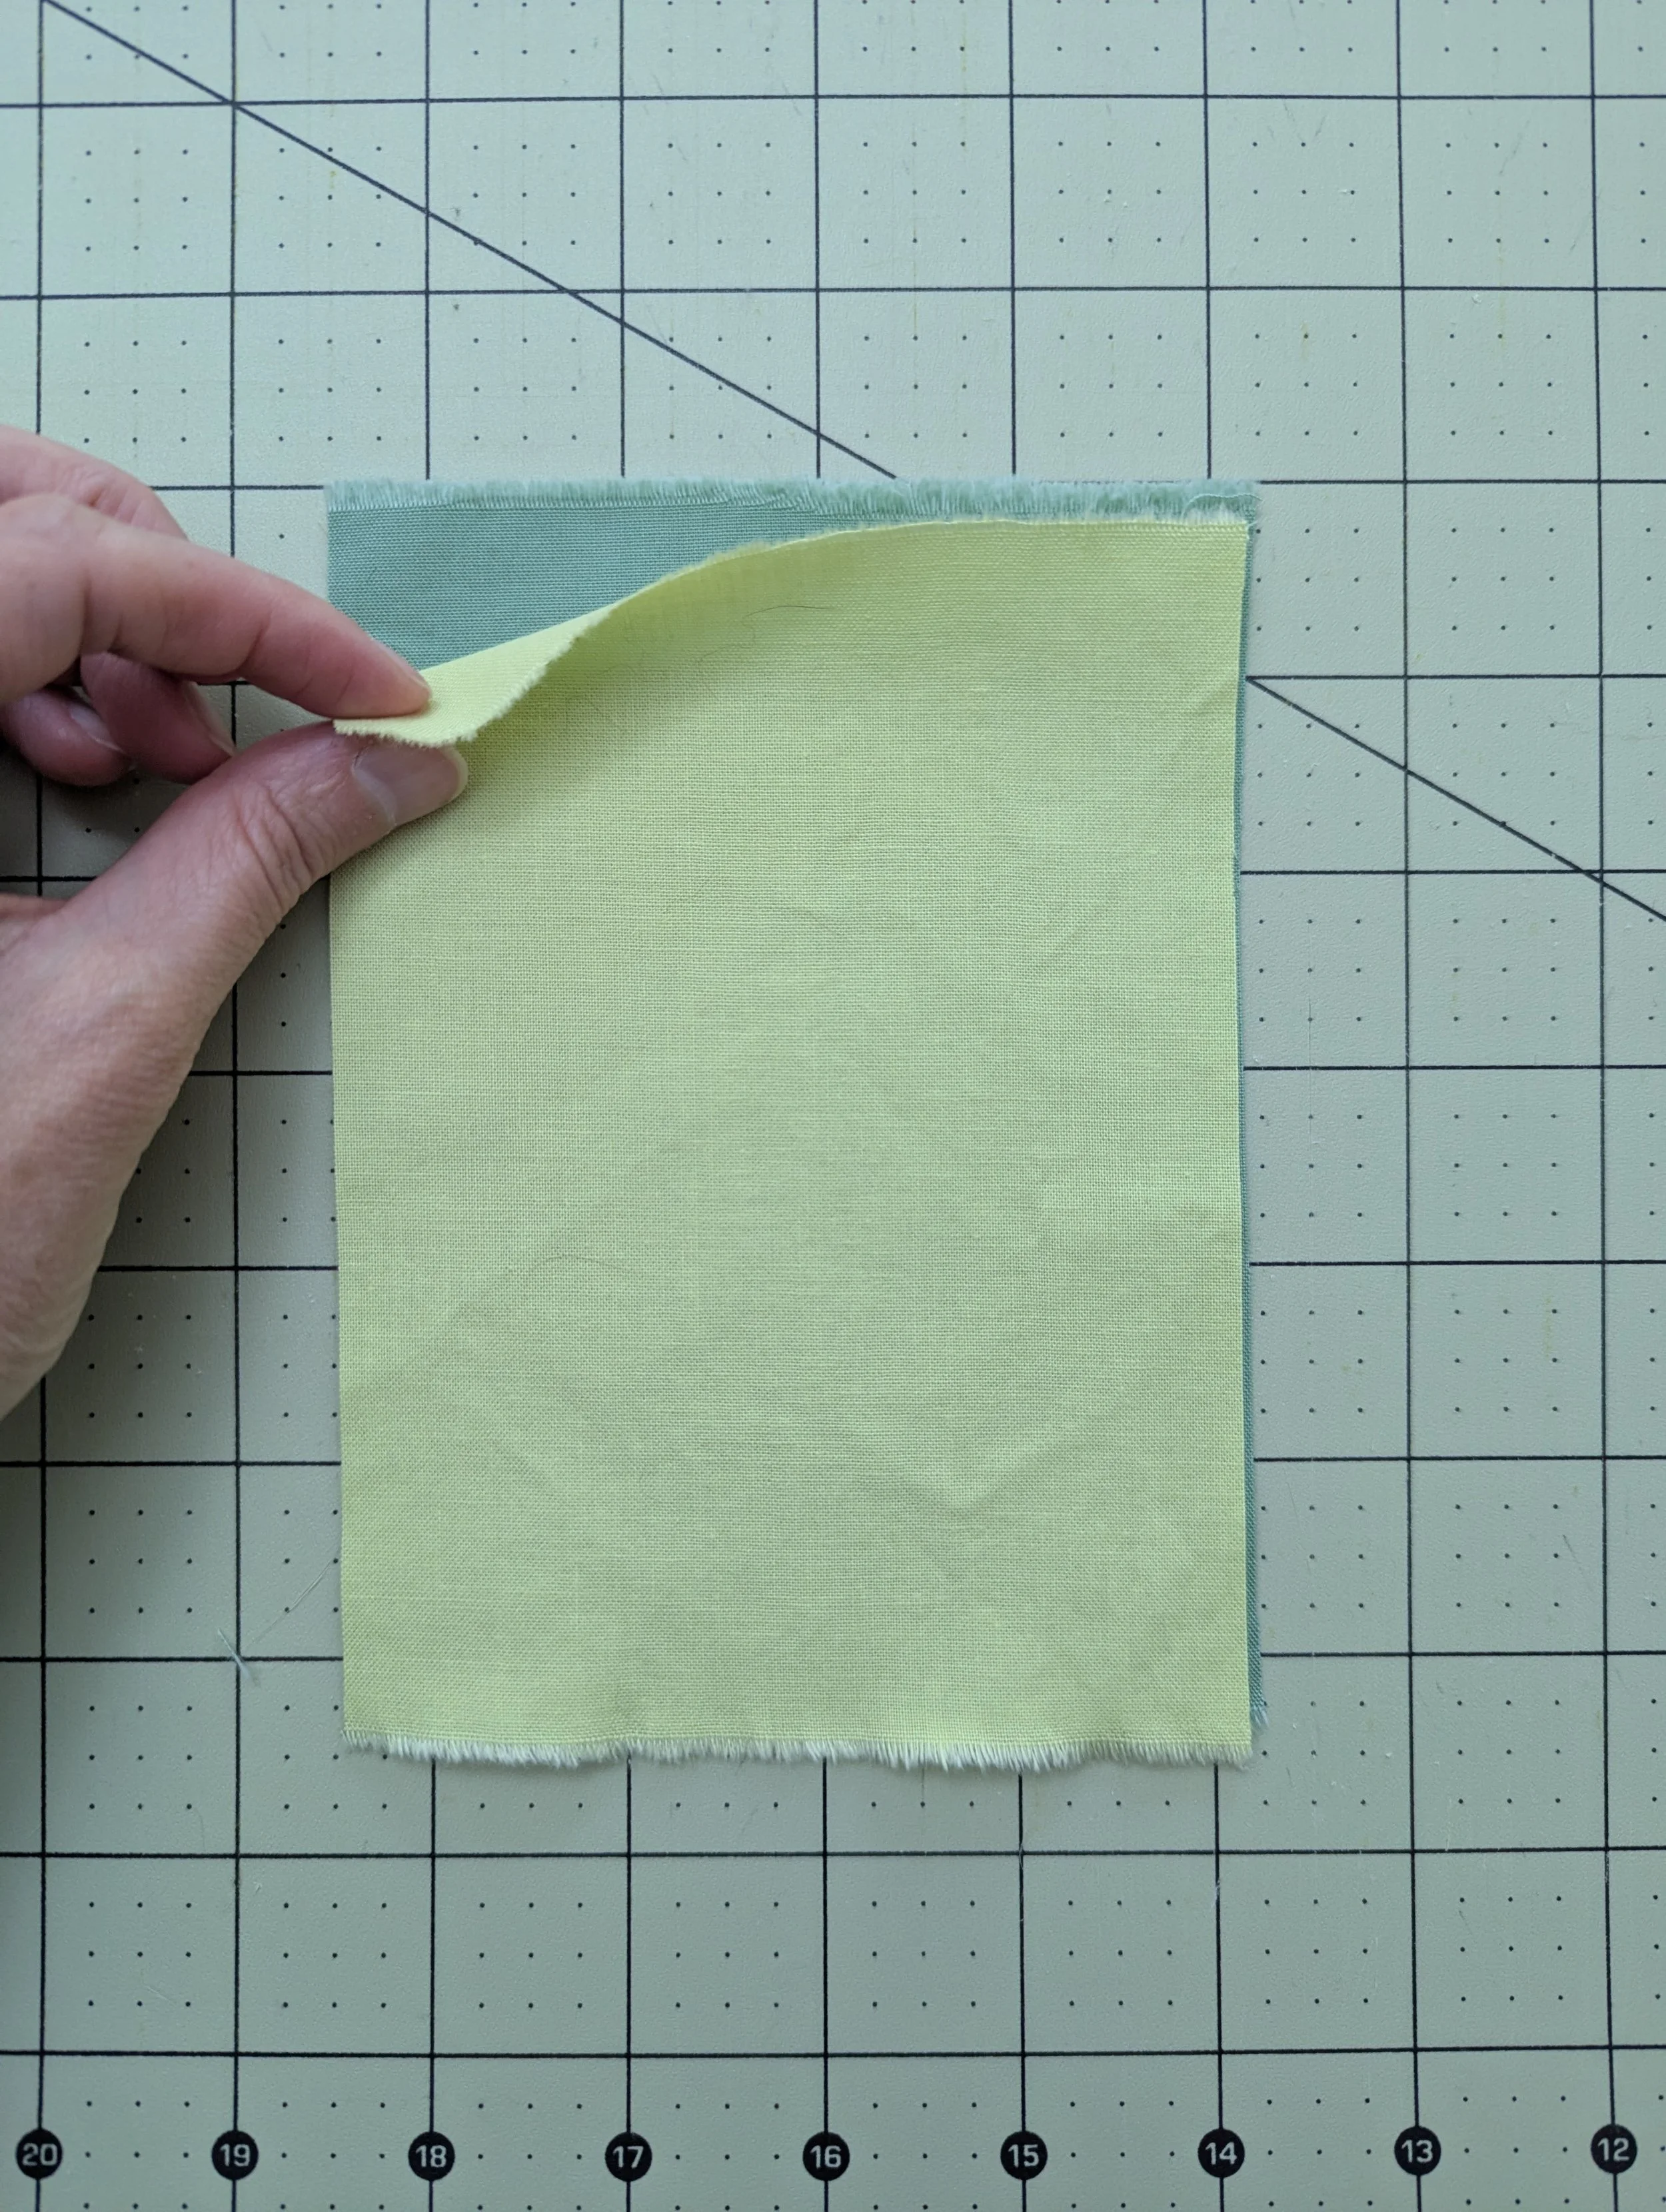
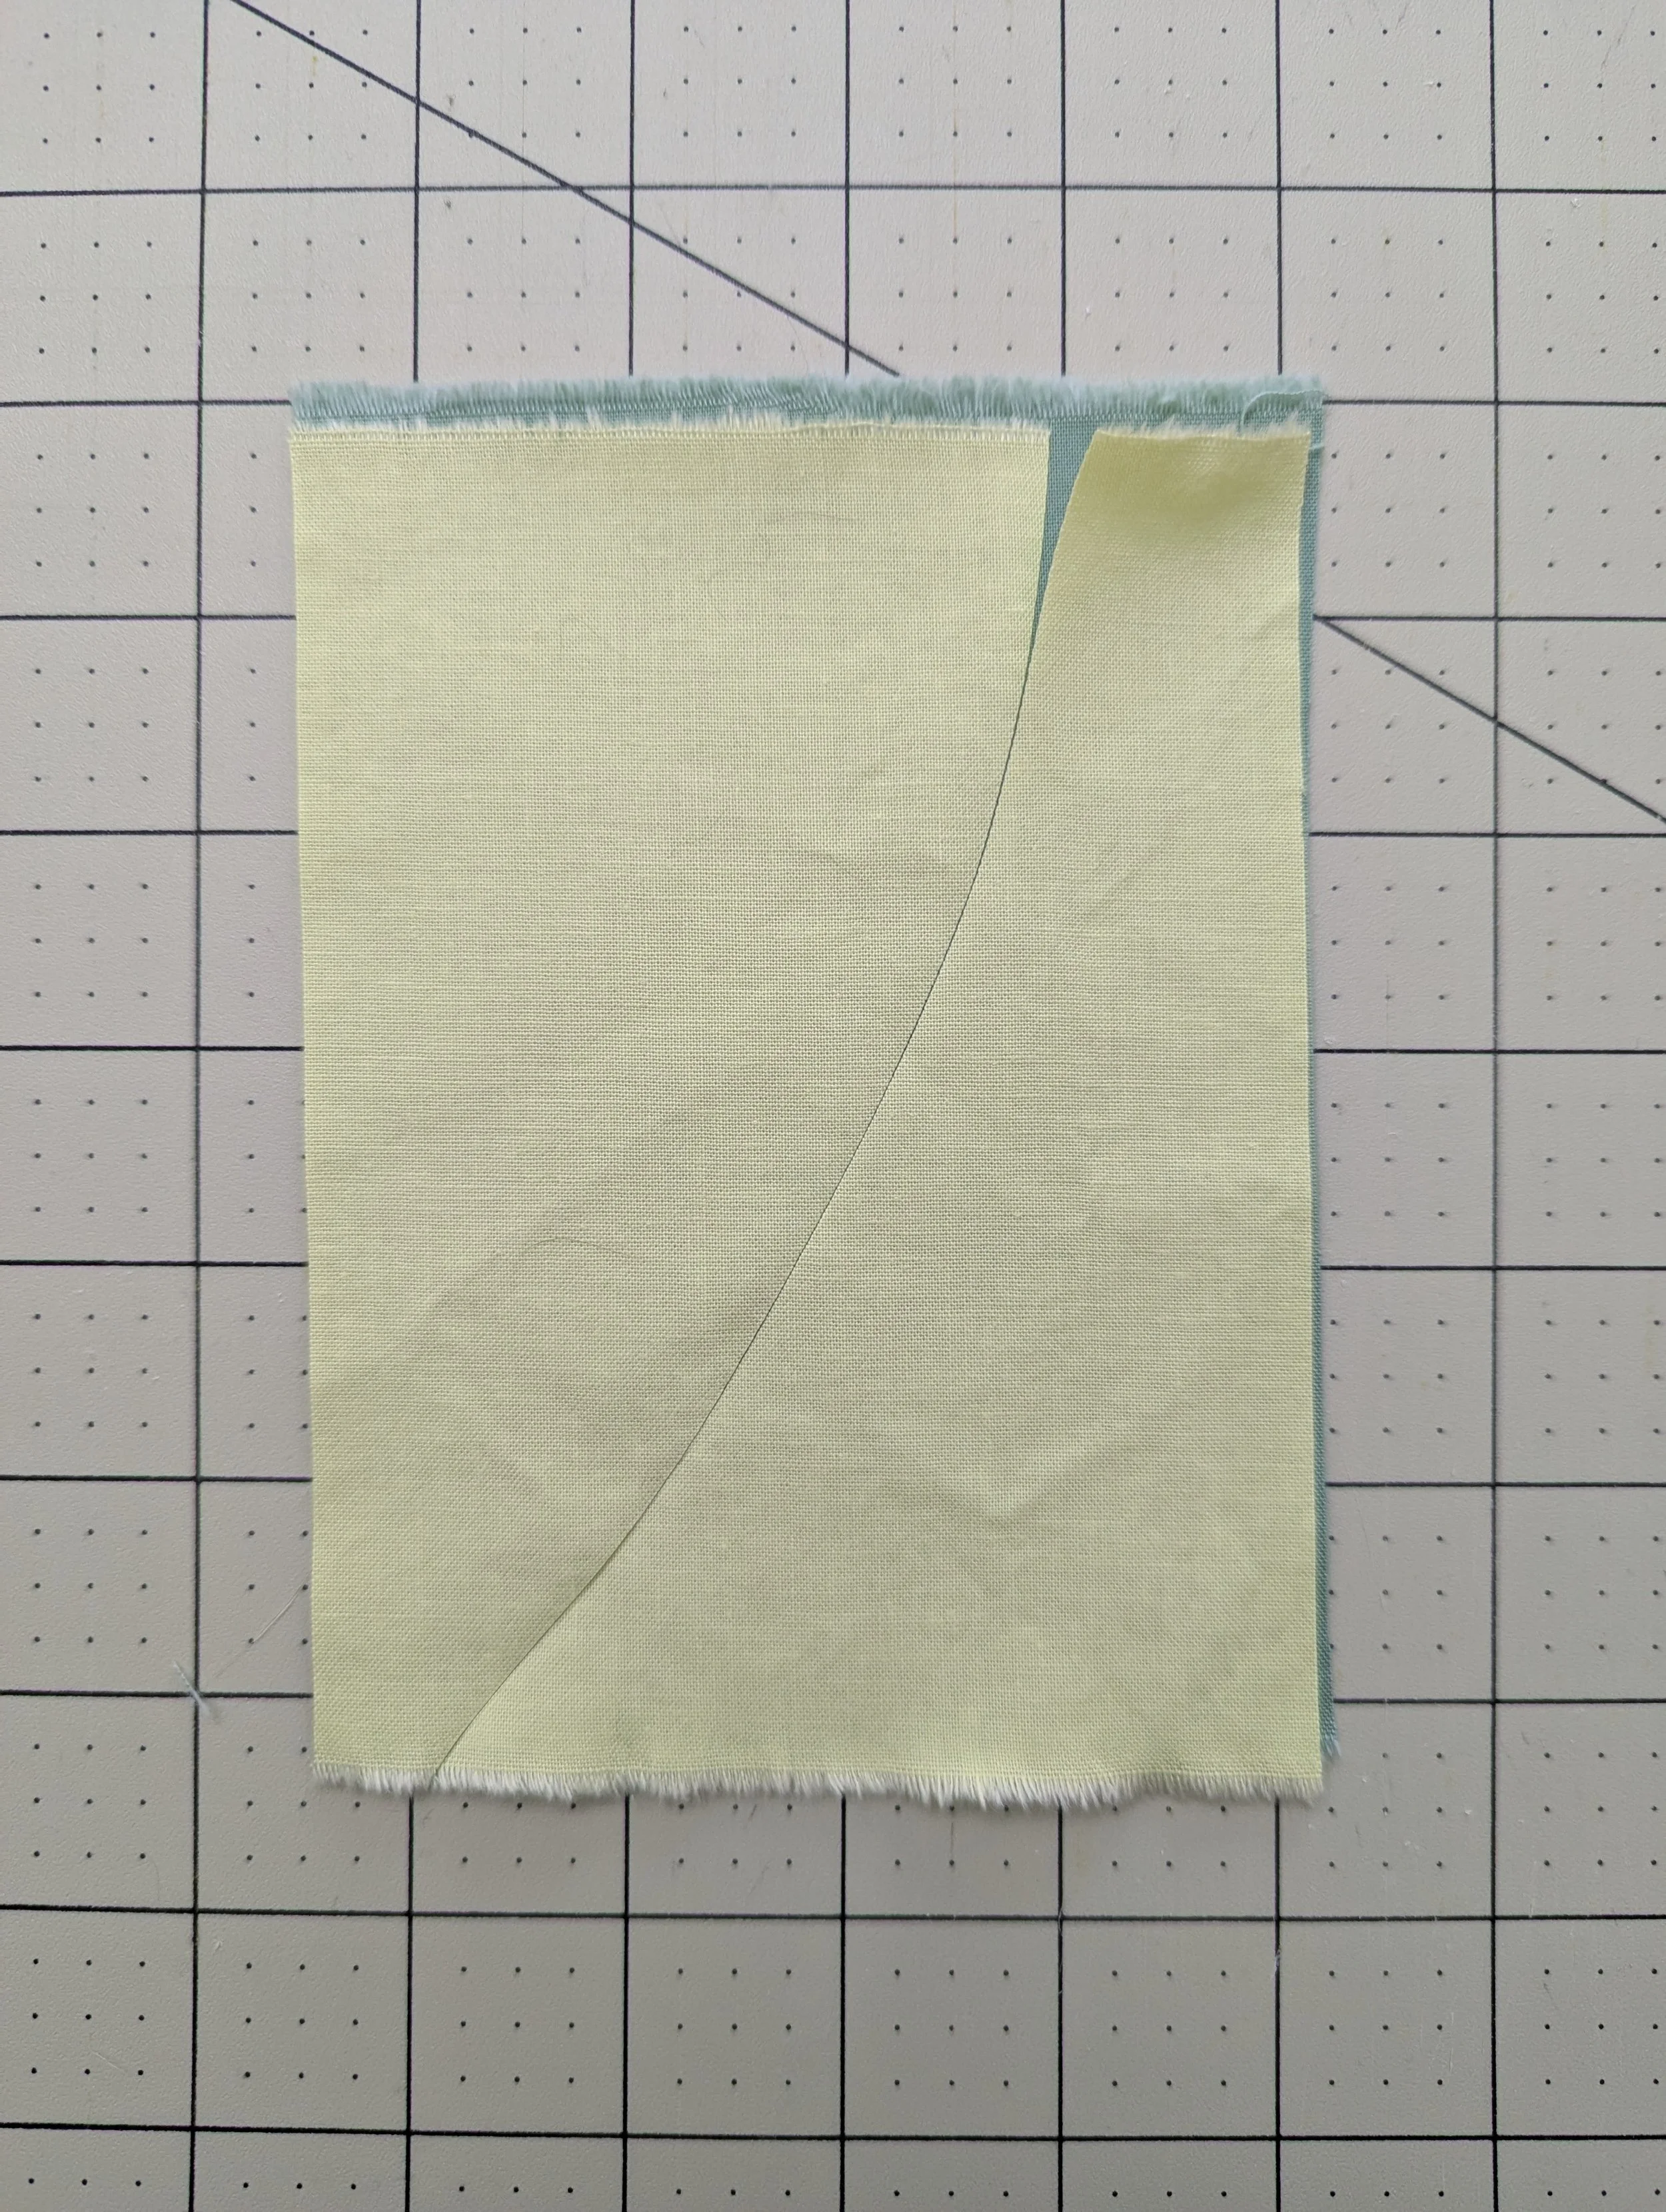
…then cut a gentle curve
There’s nothing tricky here- just start putting pieces together and sew them up! Here I went for a striped look, and cut strips of my leftover fabric to sew together.
Making striped peels
…pin them up…
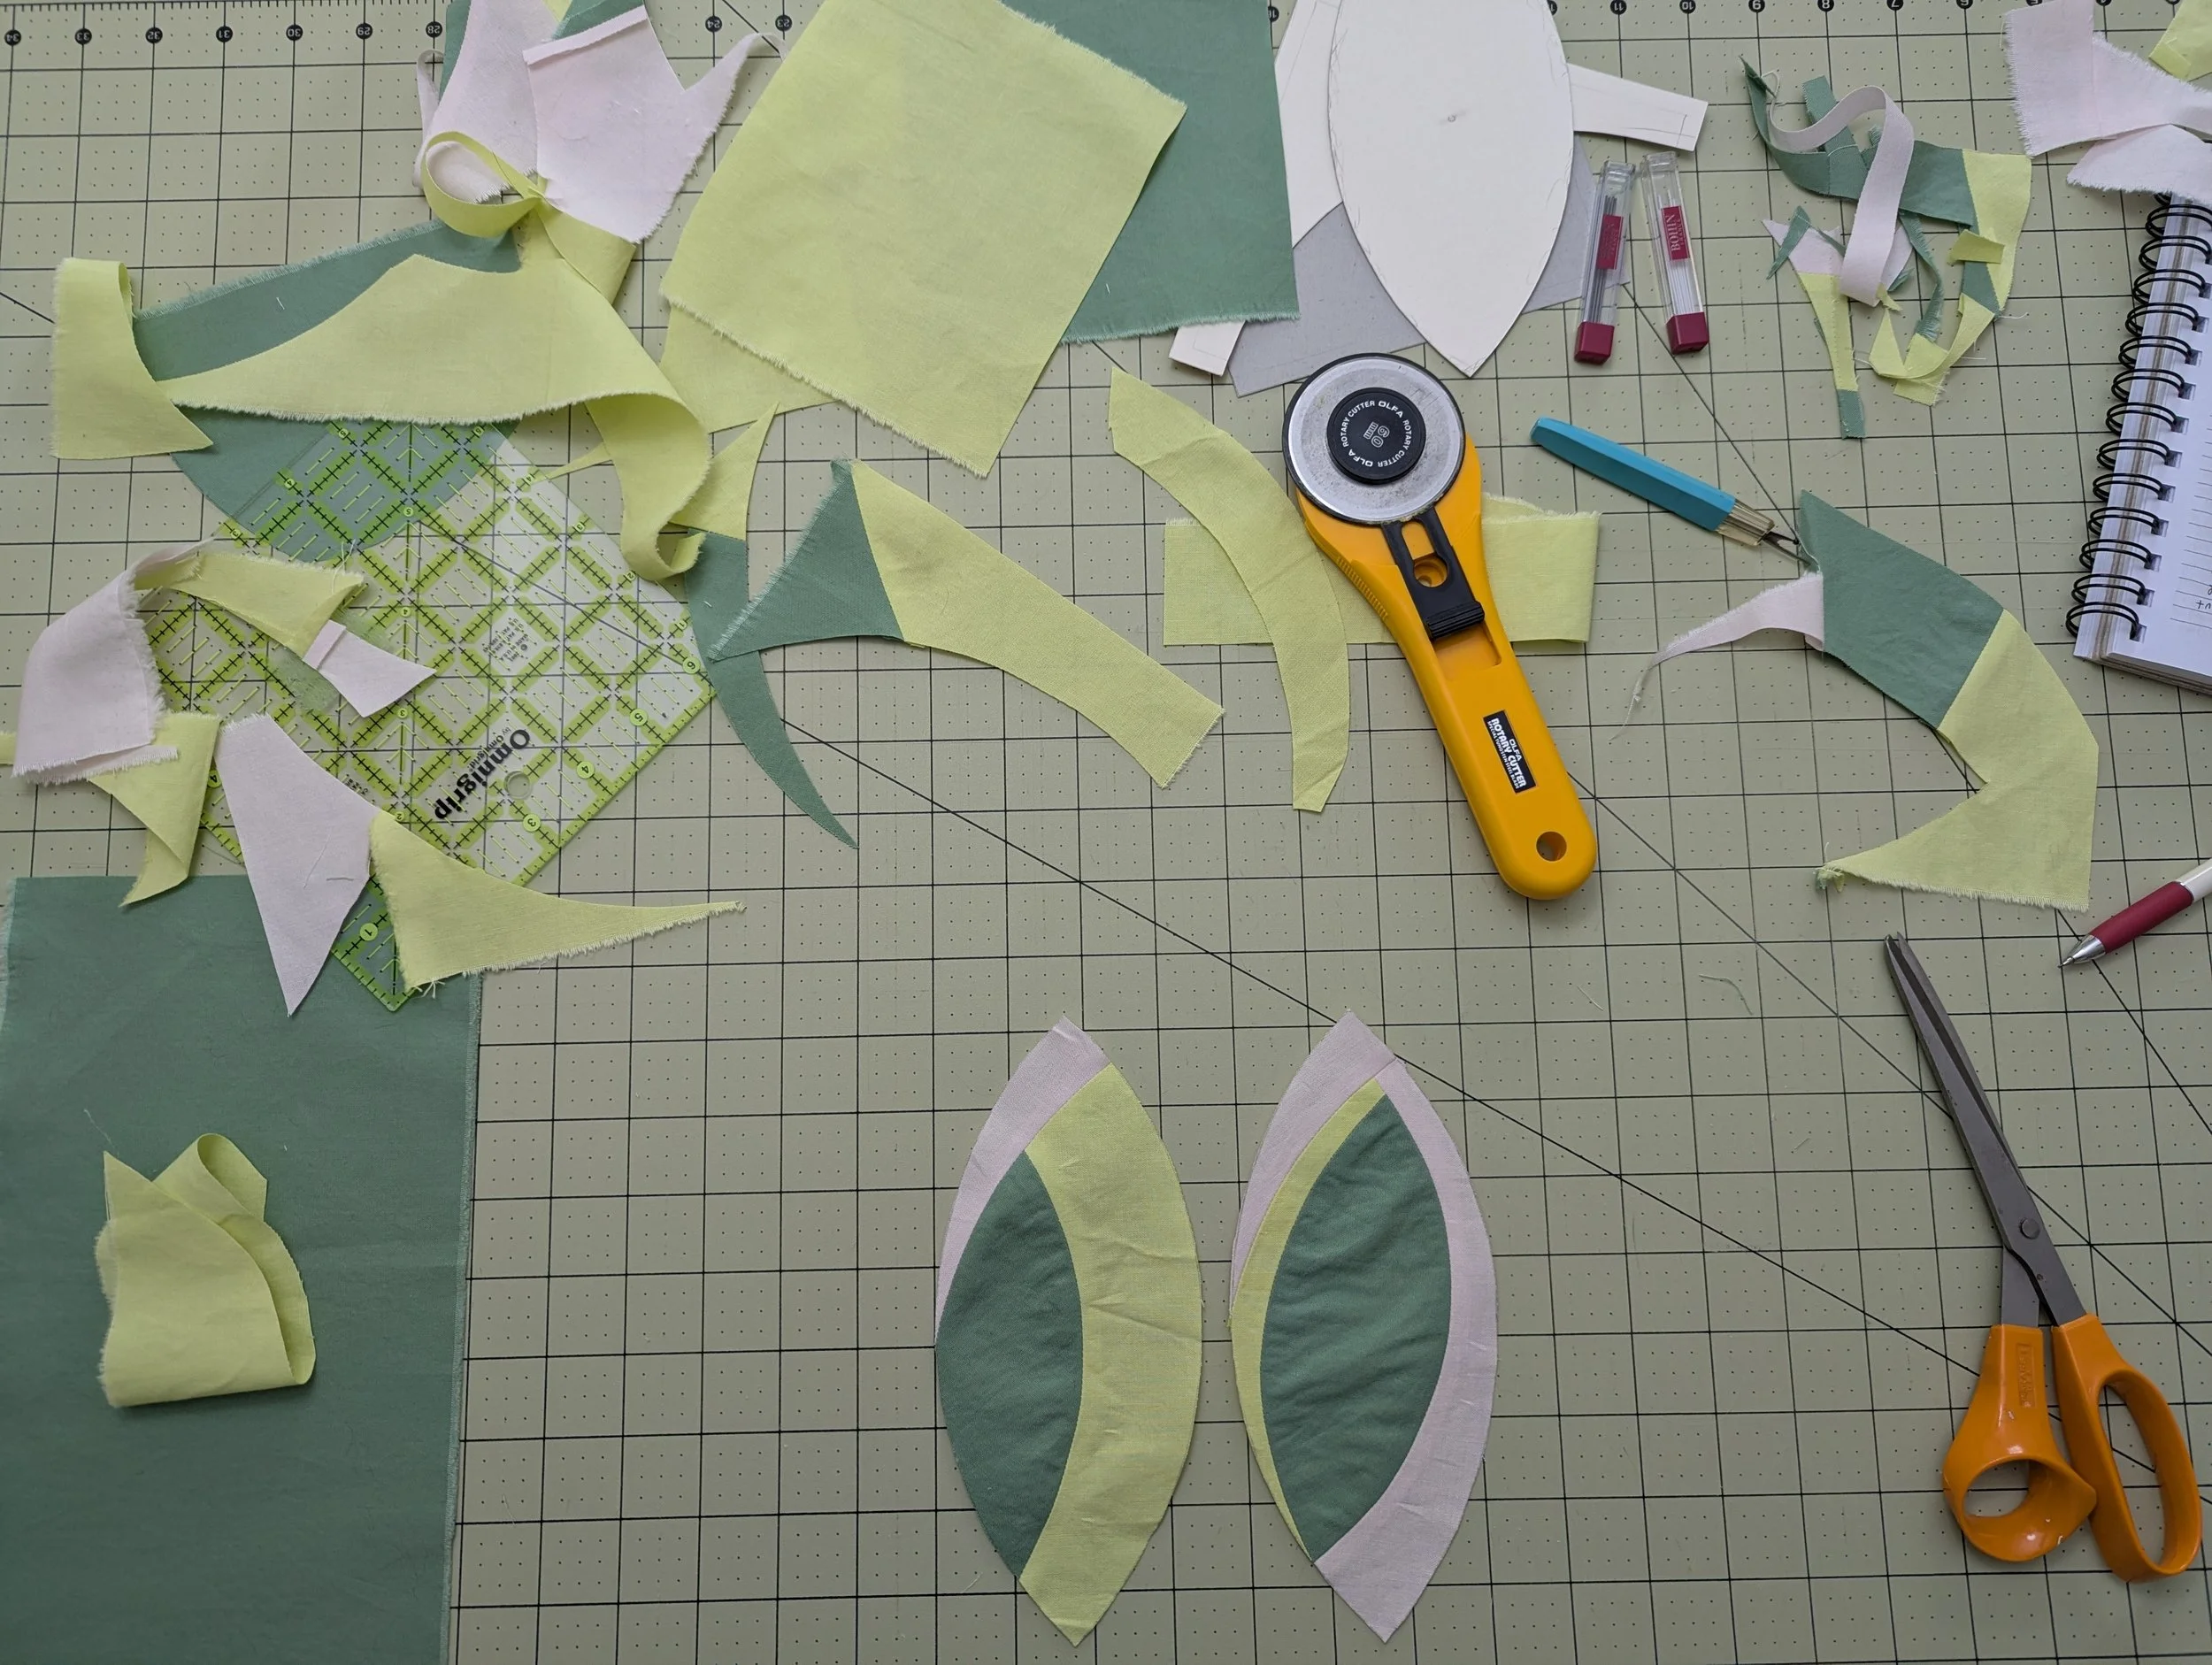
I like to lay my peel template (Template C) on top of my improv’d piece and try to see what it might look like when cut out.
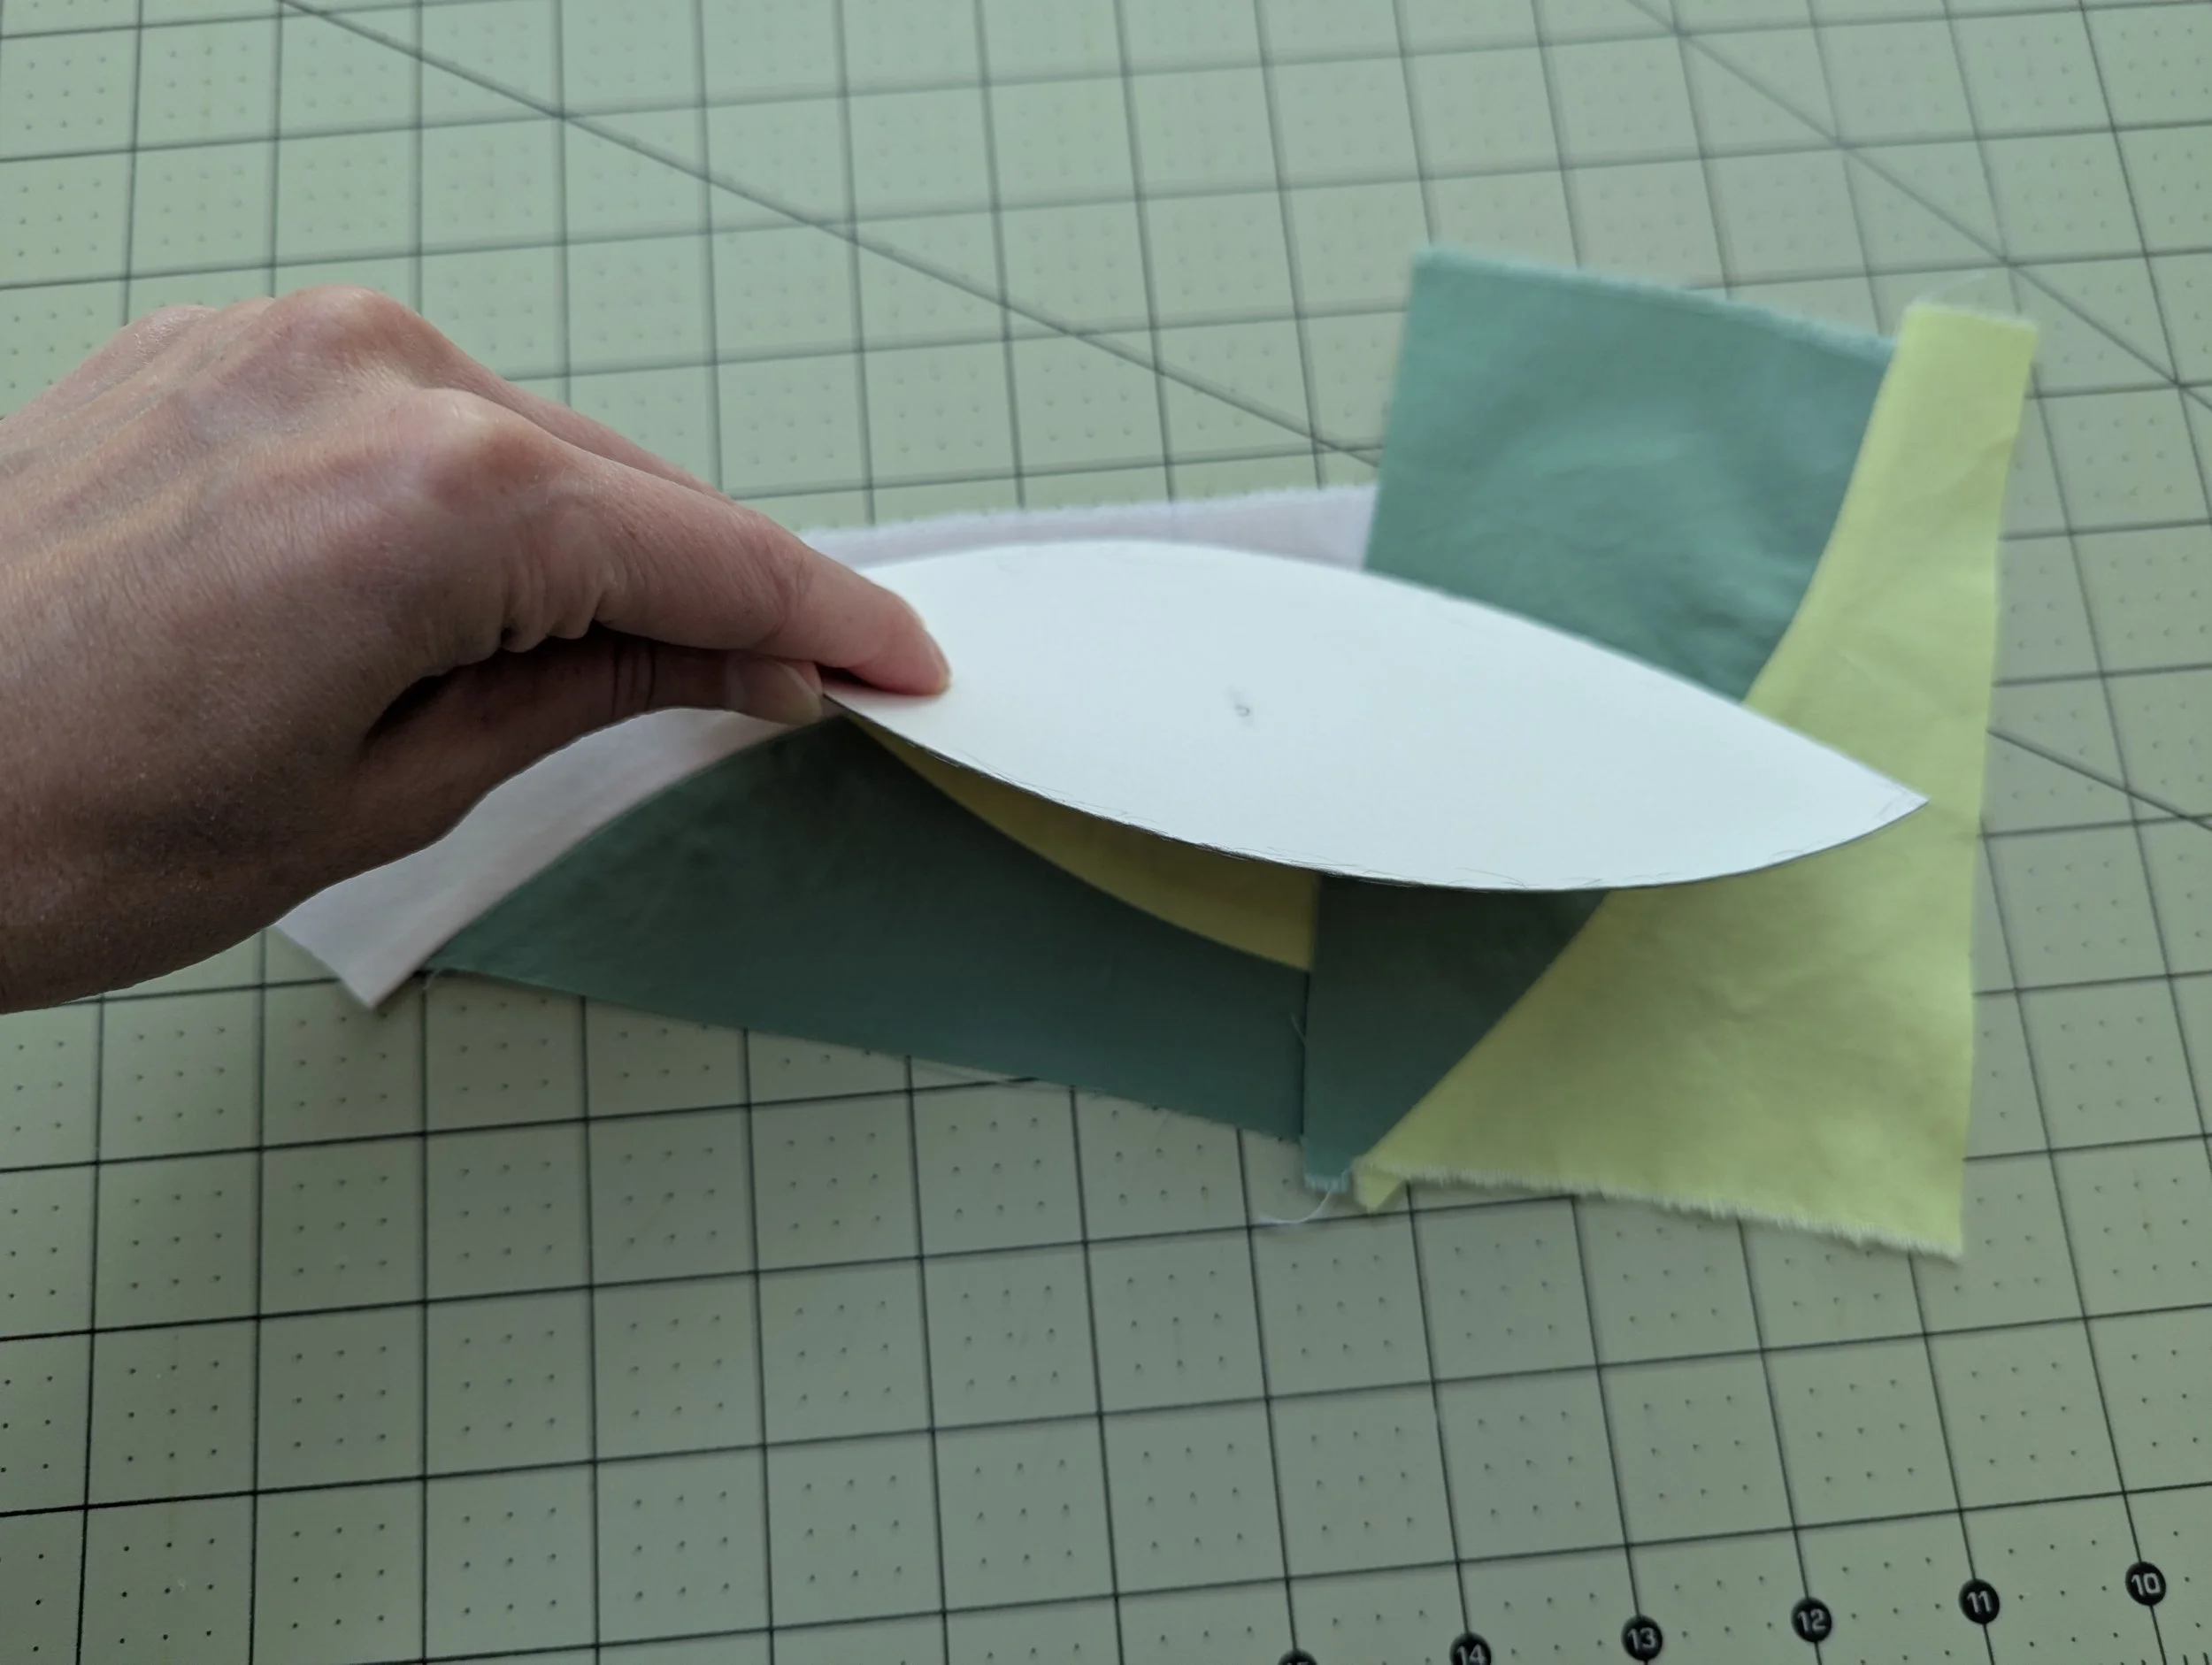
Checking to see what my peel will look like
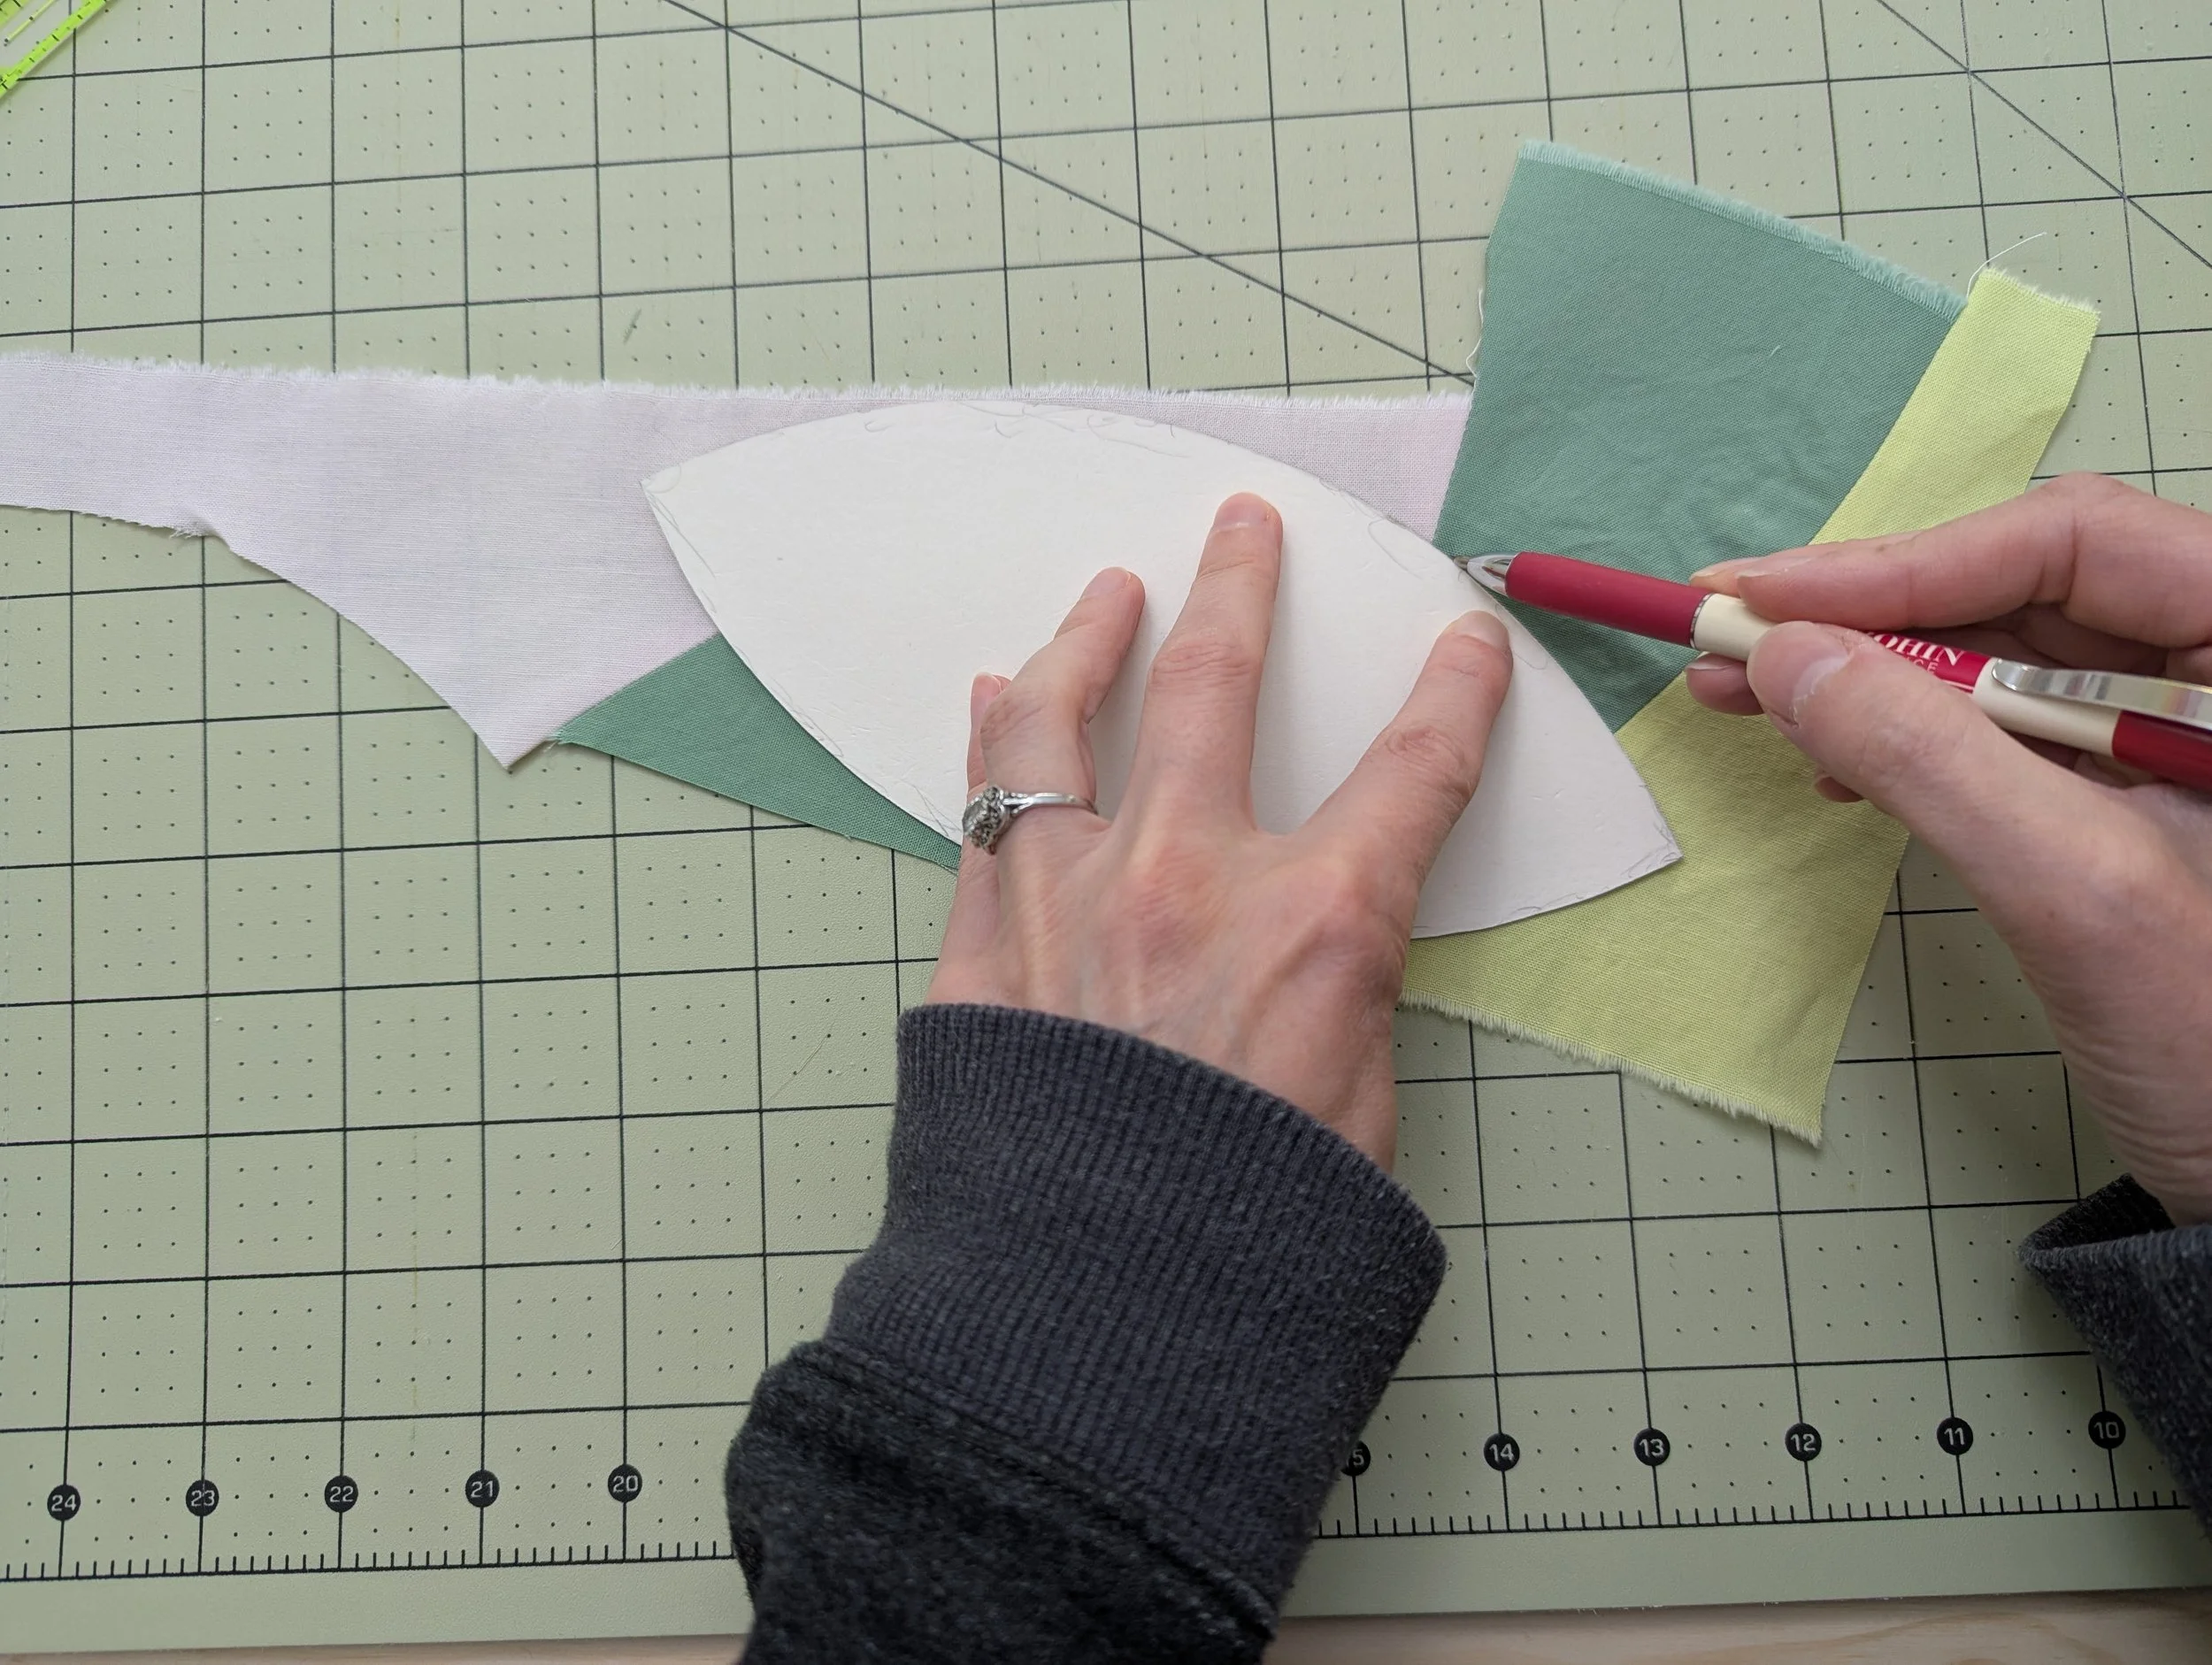
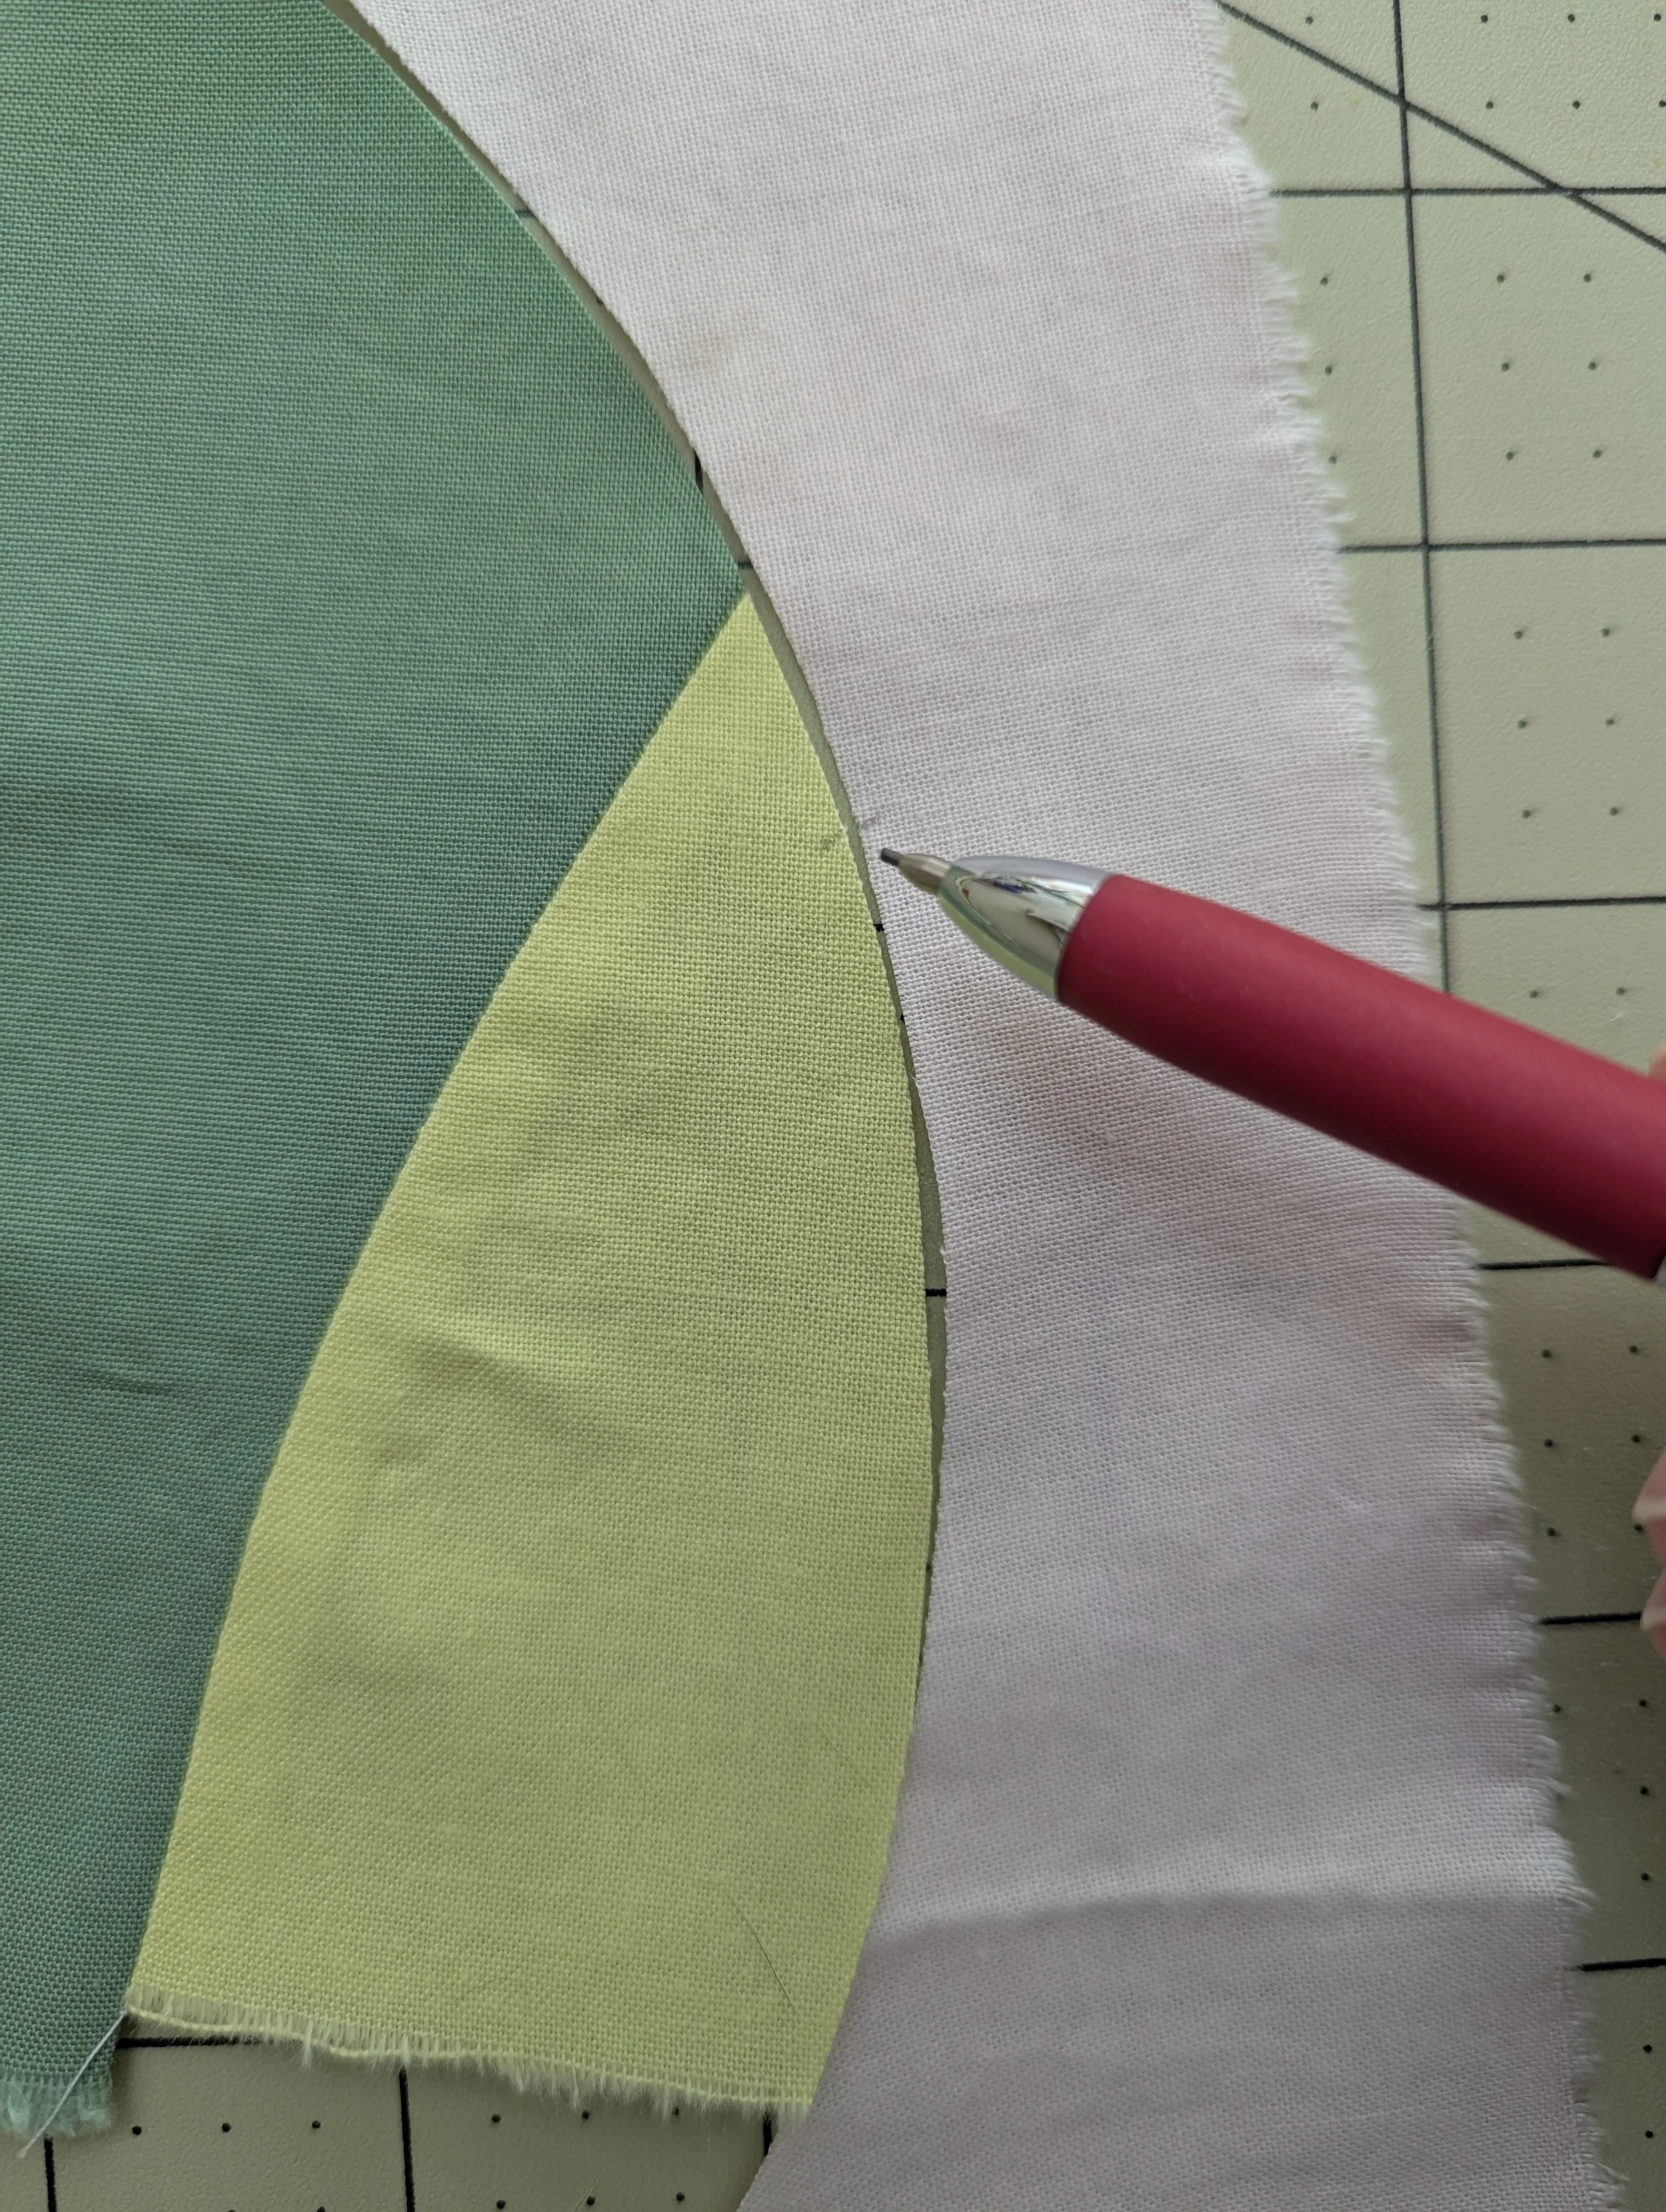
Tracing the peel shape before I cut it out
Sometimes, you might not like what you’ve made. That’s okay! There’s always an opportunity to adjust!
With the peel below, I didn’t like the straight line because it felt out of place with the curves in the rest of the peel. So I ended up seam ripping, then cutting a slight curve and attaching a new piece to the end.
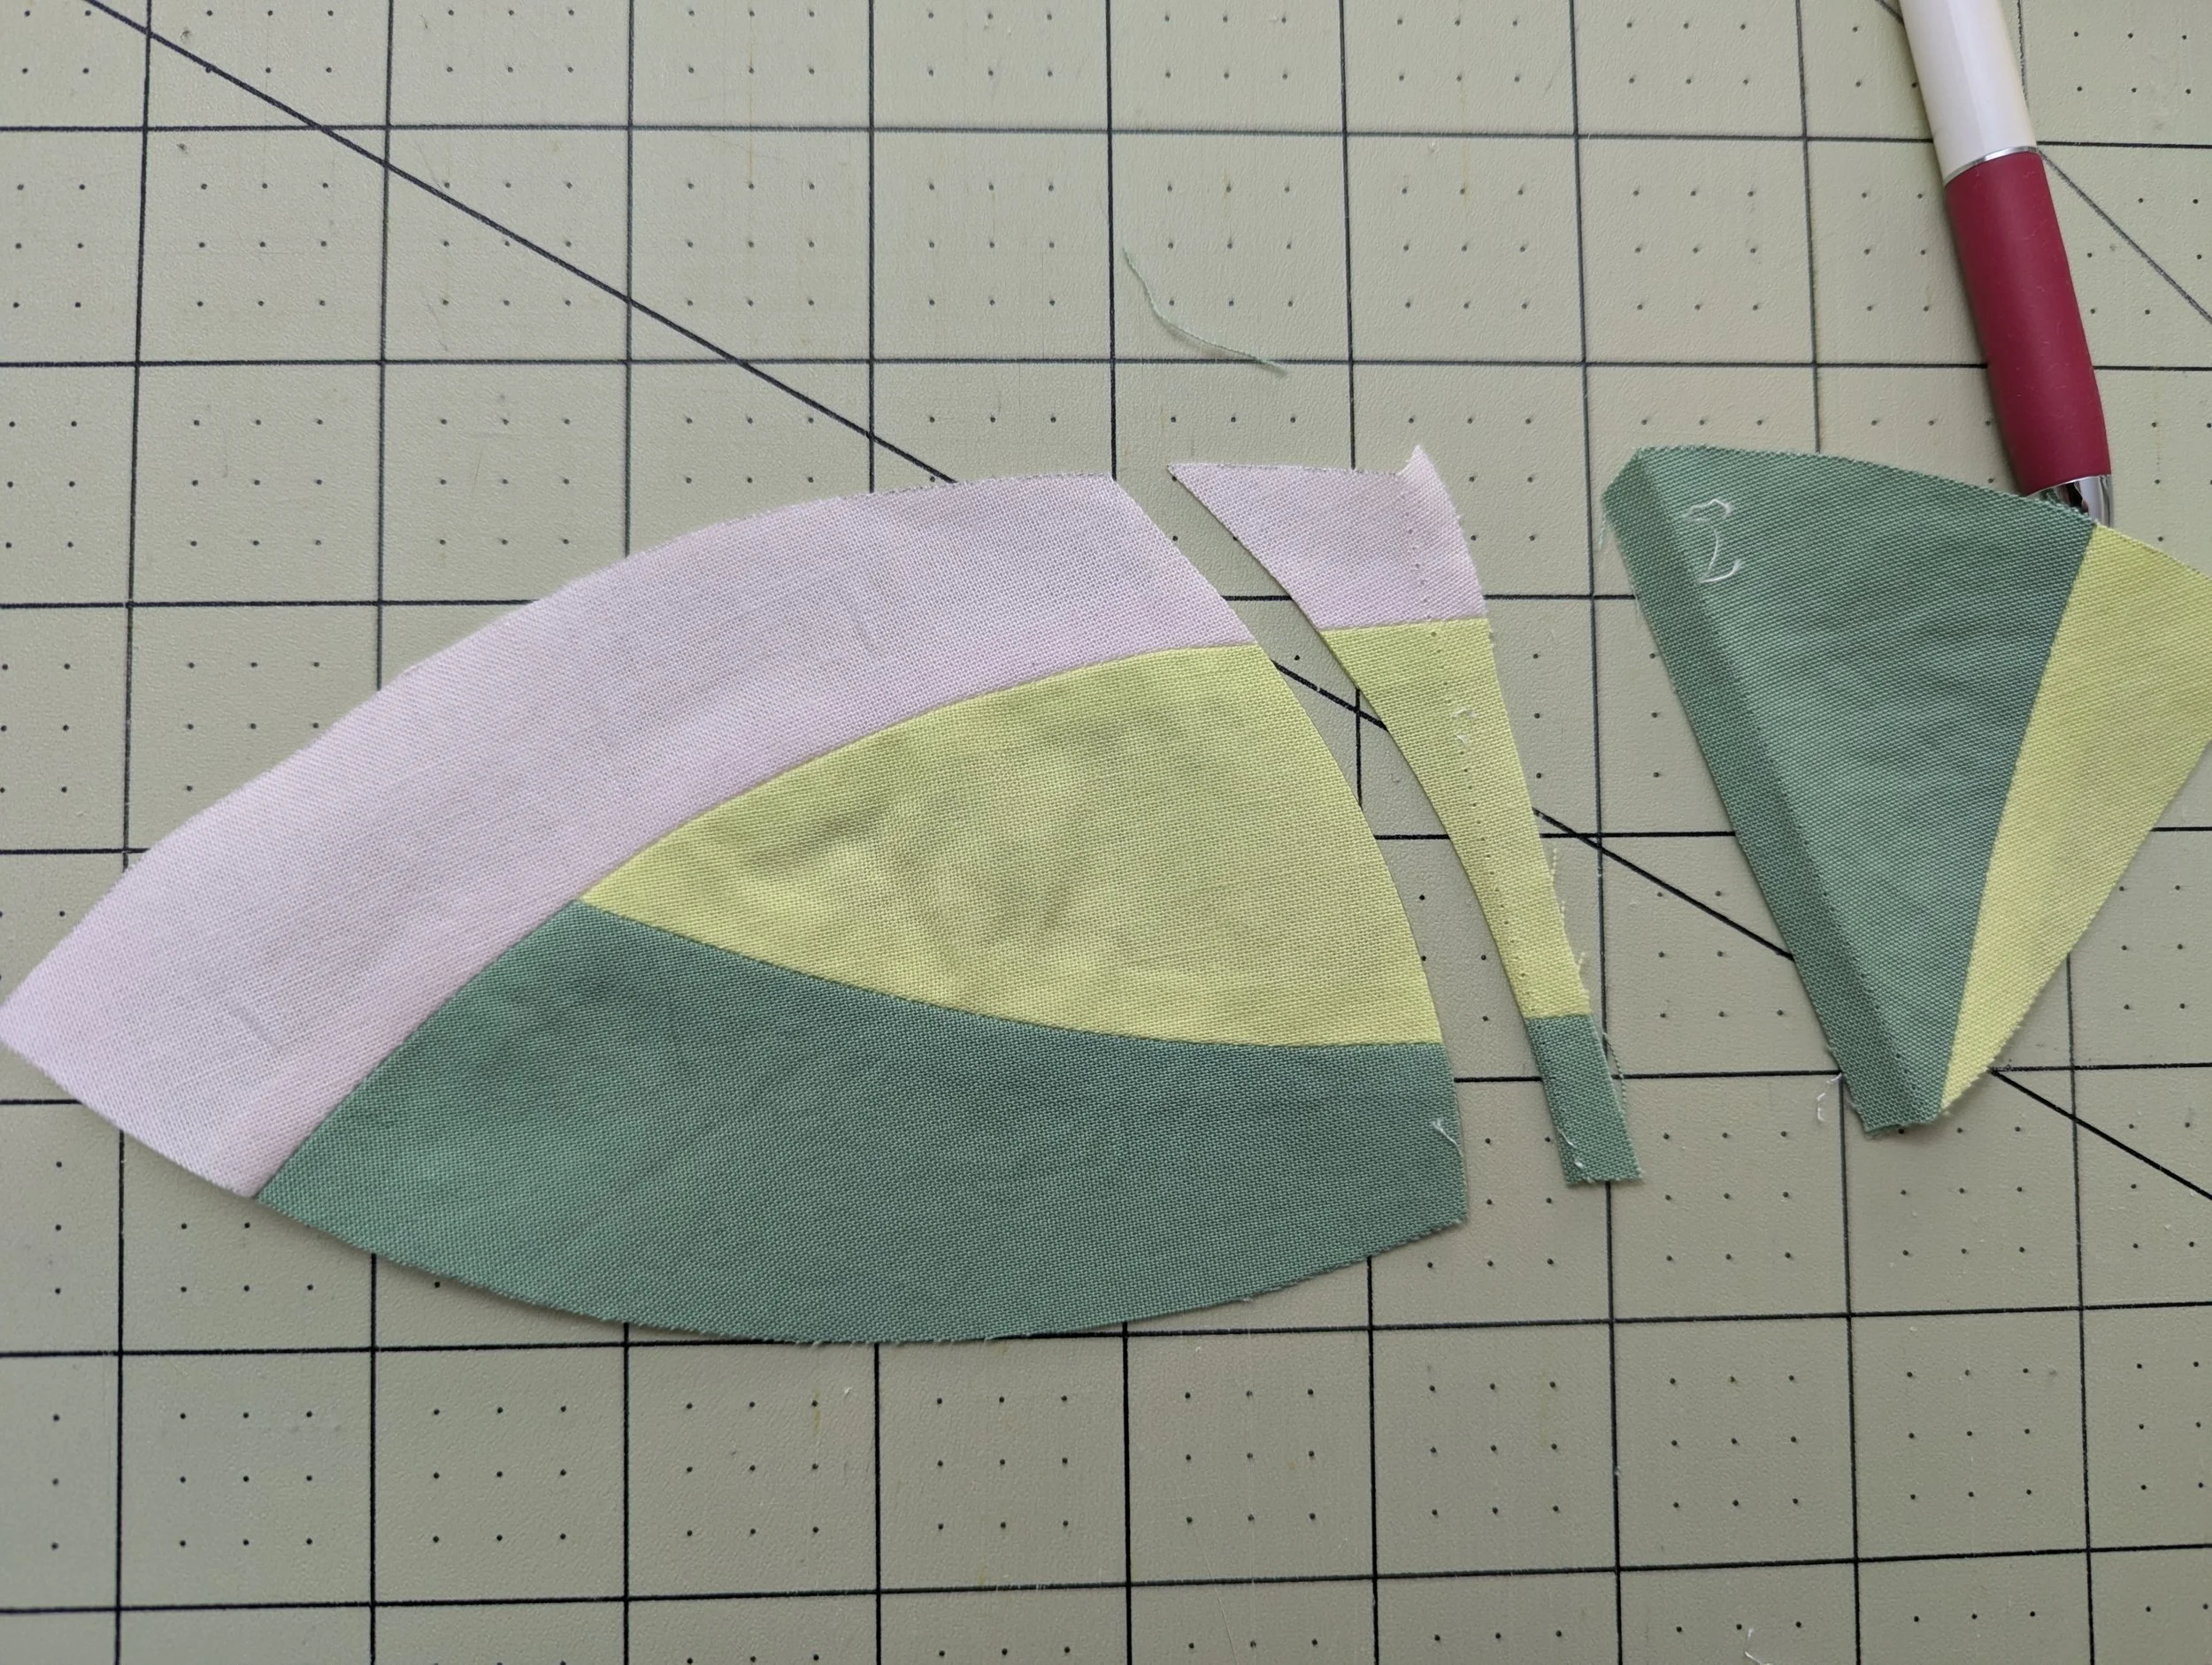
…and added another piece! Keep adding until you get the right sized needed for the template.
…so I seam ripped the end and cut another curve…
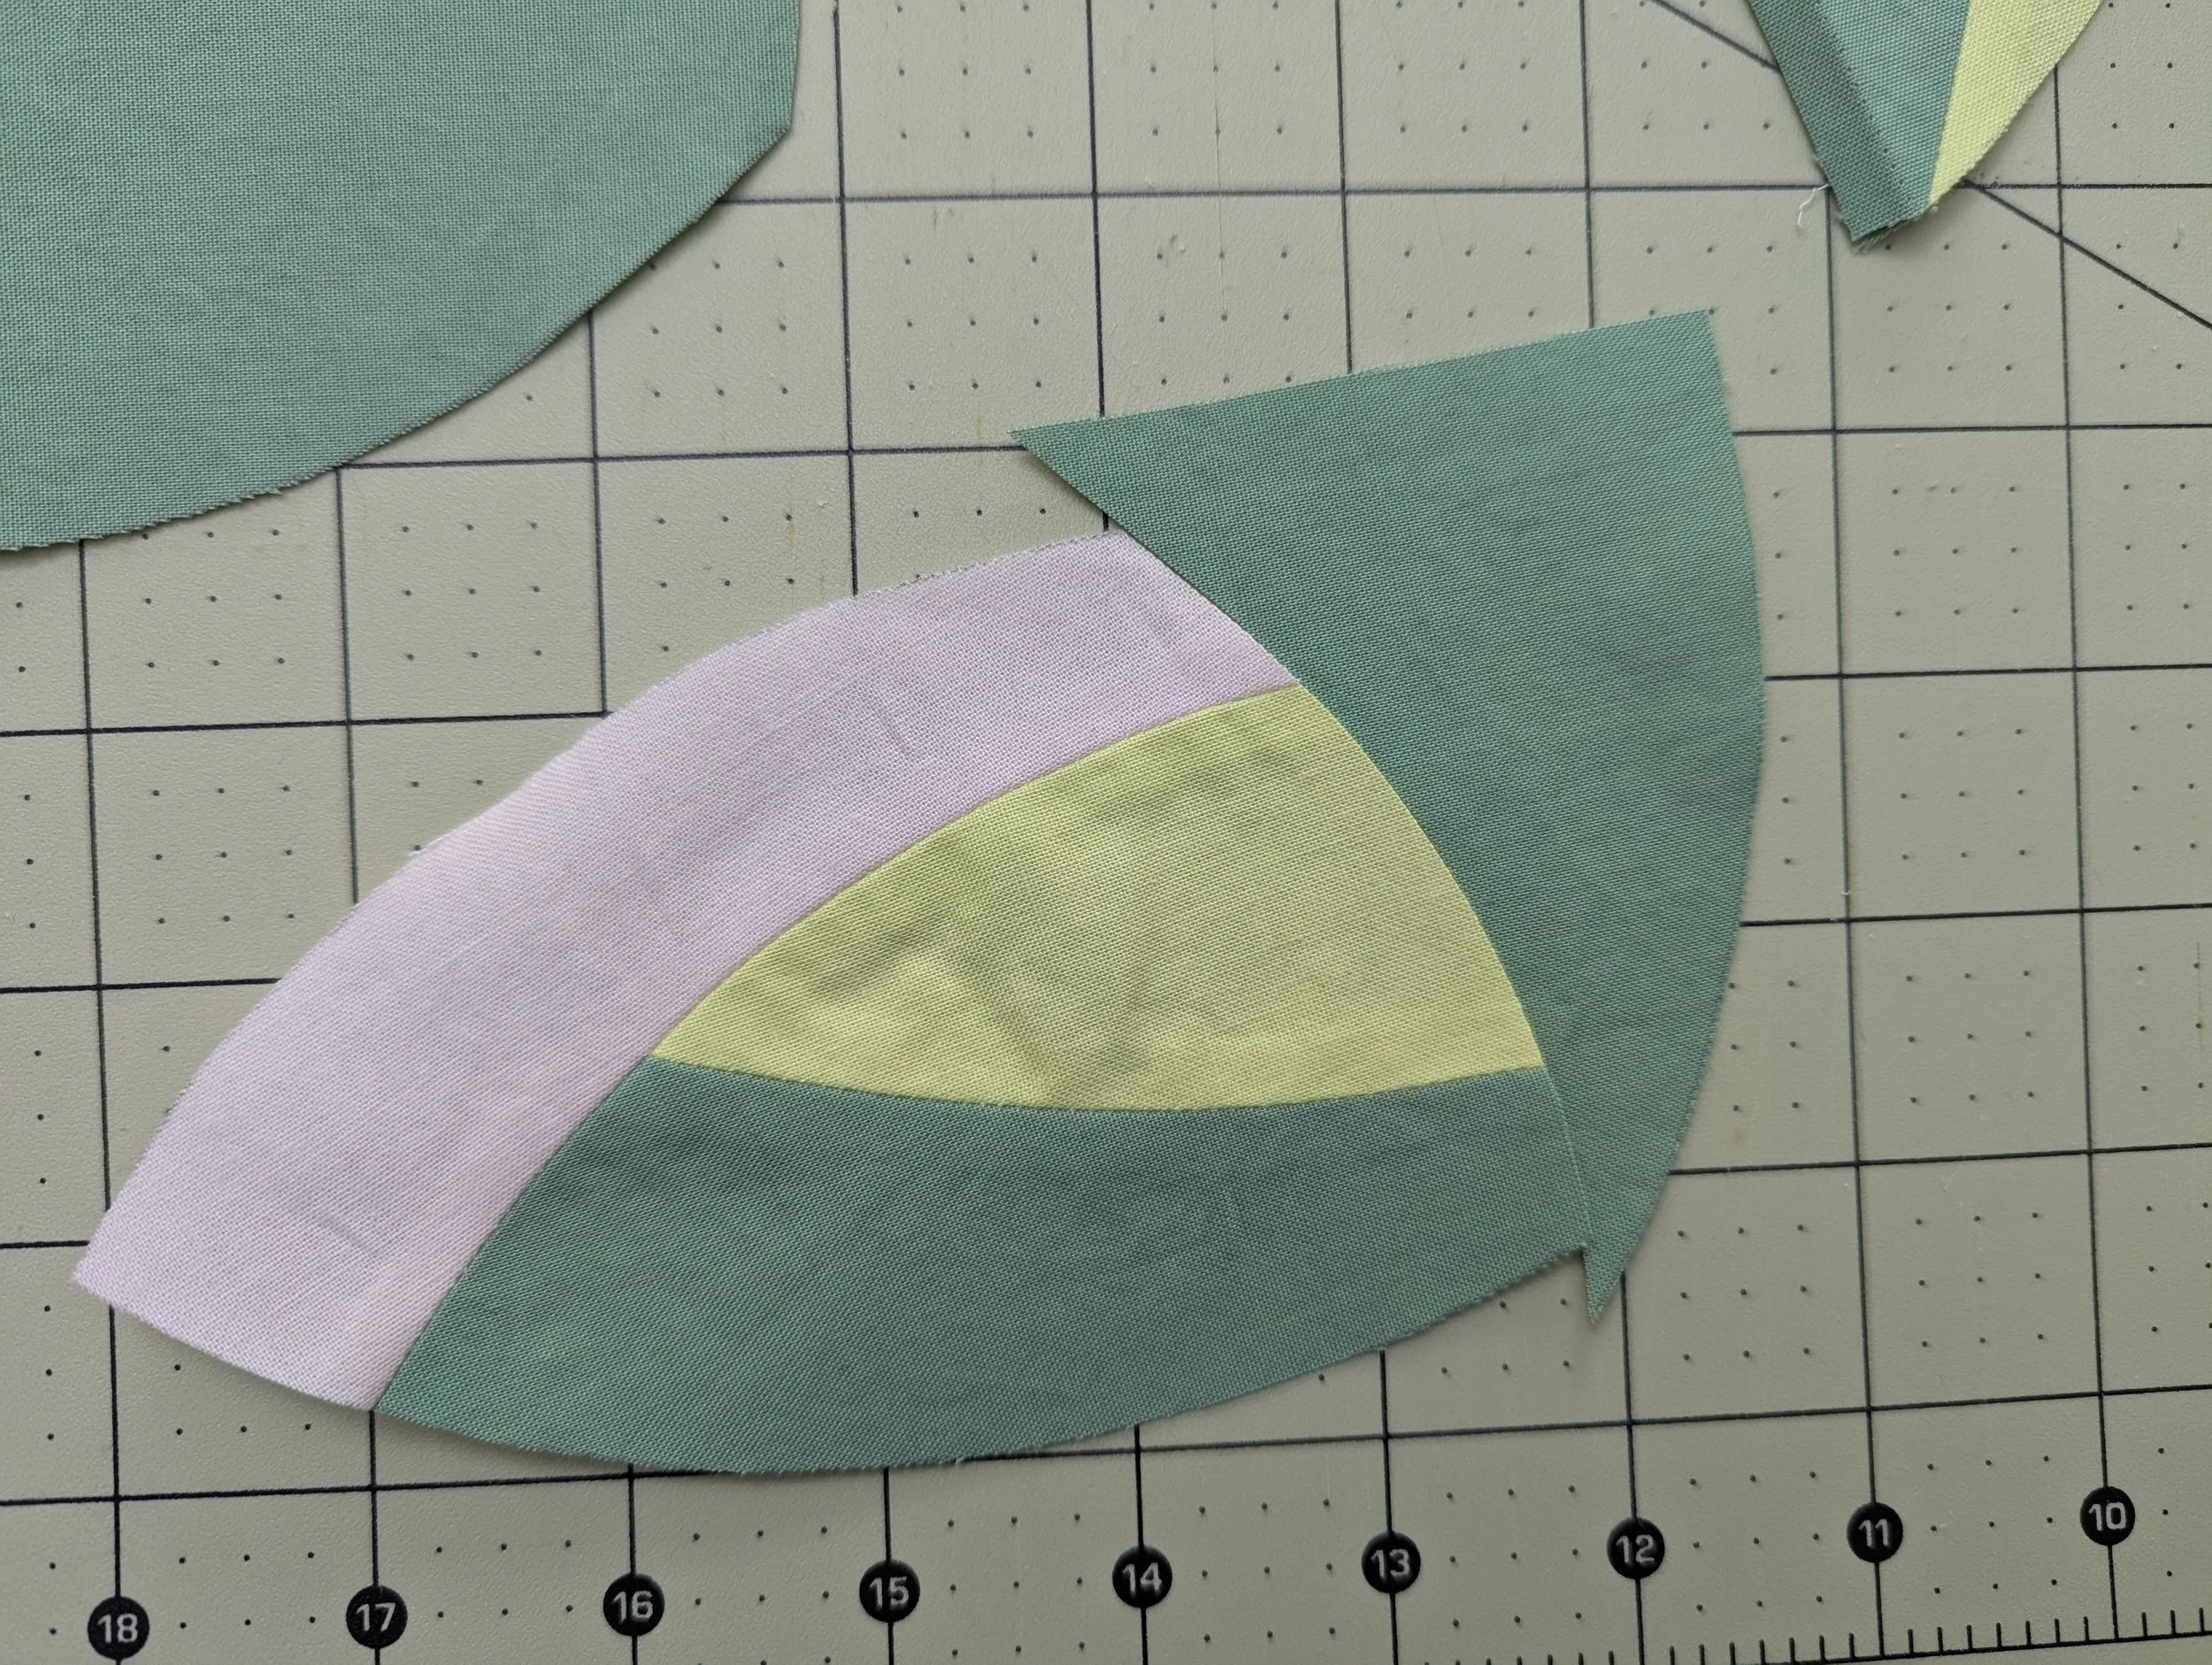
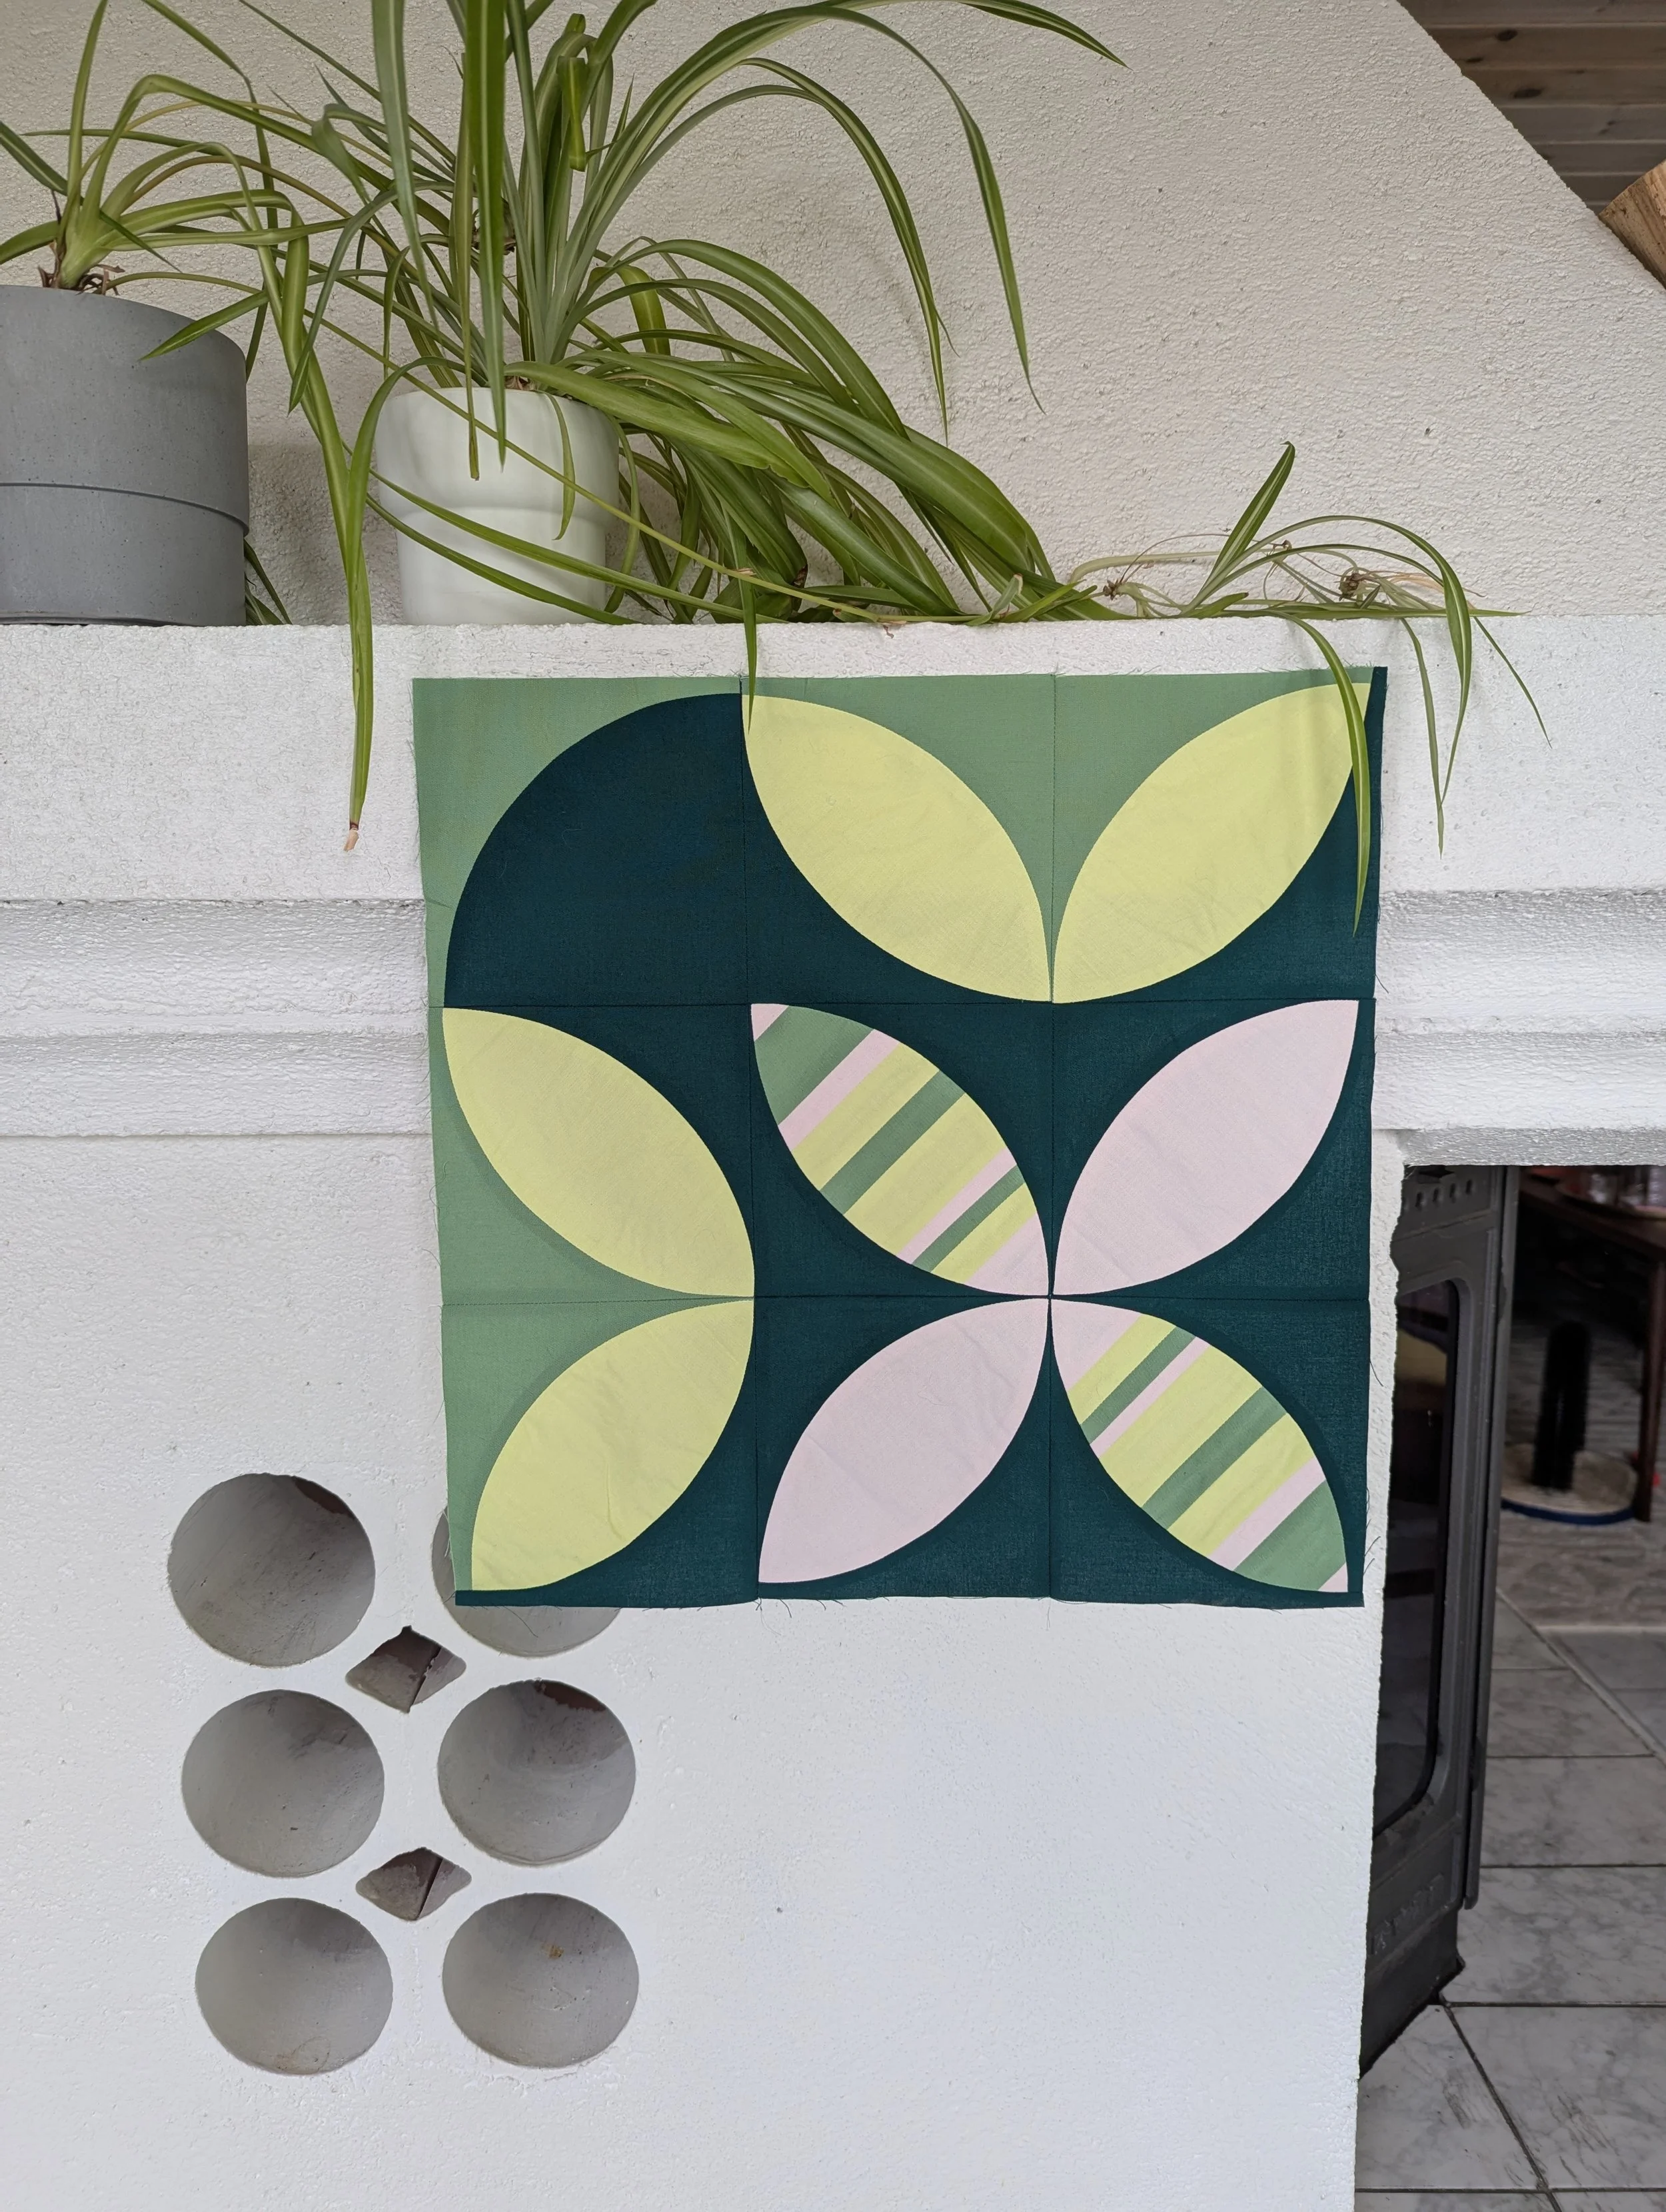
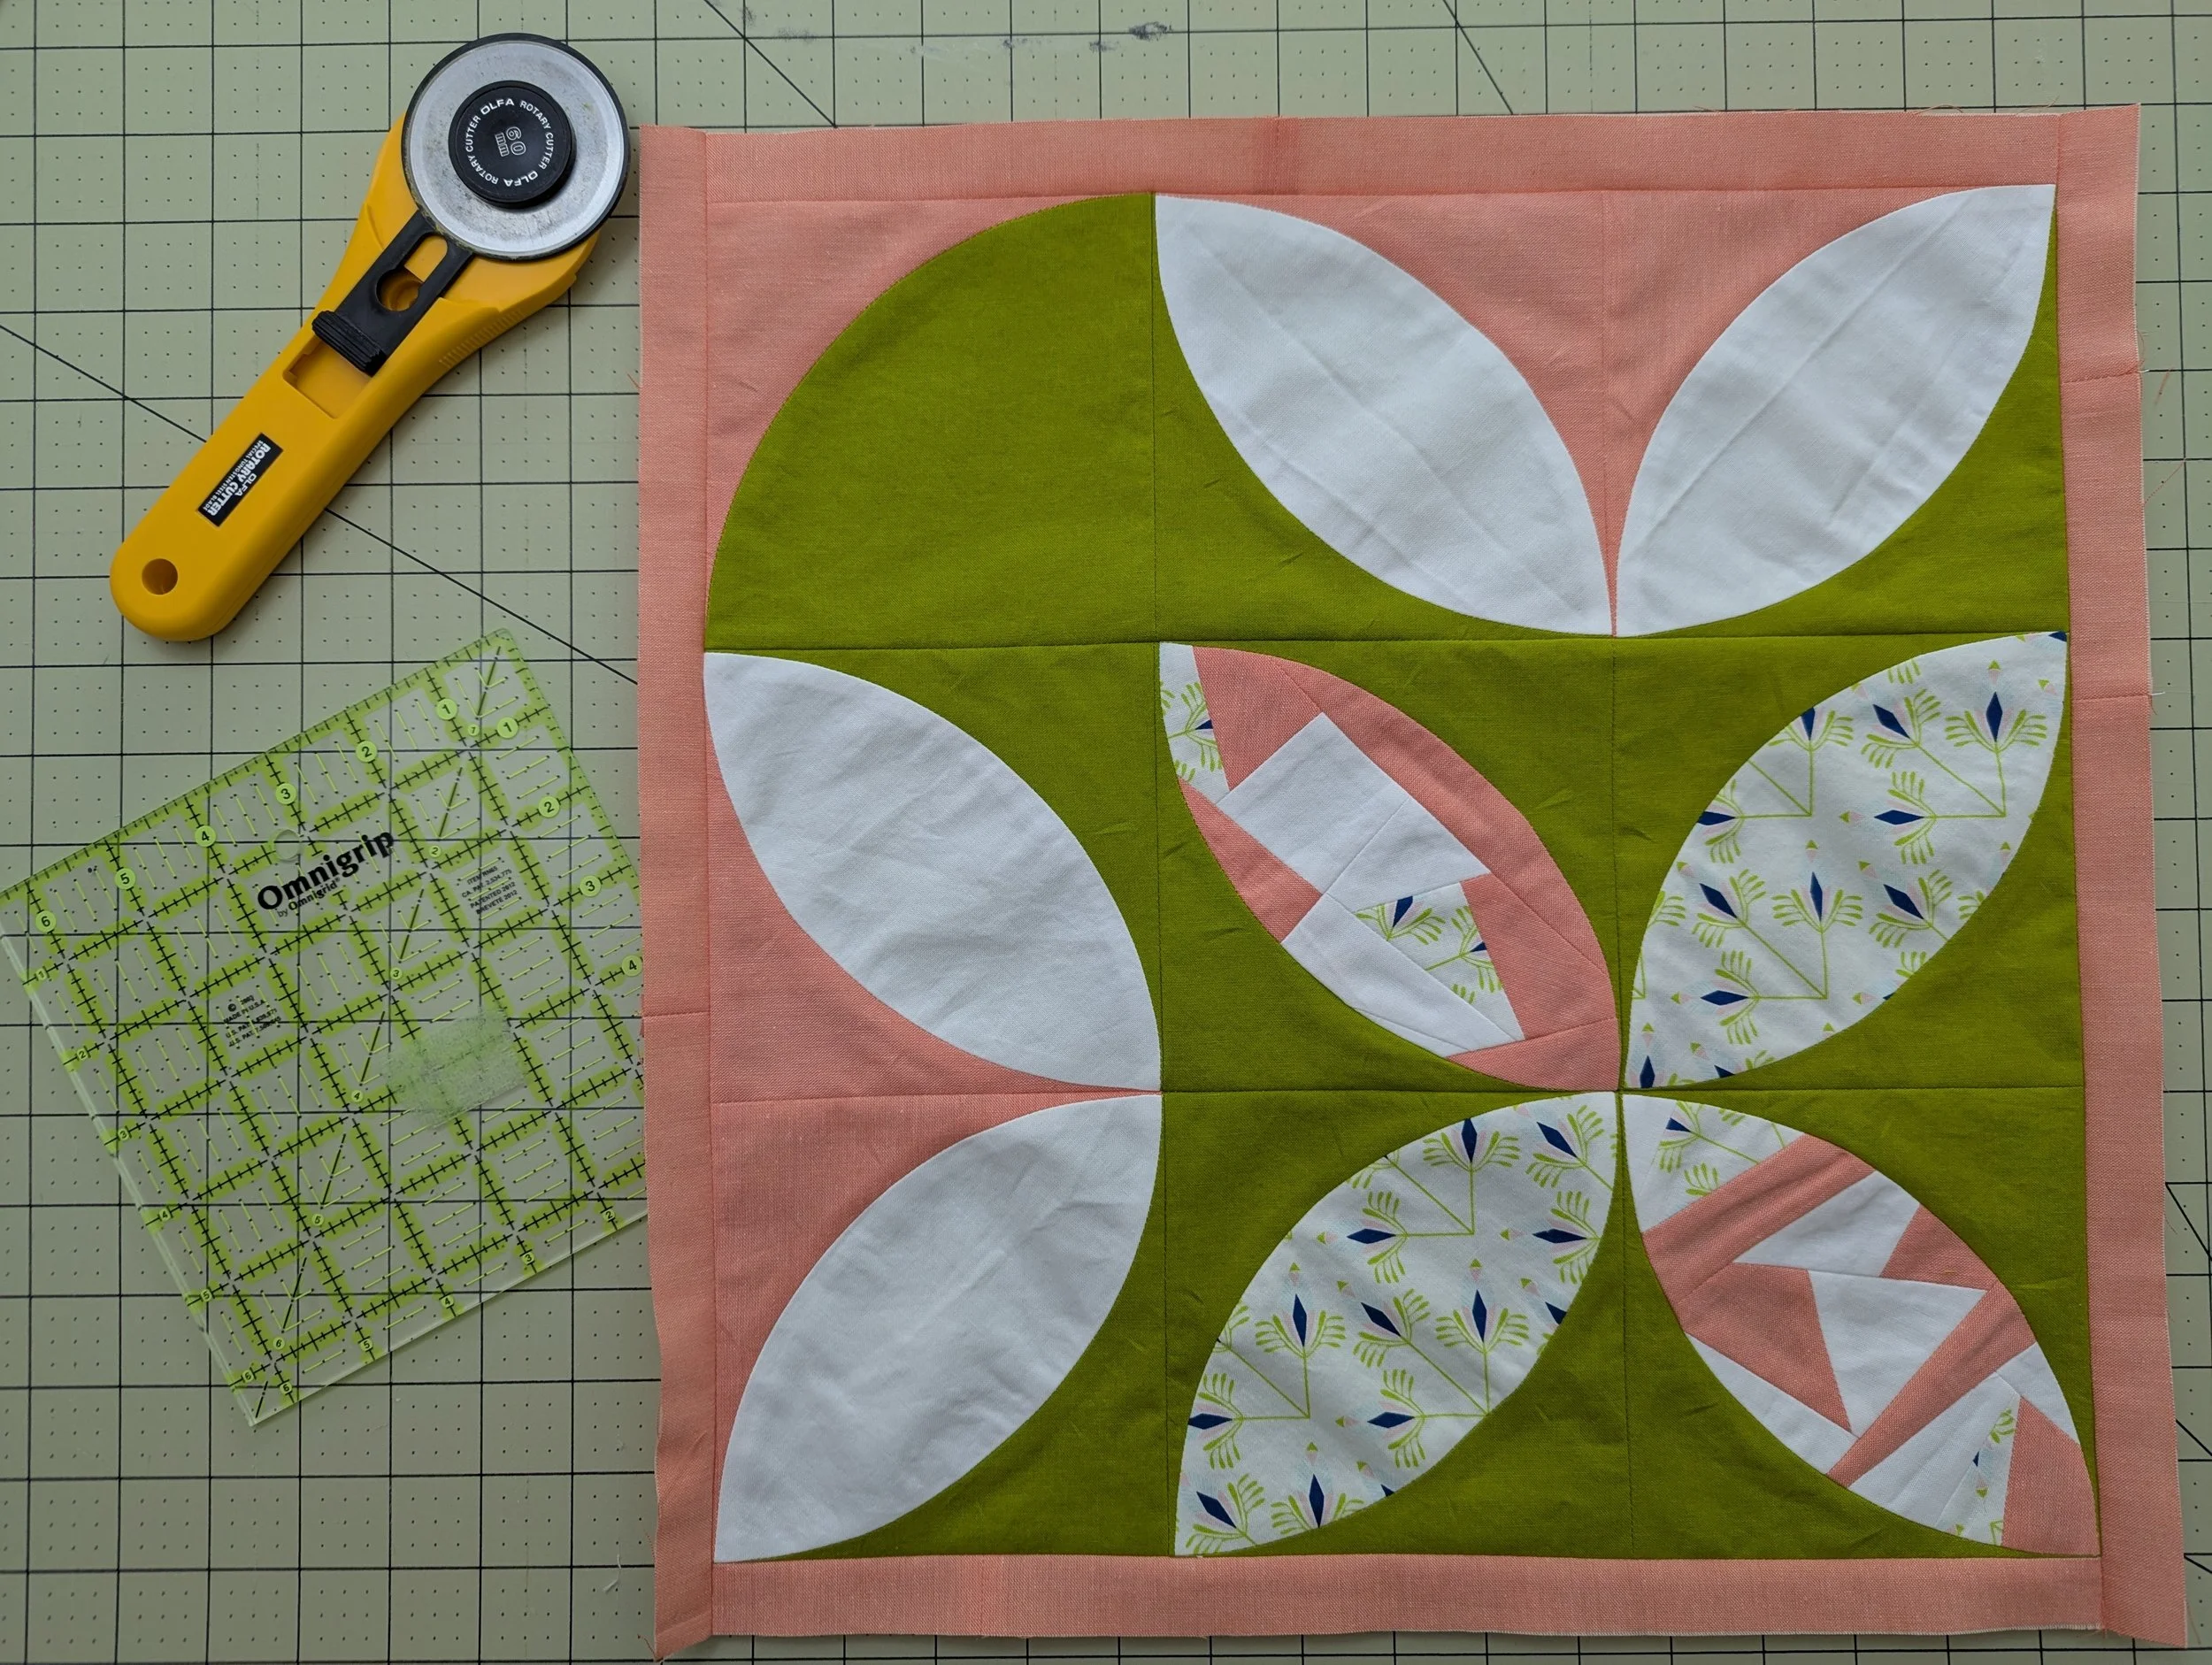
And that’s it! It’s so fun how improv can really change the whole vibe of the block! I’ve made a few of these blocks now, and the curved versions have been my favorite.
Take a look at these other examples! Some I think are more successful than others, but they were fun to experiment with :)
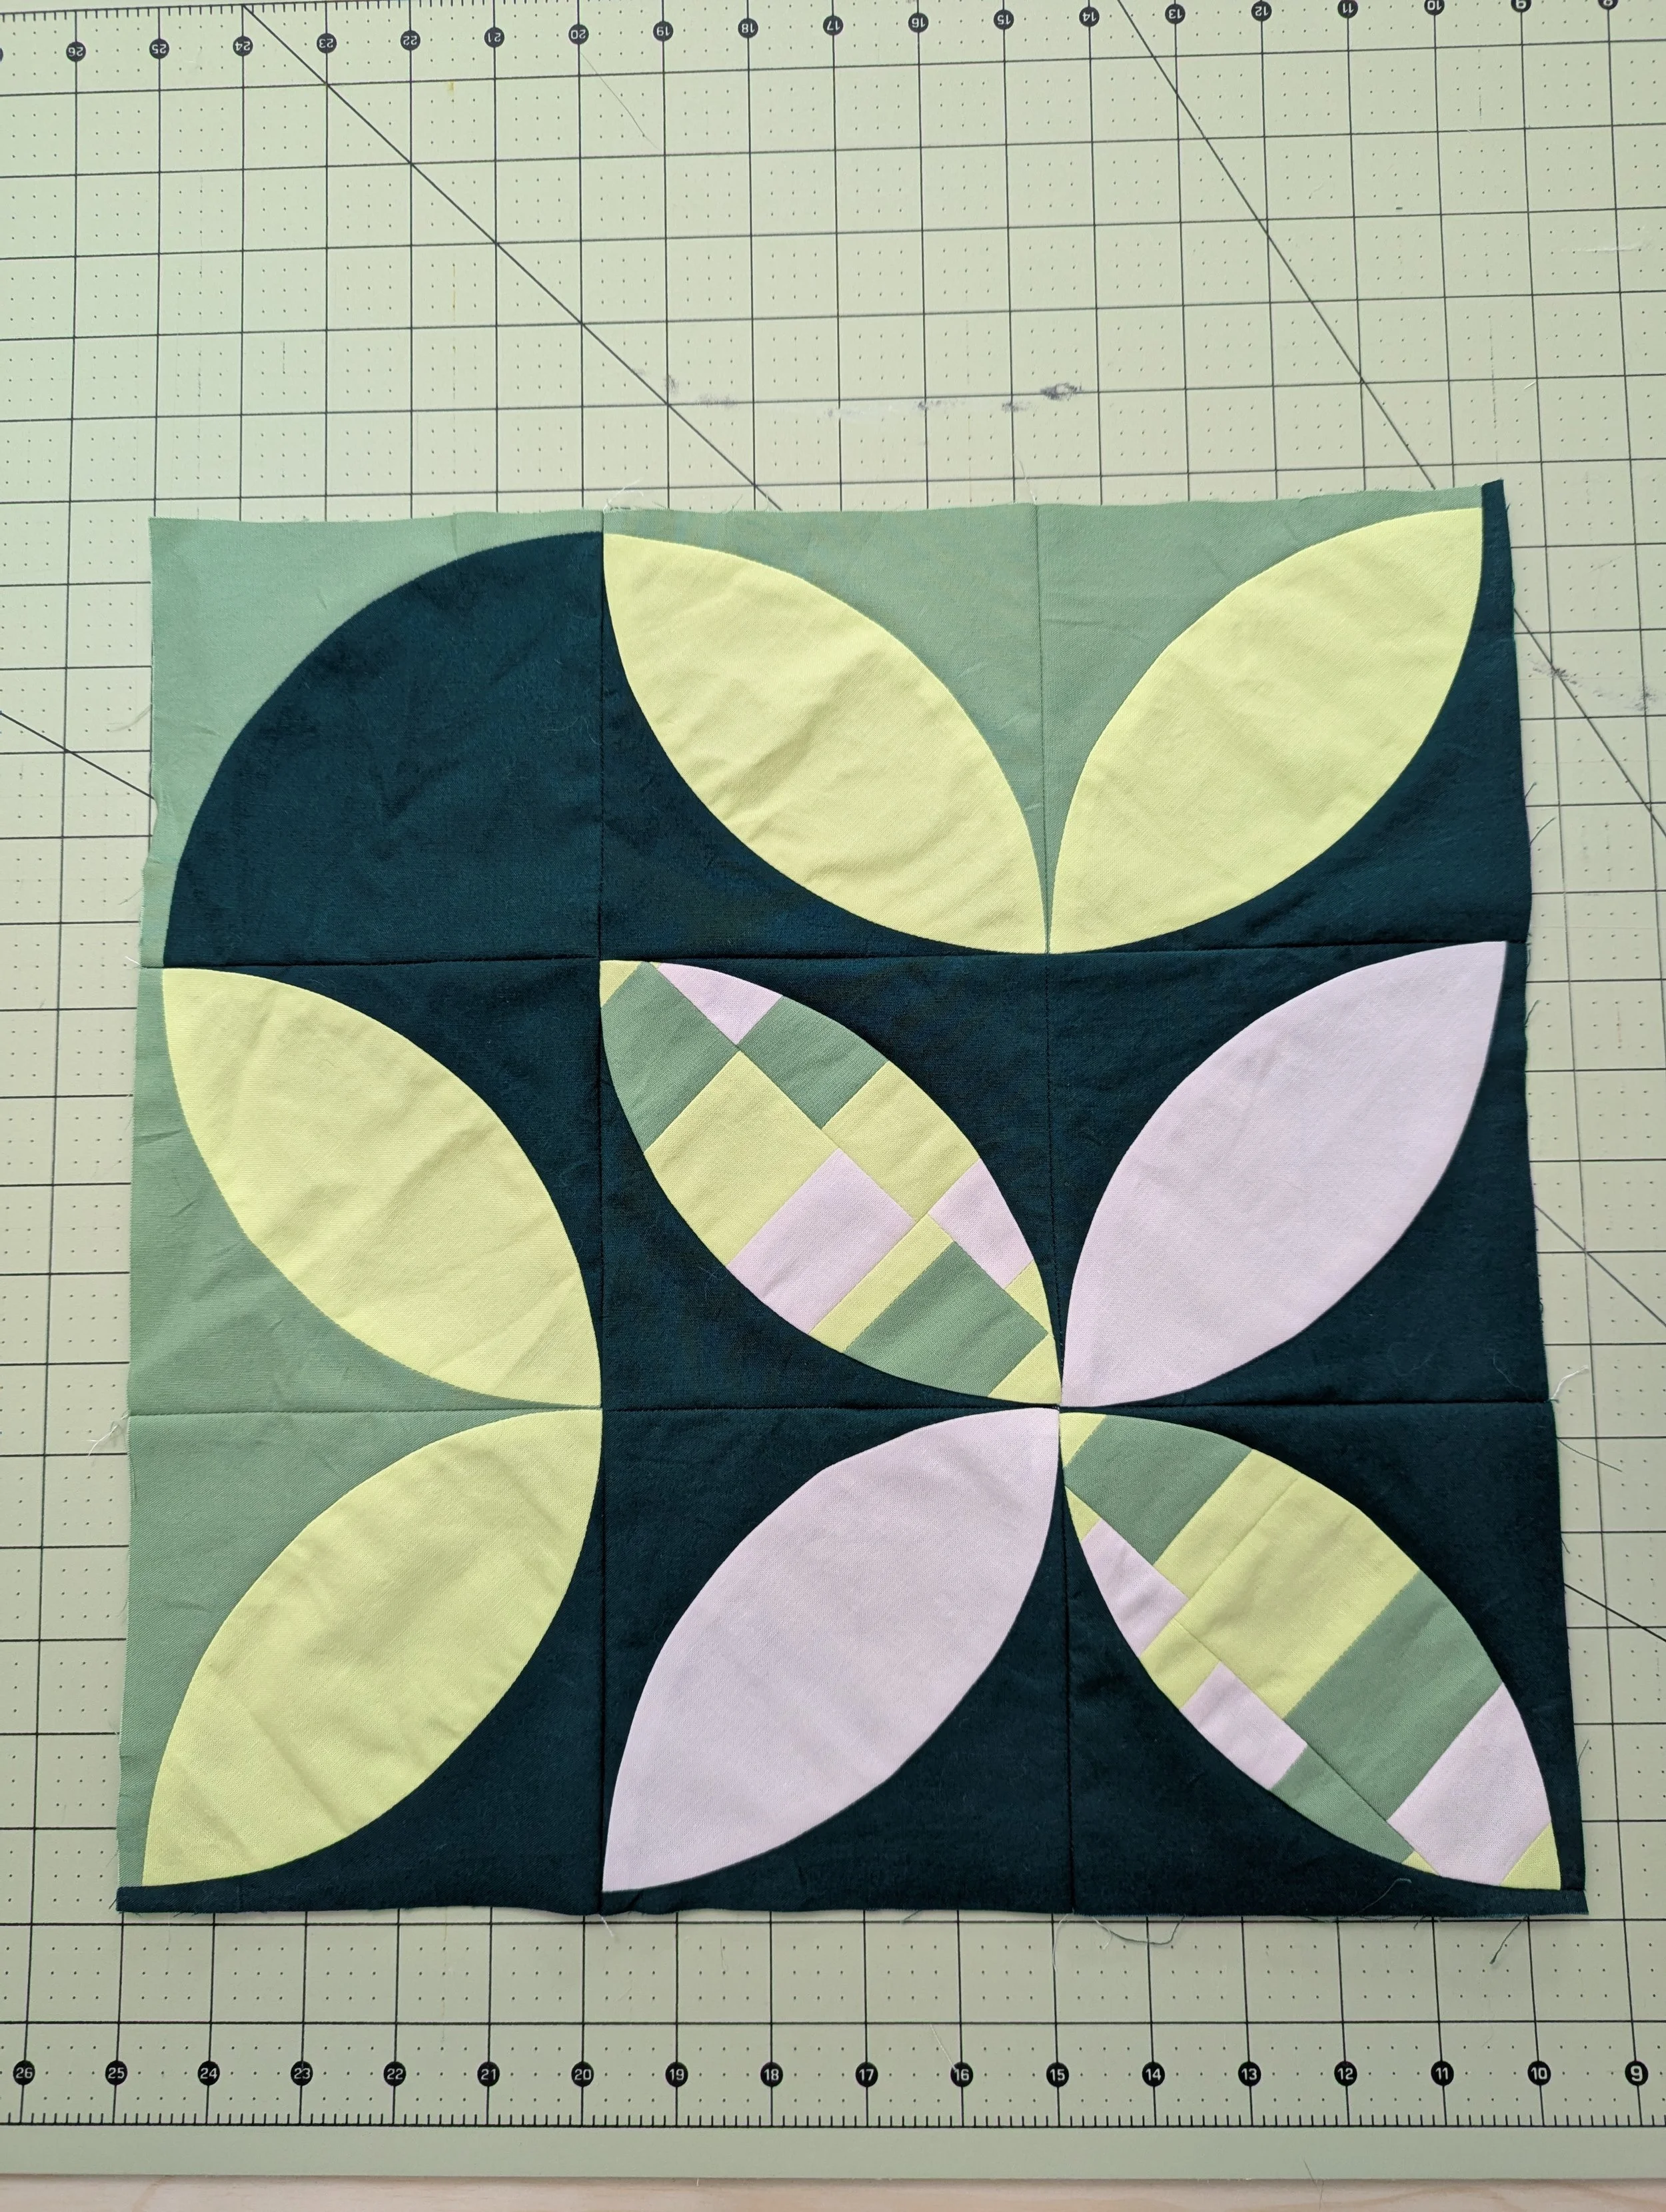
I would love to see your own 5759 Block! Please tag me on Instagram or use my contact form to get in touch and share your own improv journey :)